Damon Motorcycles has partnered up with BlackBerry Limited to build their latest electric superbike, the Damon Hypersport Pro. The bike which will be launched this week at CES 2020 will host some pretty impressive upgrades, thanks to the software specialists over at BlackBerry. Weird? Maybe. Interesting? Definitely. (more…)
It was right before Christmas of 2019 when TuneBoss Malaysia (FSR Technology) launched their latest performance ECU for the popular Yamaha YZF-R15. Unveiled in conjunction with their Track Experience and Track Day at the Sepang International Circuit, we got to test out what the new TuneBoss ECU is all about. (more…)
Boon Siew Honda (BSH) is starting off the new year with the official announcement of the 2020 Honda RS150R V2. As we’ve seen earlier on various social media platforms, the new RS150R offers an updated sportier design with premium finishing. (more…)
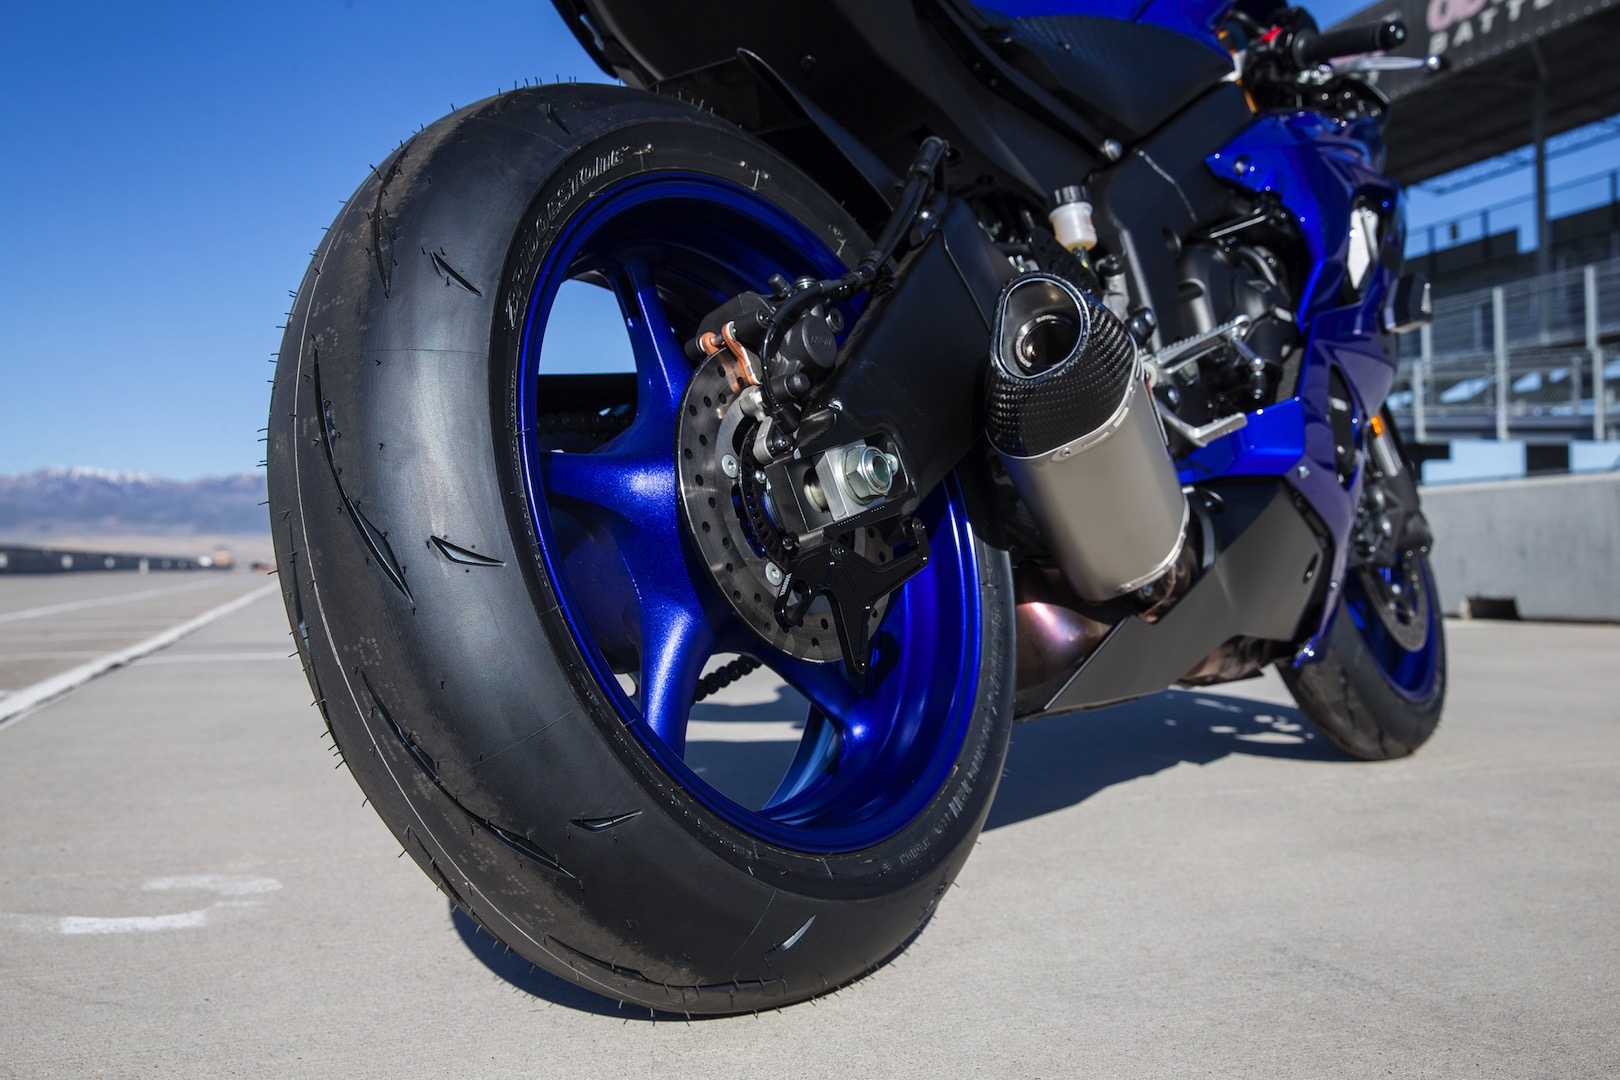
The break-in process isn’t difficult but calls for some restraint.
Upon the completion of replacing my tyres, J.S. (Head Mechanic at Sunny Cycle) warned me, “Don’t push on the new tyres yet. One guy did that right after leaving the shop and almost high-sided.”
His words couldn’t be truer. New tyres need to be broken in before you can push hard on them.
Why are New Tyres Slippery?
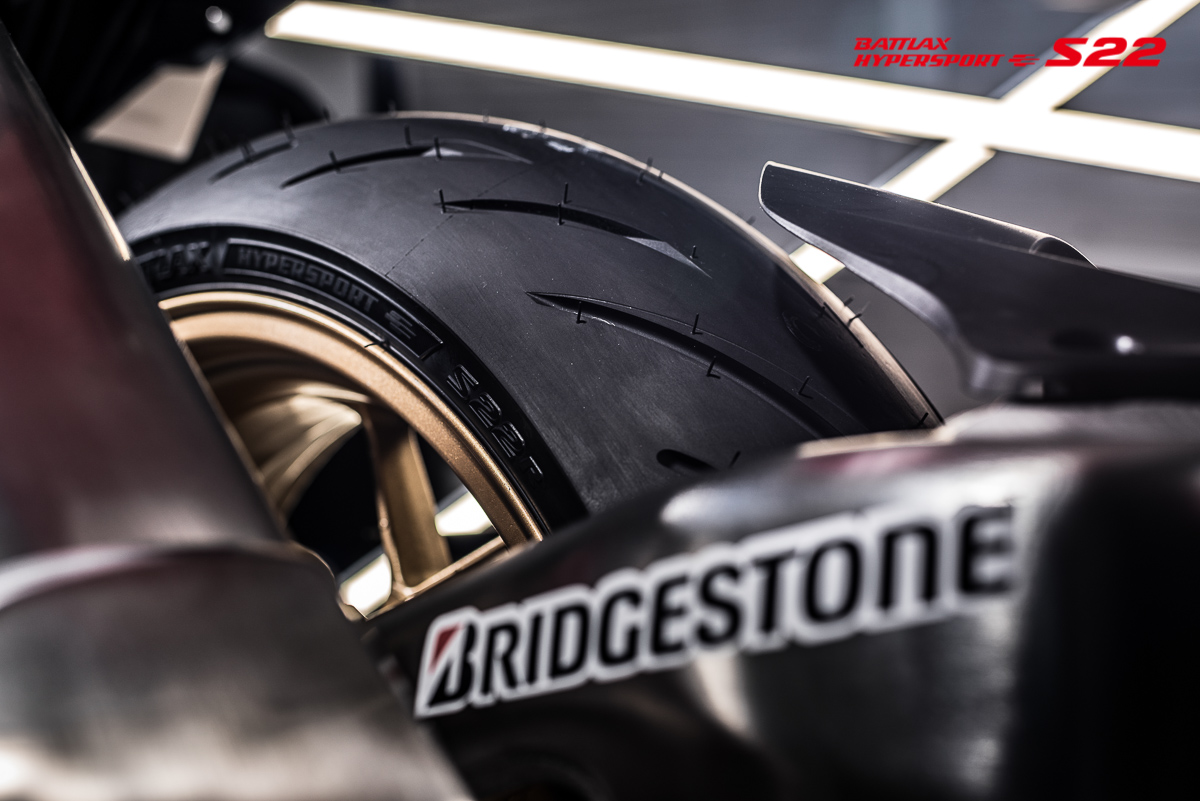
Notice the shiny surface on a new tyre? No, that’s not “wax,” contrary to popular belief. Instead it’s a release agent which tyre manufacturers use to coat the mold in order for the tyre to be removed easily.
Certain makers don’t use release agents but utilize different compound mixes in the curing process for the soft rubber to flow easier into in the mold. This type of compound makes it easier for the rubber to form the intricate patterns on the tread and markings. But it also leaves a shiny surface.
How to Break them in Then?
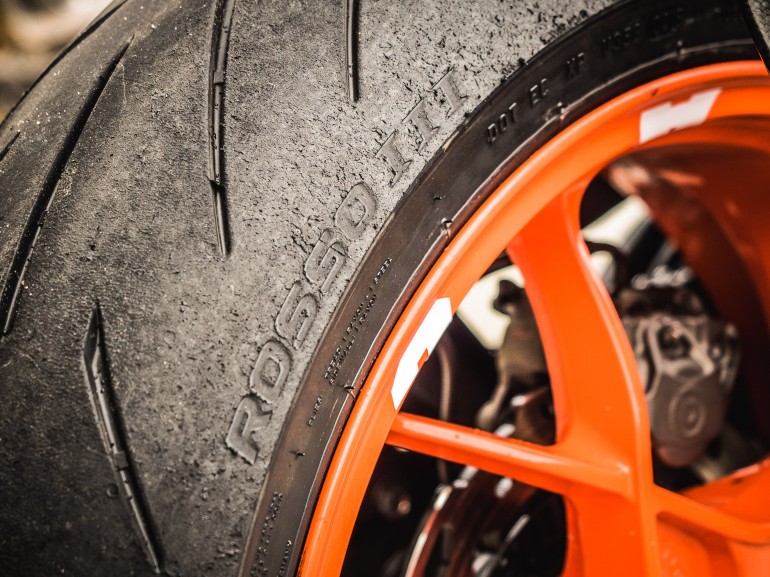
Our job is to rid the tyres of that shiny surface.
Besides that, there are many different chemicals and components (up to 150!) that make up a tyre. While it may seem that they are homogenously, they actually require repeated heating and cooling process (heat cycles) to do so. This could only be done by introducing forces and stresses during riding.
No, weaving around like MotoGP riders doesn’t work. Keep in mind that their tyres are already warmed up at least an hour before they take to the track.
Manufacturers actually suggest between 150 to 300 kilometres of riding to break in your new tyres. As for the sides, introduce lean angle progressively rather charge into corners for max lean.
Also, mind your acceleration and braking. Stay progressive and smooth for those few hundred kilometres.
Bear in mind that tyres have “memory.” No, we don’t mean that they’ve got built-in RAM chips. Instead, how your tyres behave later in their lifespan depends on how you broke them in. If you tend to be extra aggressive, the extra heat and stresses will “cook” the compound. You will probably end up with a comparatively harder compound by their mid-life. However, take it too easy and they will be slippery even after the 200 – 300 km break-in period.
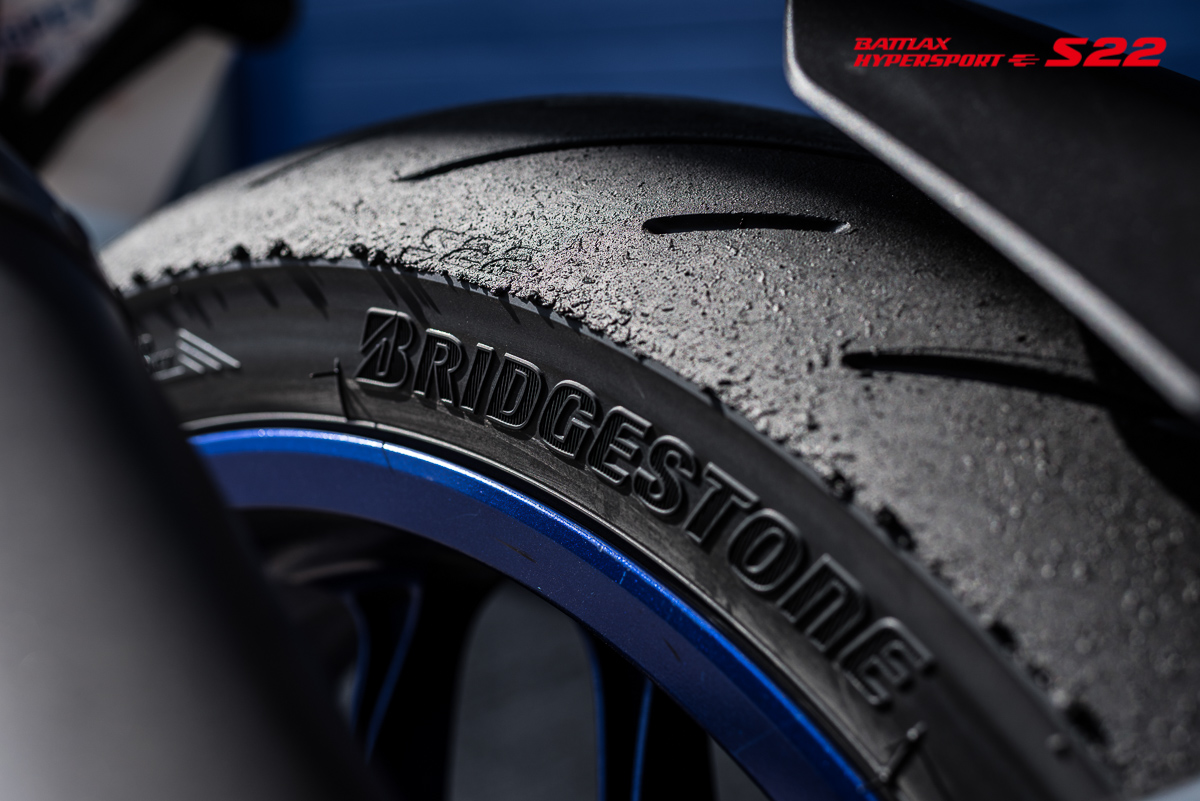
A good indicator is if the new tyres turn blue after a day’s ride, it means you’ve pushed too hard. If they’re still too shiny and almost like new for too long, it means you’re too conservative.
There’s a middle ground in there which you can find over time.
After the recent announcement of Dego Ride offering its motorcycle ride share services around Klang Valley, Shah Alam, and Putrajaya, Grab Malaysia decided to launch their very own motorcycle hailing offering in Kuala Lumpur called GrabBike. (more…)
Carrying out motorcycle maintenance by yourself is fun.
There are many things you could learn.
It gives you a sense of achievement and gratification.
Owning a motorcycle is much simpler these days since they are so reliable and require so little in the way of TLC (tender loving care) to keep ‘em rolling. As such, there are certain maintenance tasks that you can DIY (do it yourself).
NOTE: Before we begin, please let us explain that certain DIY maintenance tasks should only be carried out by the manufacturer’s official workshops, especially during the warranty period. For example, something as “mundane” as an oil change must be recorded in the service booklet to entitle for warranty. Do check your owner’s manual and call/email your motorcycle dealer or manufacturer to be 100% sure.
But why carry out these tasks by ourselves, you ask. Well, completing even a simple task as maintaining the drivechain gives a feeling of accomplishment and gratification. You’d also discover more about your bike in the process – and there’s so much to learn! Plus, you’d rise above being just a casual biker to one who is knowledgeable. Seriously, how many bikers actually get down on all fours to inspect their bikes these days?
Okay, let’s start the list.
1. Washing the bike
Photo credit autoevolution.com
This is just way too obvious but cleaning your bike yourself is a good practice and habit. That’s because you’d discover potential problems firsthand. It could just be imagination but everyone I spoke to feels that their bike run smoother after a thorough wash. It could well be true because some of the dirt wedged between moving parts such as the brake pads and disc are washed away.
Our tip is to use reputable cleaners – water soluble and biodegradable ones are the best – rather than corrosive stuff like dish washer liquid and detergent. If you use car shampoo, go for those that are not “wash and wax.” The wax leaves whitish residue on the matt black plastic parts, dulling them out quickly.
You may also consider some automotive waxes. Something light will be good, given the usually thin clearcoat on motorcycle paintwork. Do not apply wax on the matt plastic parts or you’ll be sorry.
As for the plastic parts, consider coating them with UV protector.
2. Oil change
An oil change is one of the obvious places to start. There are a number of things you should always observe:
Have the correct oil filter spanner or removal tool.
Make sure you straighten the bike to drain the last bits of the old oil.
Do not overfill (too much is actually bad for the engine!).
Do not overtighten the filter.
Dispose of the old oil properly i.e. send it to a workshop rather than pouring it down the drain.
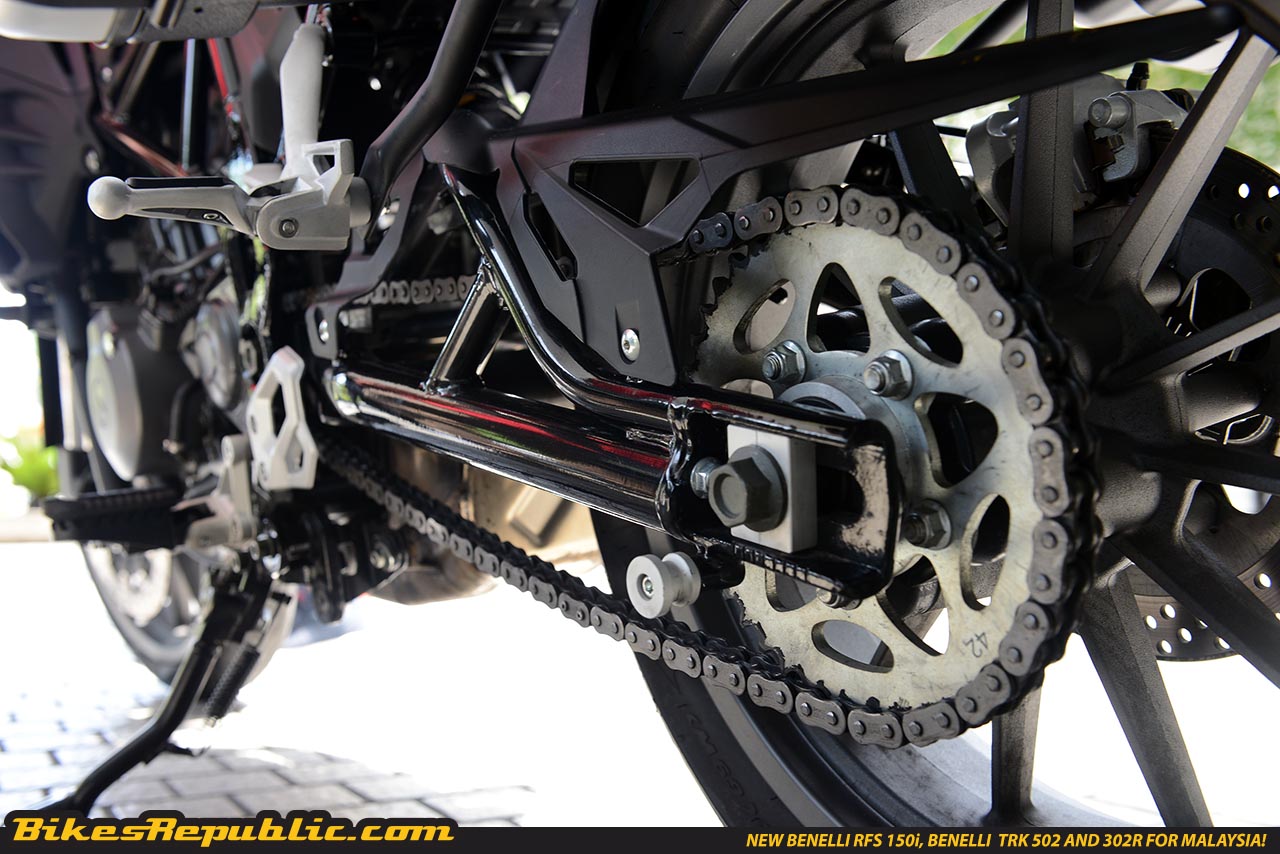
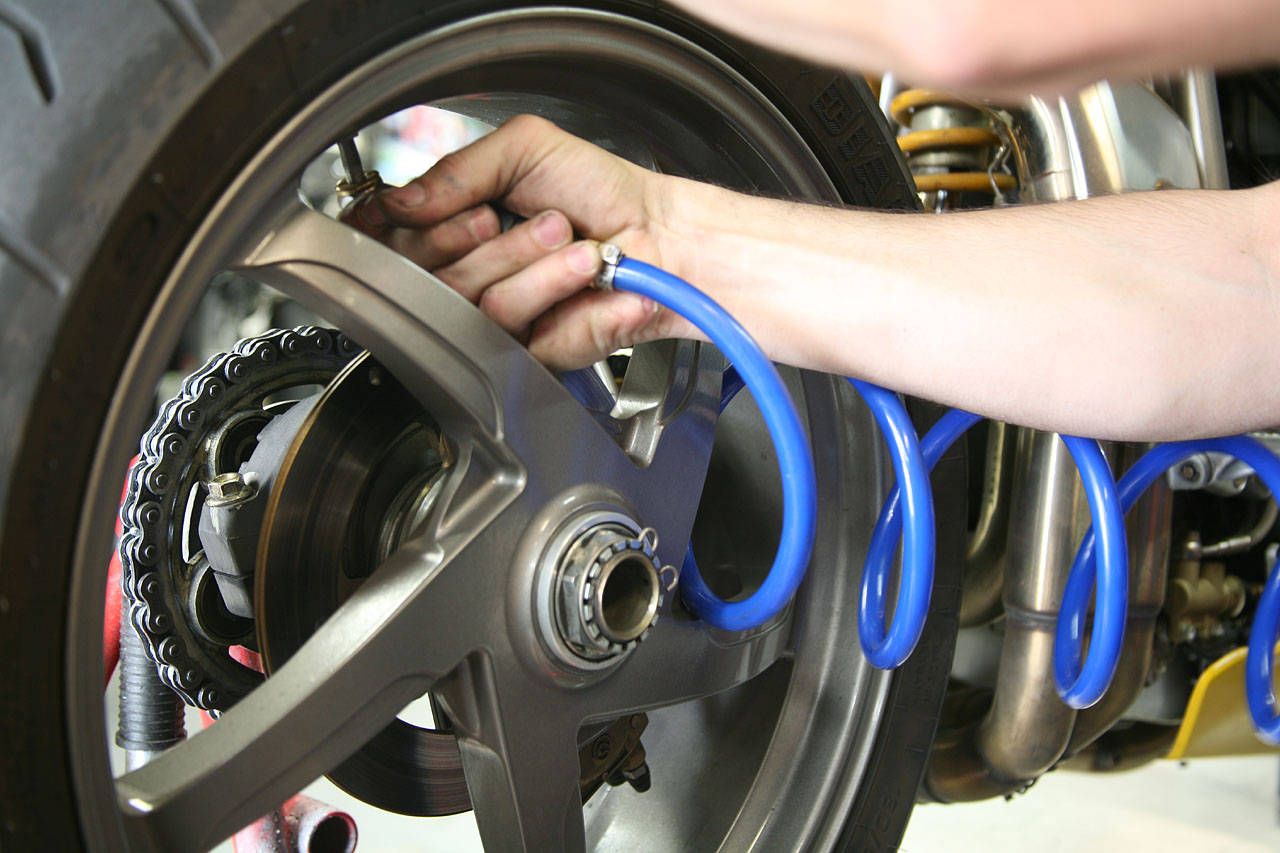
3. Chain adjustment
Always maintain your drive chain properly. That includes proper tension, cleanliness and being lubricated. A loose chain will whack parts of the bike and cause premature sprocket wear. A chain too tight will tax the engine and limit suspension movement. A chain without lube will rob horsepower and increase fuel consumption.
As a personal habit, I usually lube my chain every 400 km which corresponds to two tankfuls of petrol.
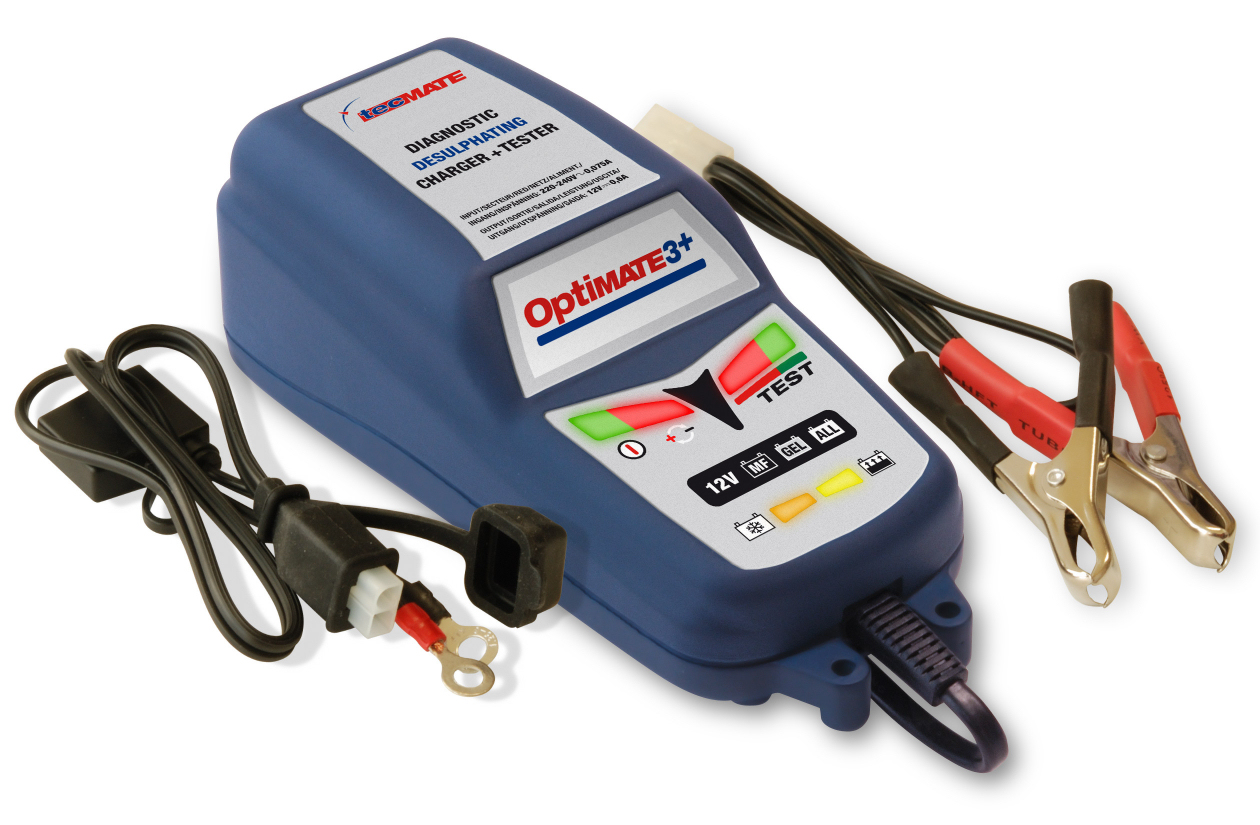
4. Battery
As we published yesterday, almost all batteries are now “maintenance free.” However, the term only means that you don’t have to add distilled water from time to time. And that’s all!
We do need to tend to the battery by placing it on a smart charger to keep it charged. I know some will argue that it’s easy to just replace the battery every 2 years or so, but I don’t want to be stuck in the middle of nowhere at night again when a battery went kaput. Plugging in a smart charger will tell you of the condition of the battery, thereby giving you a heads up.
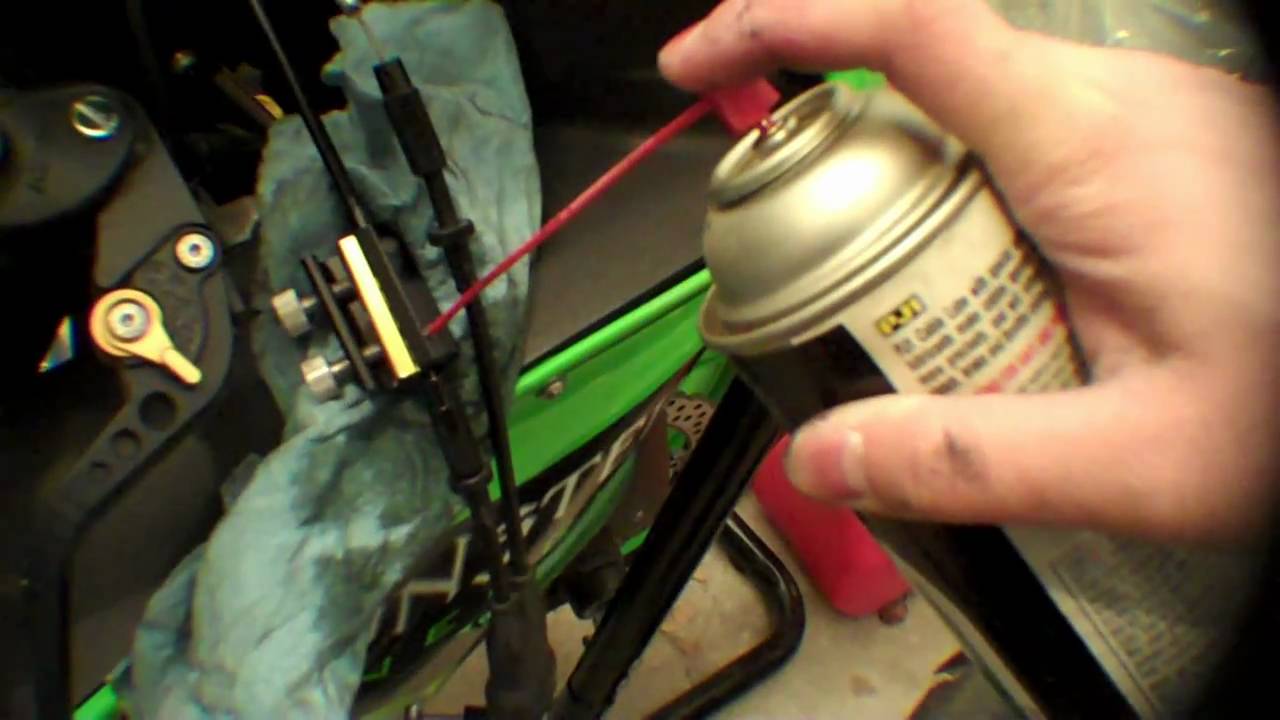
5. Cables
Credit wedginator
This is another oft-overlooked area on a bike, until the cable snaps. Even if it doesn’t, a dry cable will not return fully and leave the clutch slipping (slightly). You can purchase a hydraulic cable oiler or spray a good anti-corrosion agent down the cable tube.
6. Tyres
Ah hah. We’ve plunked in some good money for those bitchin’ tyres and all we do is leave them to die. How sad!
It’s good practice to scrub the sidewalls while cleaning the bike, to reveal their condition. Check the pressure at least once a week. Punctures should be addressed immediately. Don’t underinflate or overinflate.
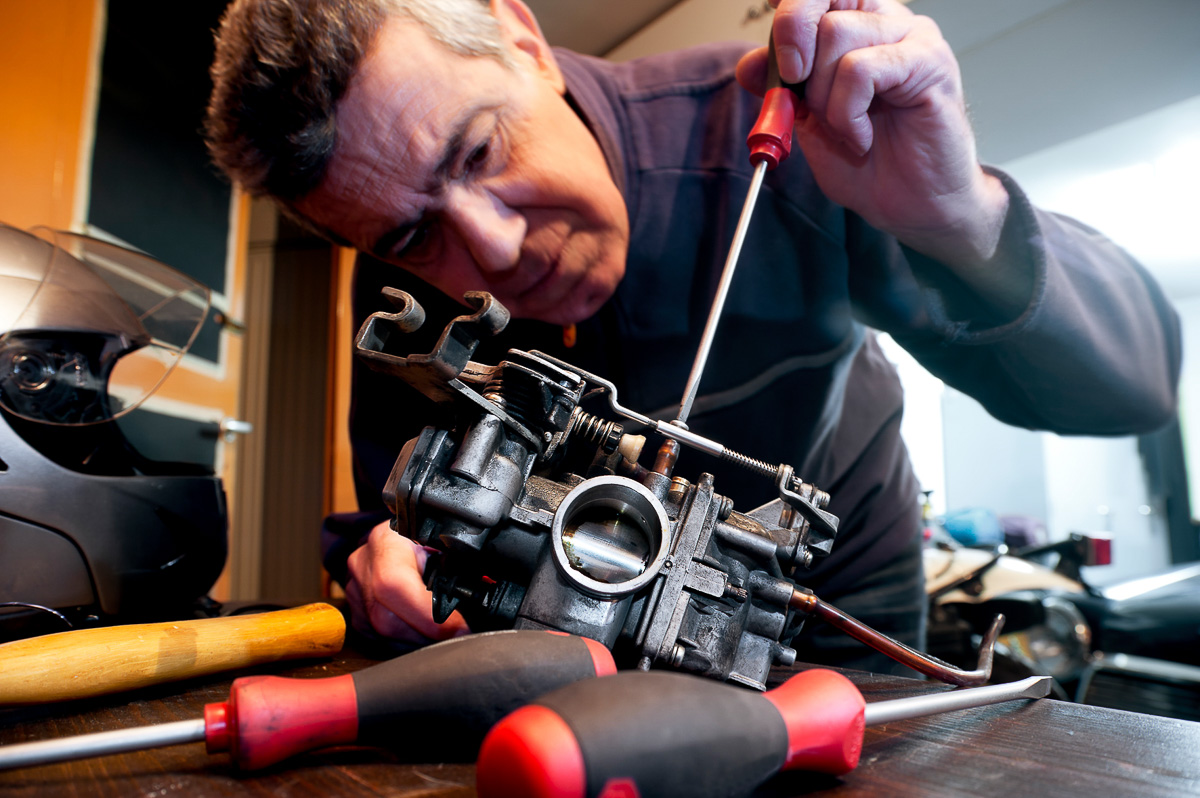
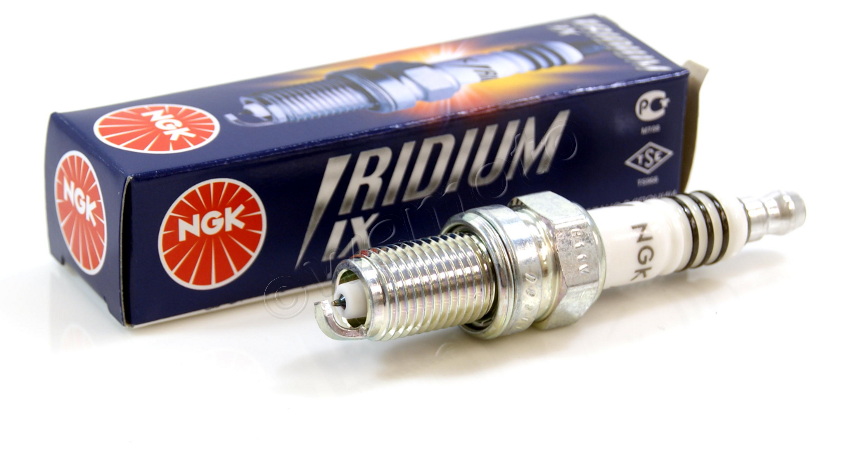
7. Spark plugs
Spark plugs last so long these days that they can become totally forgotten about since their degradation happens progressively to the extent that we don’t feel a drastic change. But they do need to be replaced.
We admit that replacing the spark plugs for beginners could be a profanity-filled affair that’ll make Samuel L. Jackson blush, but you’ll discover so much when reaching into the nether regions in the engine compartment. You’ll see the airbox, recirculation valve, throttle bodies, the ignition coils, etc. etc. on your way to spark plug cavities in the valve cover.
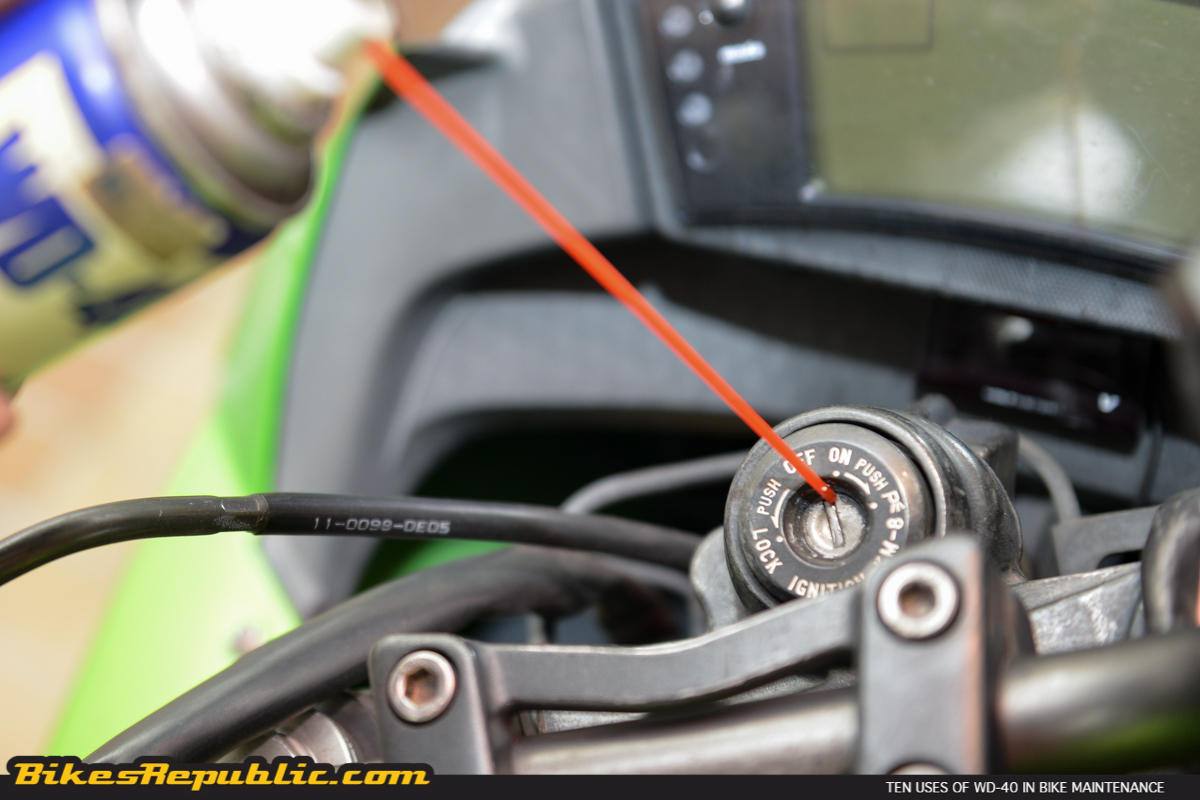
8. Keyholes
Oh yes, do lube the keyholes. You don’t want to ride somewhere far only to discover that you could get the fuel tank cap to open up! (This writer found out firsthand and had to call a recovery service!)
BONUS
The next two can be performed easily but they are best left to trained mechanics. They can be life-threatening if done wrongly.
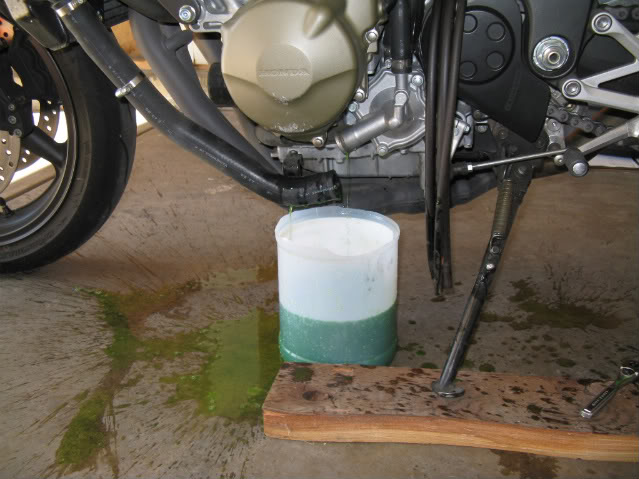
9. Coolant
The engine coolant is also another oft-neglected item. (See the ironic side of reliability?)
Depending on manufacturer, it should be replaced every two years, but this writer will change it as soon as it starts to turn milky.
The thing to remember here is to flush the cooling system of air pocket by running the engine and letting it pump out the air. The mistake is closing up the drain plug and pouring in the coolant without bleeding, leaving behind air pockets that will lead to overheating.
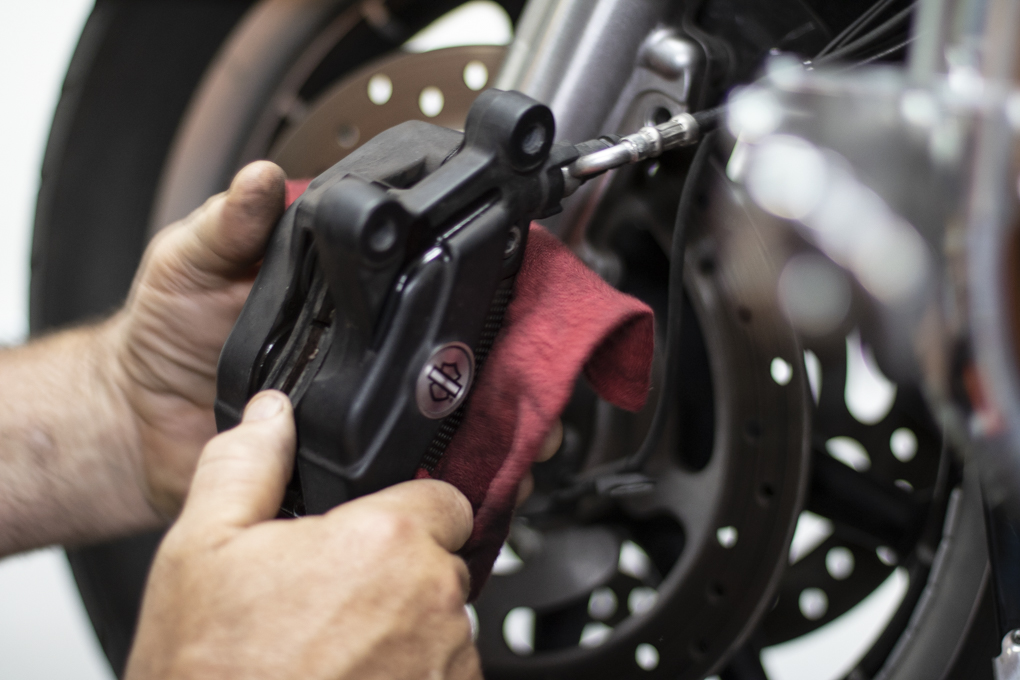
10. Brake pads
This job is super easy actually. The most important precaution is to reinstall the brake pad retaining pin properly. Your life and bike depend on that piece of pin!