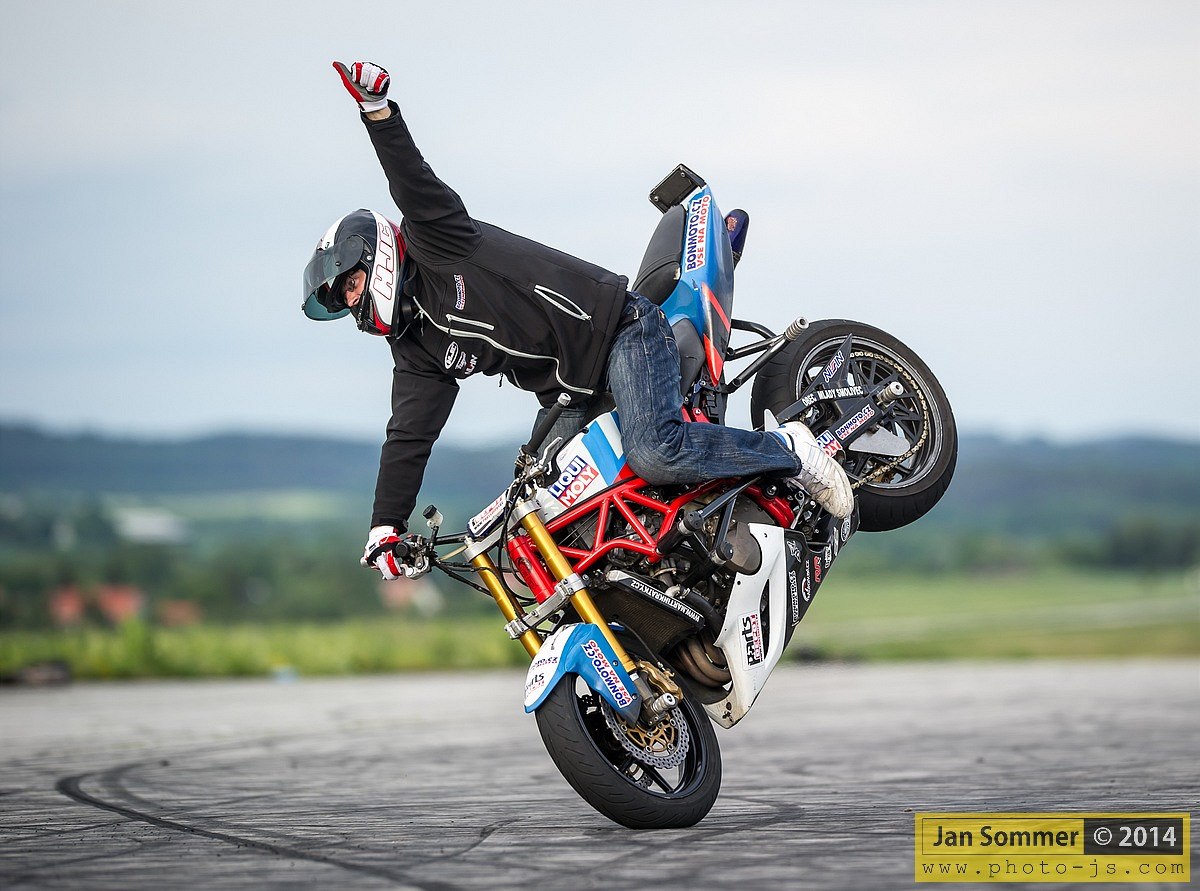
Going too fast into a corner happens to every biker.
But you can get away with it.
Practice these steps and you’ll come away with more confidence.
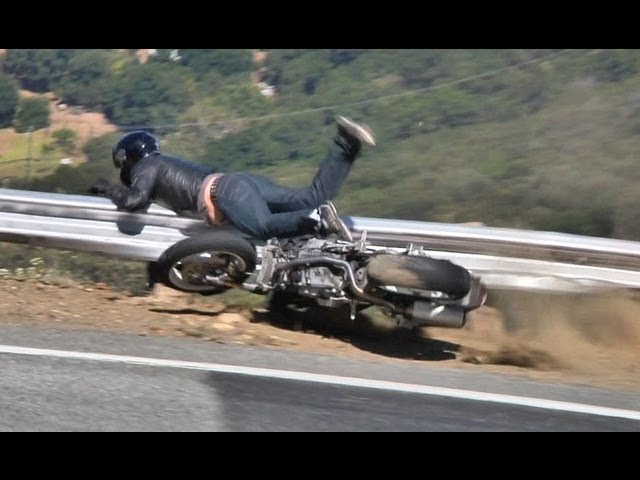
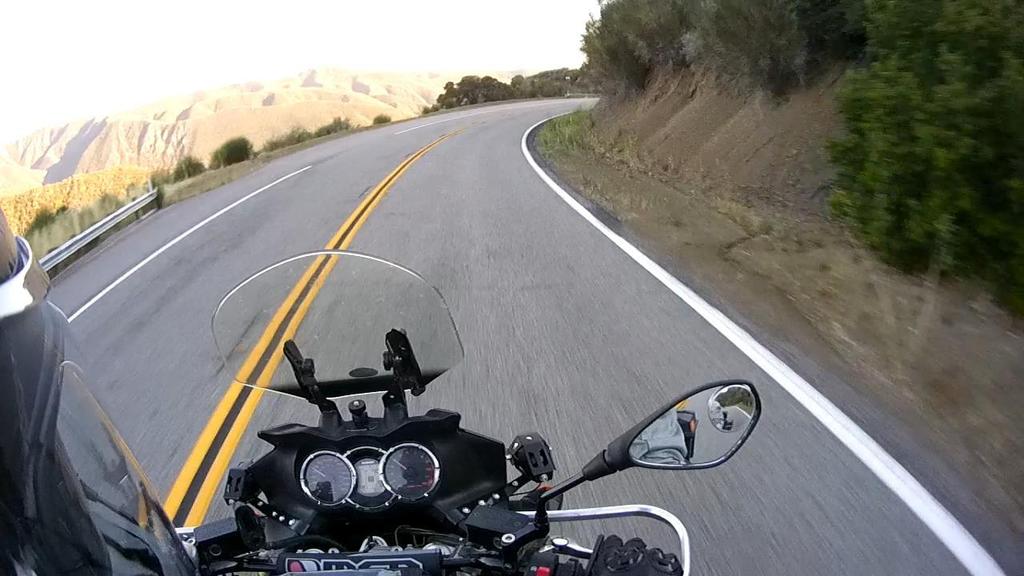
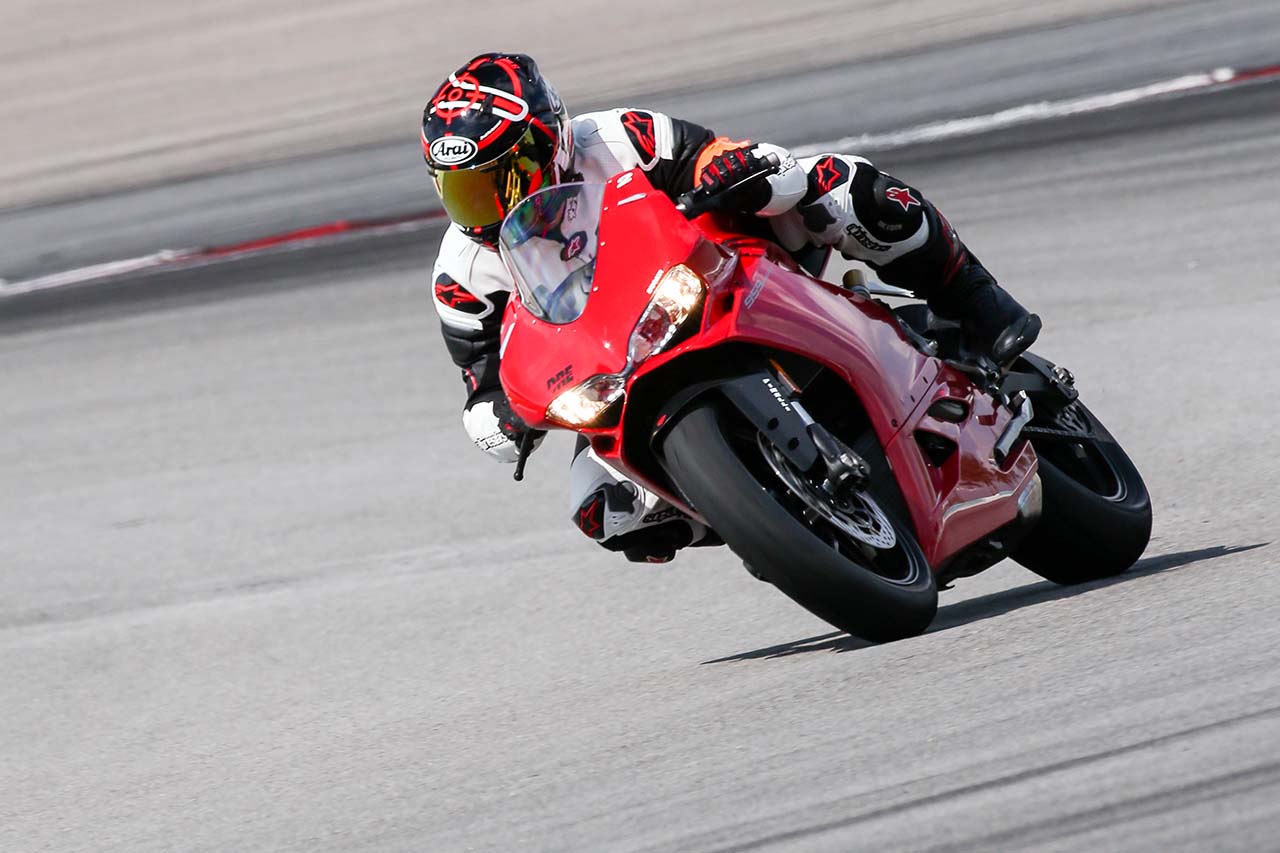
A corner looms ahead. It looks like a fast one, so you line it up and steer in. Only to find that the apex is actually further inside. Much further.
The road seems to double-back on itself and here, you’re in the outside 1/3 of the corner and just tipping the bike in.
What should you do? What can you do?
The fundamentals
There are five basic skills that every biker MUST possess: 1. Steering; 2. Vision; 3. Throttle control; 4. Brake control; 5. Body positioning/control. Not necessarily in that order, but these skills need to be invariably present.
Let’s keep these five points in mind as we take you through a butt-clenching ride.
Don’t panic
This is the most important. Panicking will exacerbate the situation; making it worse when you could actually make it home to your loved ones.
The first thing to happen is your body tenses up when you panic. A tense body will lock your limbs in position and cannot provide effective steering forces anymore.
Look through the corner
The best way to overcome this panic or impending panic is to turn your head into the corner along with your eyes (they must be inclusive). Remember that the bike goes where you look. Force yourself if you have to and flick your head to the side and get those eyes focused on the corner’s exit.
More steering input
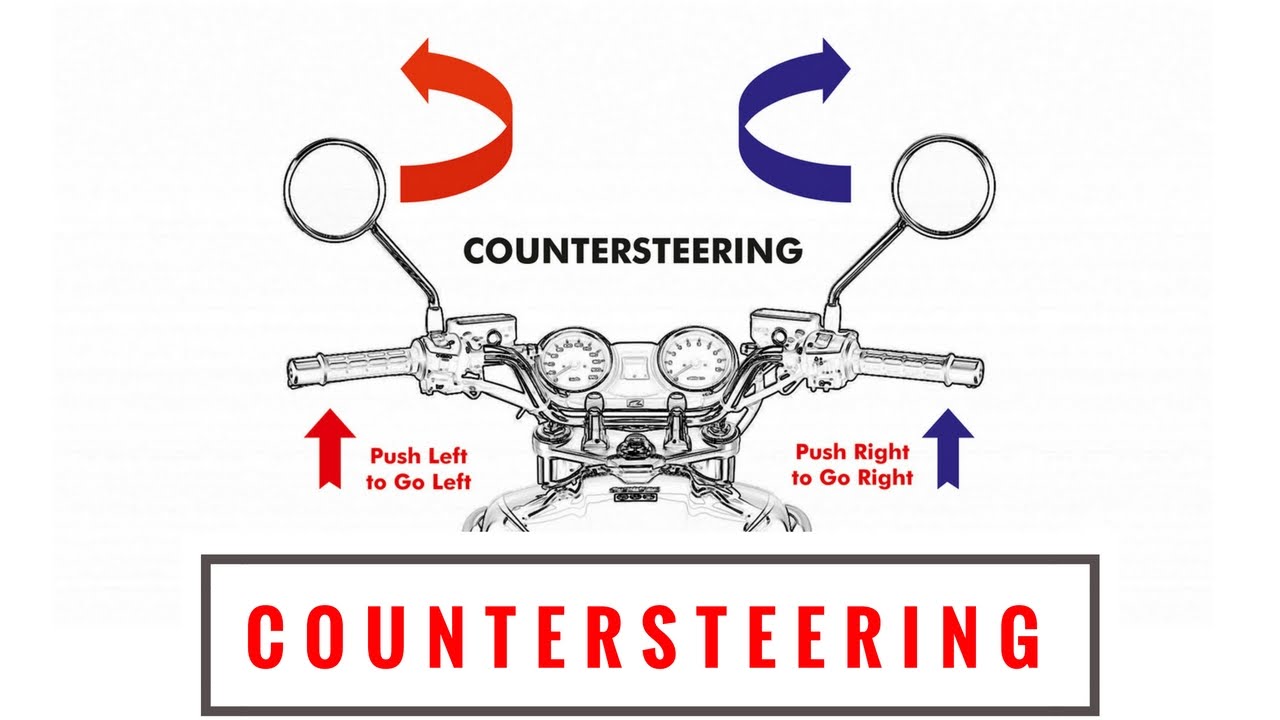
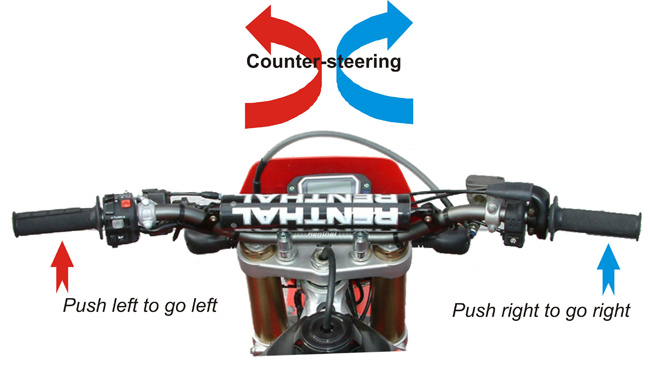
Remember how to countersteer. Push on the inside and pull on the outside parts of the handlebar in a quick manner. Doing so will snap the bike over quicker.
Countersteering – Courtesy of sPEEDY pADDY
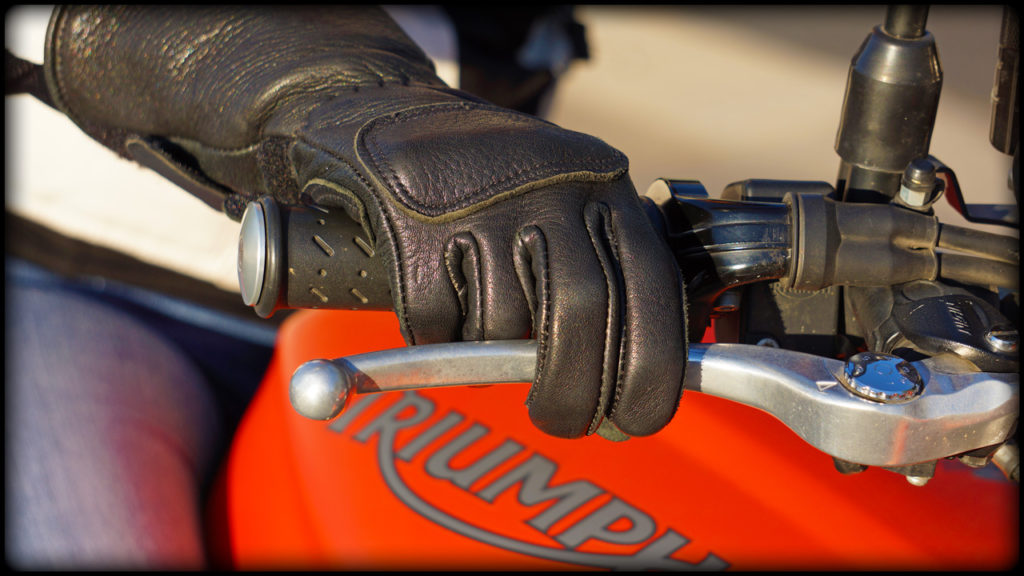
Control that throttle
Should you shut the throttle? Open the throttle? Hold the throttle steady?
The answer is don’t do anything. If you’ve closed the throttle from the corner entry, keep it closed. If you have it slightly open, keep it there and don’t roll off or open it any further.
Any change to the throttle at this point will cause weight to shift, changing your chassis balance.
If you chop the gas, weight will transfer to the front tyre and force the bike wide. Yes, wide. You’d expect the bike to steer better but the opposite happens as the front tyre’s footprint widens, creating a large patch of resistance. Steering becomes heavy.
Throttle control – Courtesy of dreamtime.com
Conversely, weight transfers to the rear when you add more throttle. The front tyre becomes light as the contact patch becomes smaller. That smaller footprint may not react enough to steering forces. Consequently, the bike goes straight. Yup, just like if you chop the gas.
But if you maintain the present state, the motorcycle’s chassis is in its current state of equilibrium. At least, you know that steering effort is still consistent.
If really need be, you can roll off the gas. Roll off as in turning the throttle down smoothly, NOT chopping it.
Once you’re on your line to the exit, apply throttle to balance the bike and blast out.
Stop treating the throttle as an on/off switch. Instead, use it as a tool to control not only the bike’s speed but its chassis balance and grip levels.
Wee bit or no brake
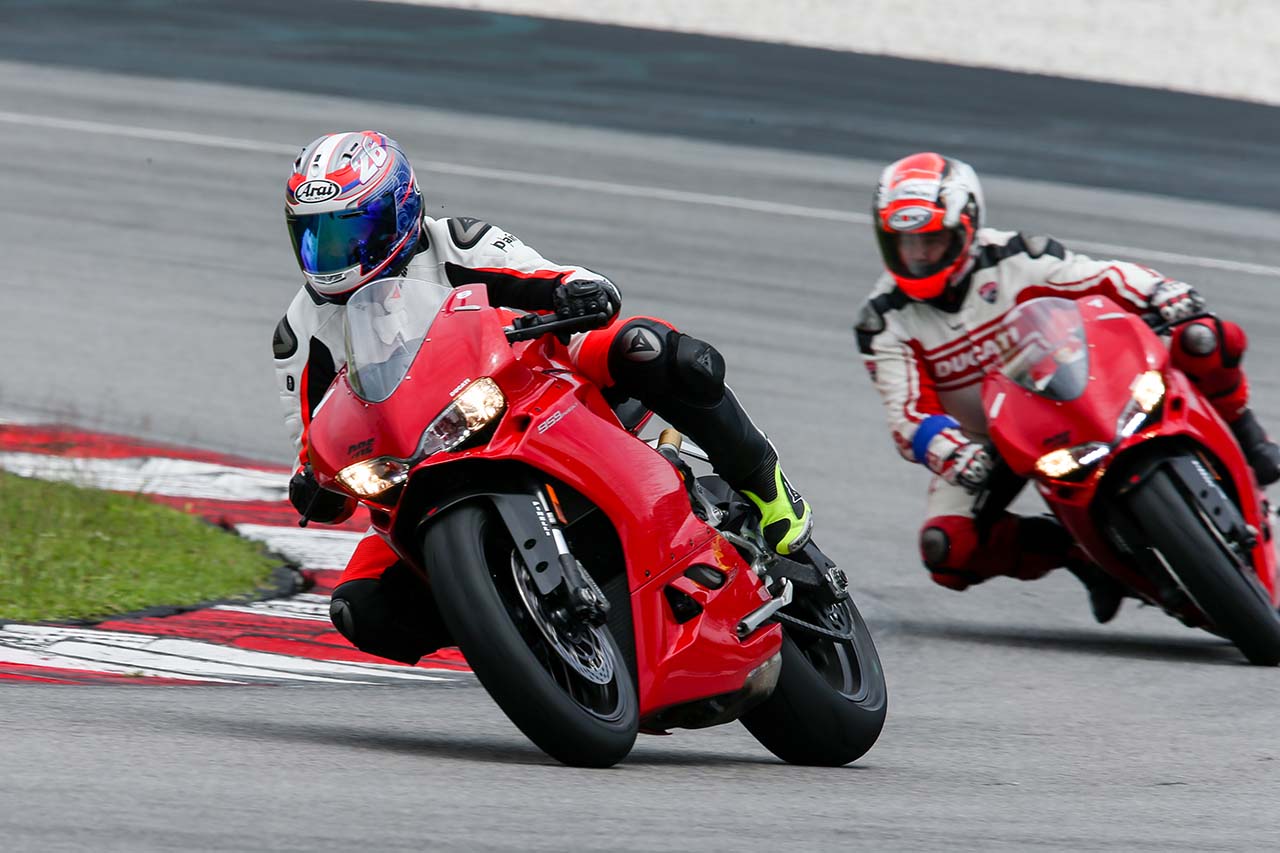
The first track exercise carried out by all California Superbike School students is the “one gear, no brake” drill. We went out there, set third or fourth gear, then control the throttle as we went into and out of corners.
Yes, it’s about throttle control, but it also showed us about how modern bikes and tyres can perform beyond our expectations and fears. Make that 99% of us.
Now, you’re in too fast and room is running out fast.
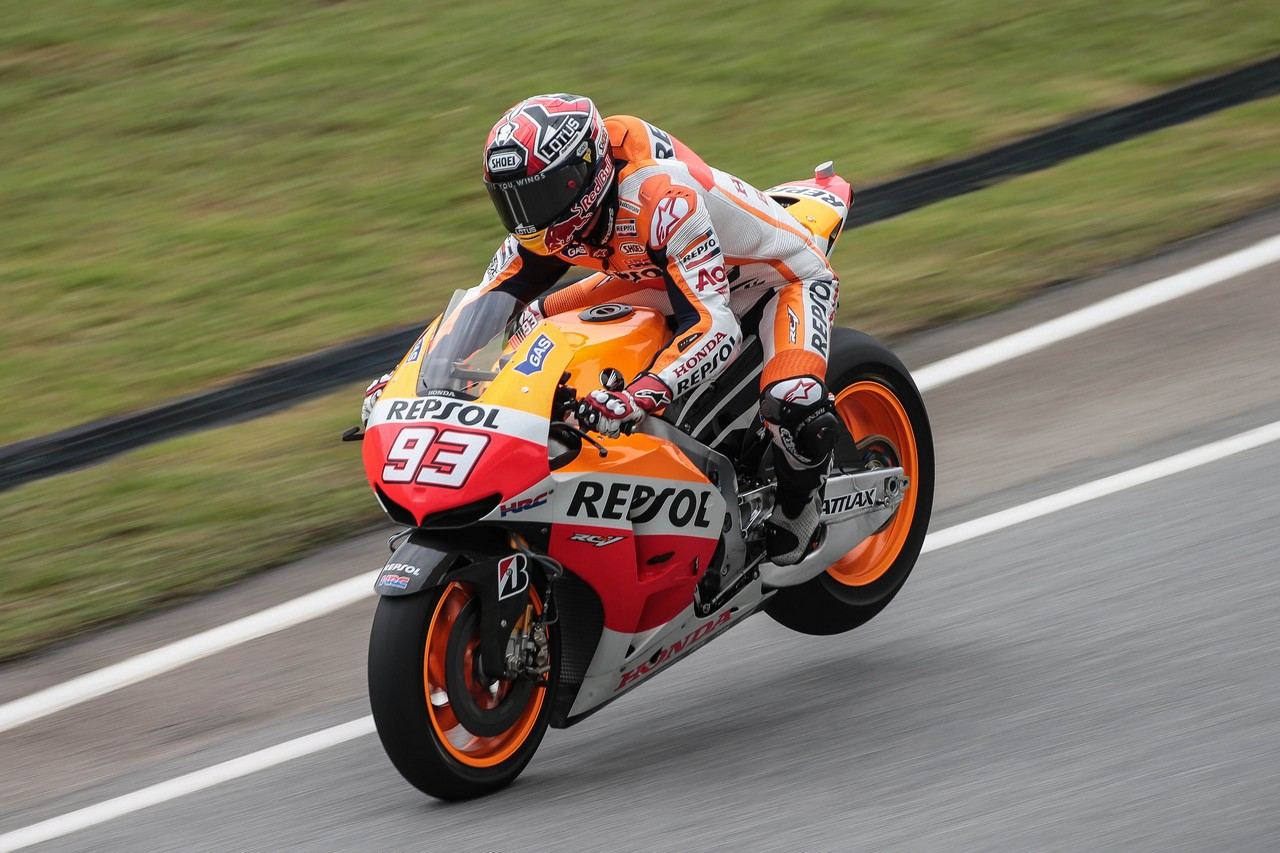
If you’re already leaned over, touching the front brake now spells disaster. Conversely, dab on the rear brake. Doing so will 1. Create a resistance behind the bike’s centre of gravity; 2. Flatten the chassis. The bike will tighten its line.
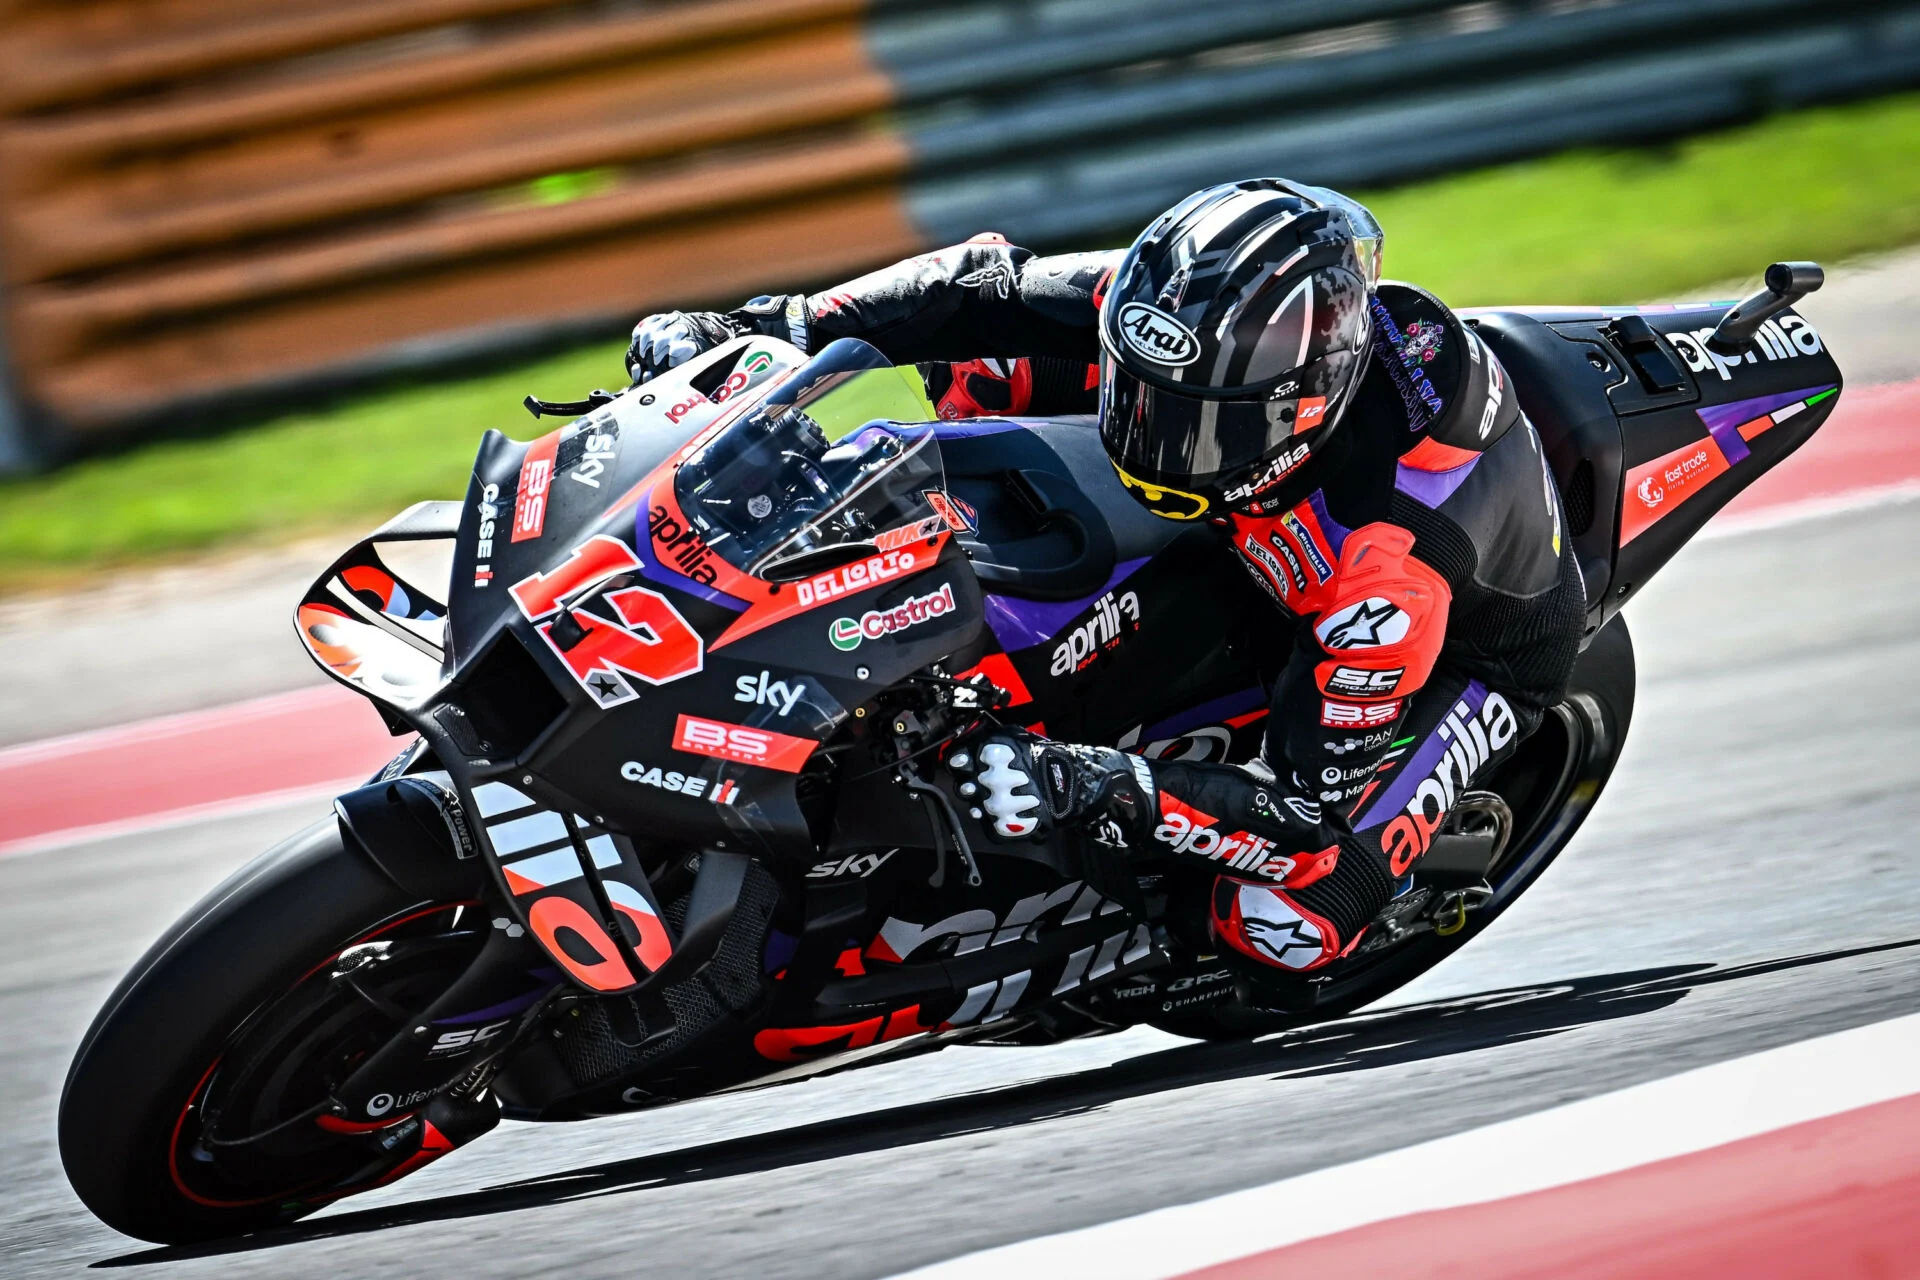
The rear brake technique is used by virtually all MotoGP riders.
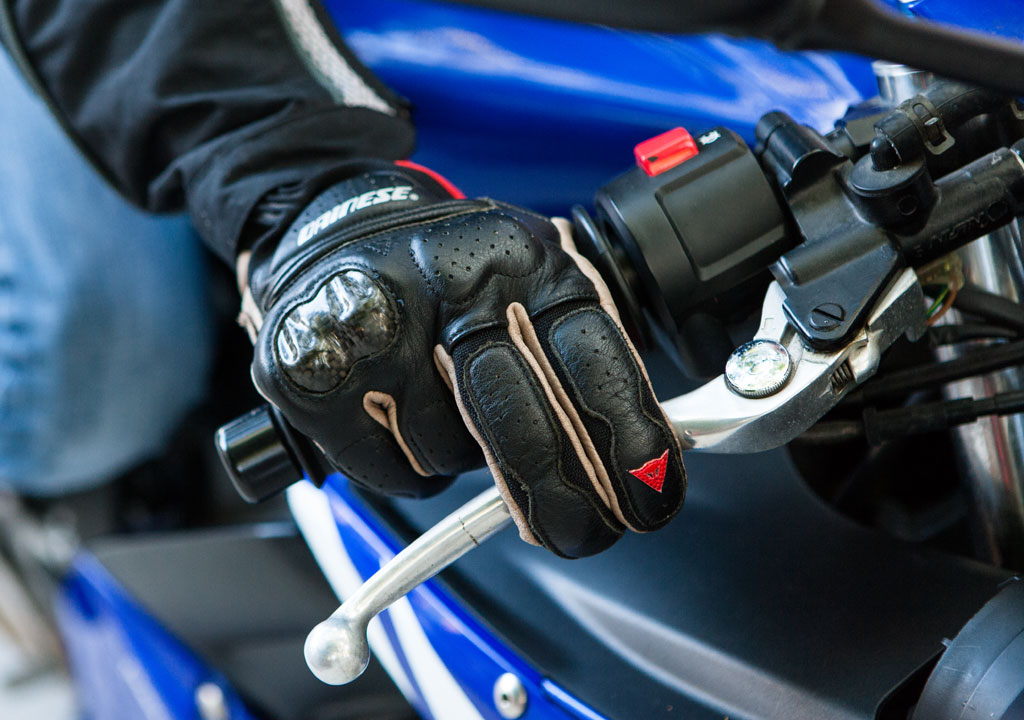
In the case that you’re just about to turn in, you can apply the front brake but not by grabbing it like you’re trying to crush a rock. Instead, squeeze it to feel its bite, then smoothly let out the pressure as you lean the bike over. Once you’ve seen the exit and off the brake, apply the throttle.
Conclusion
So, that’s it. It all starts from not panicking but do practice the five skills above as soon as you have the opportunity. I do so everytime I’m on my bike. I’d like to add that these drills don’t have to be carried out at high speeds. In fact, you’ll discover that you learn a lot more when you don’t rush yourself into things.
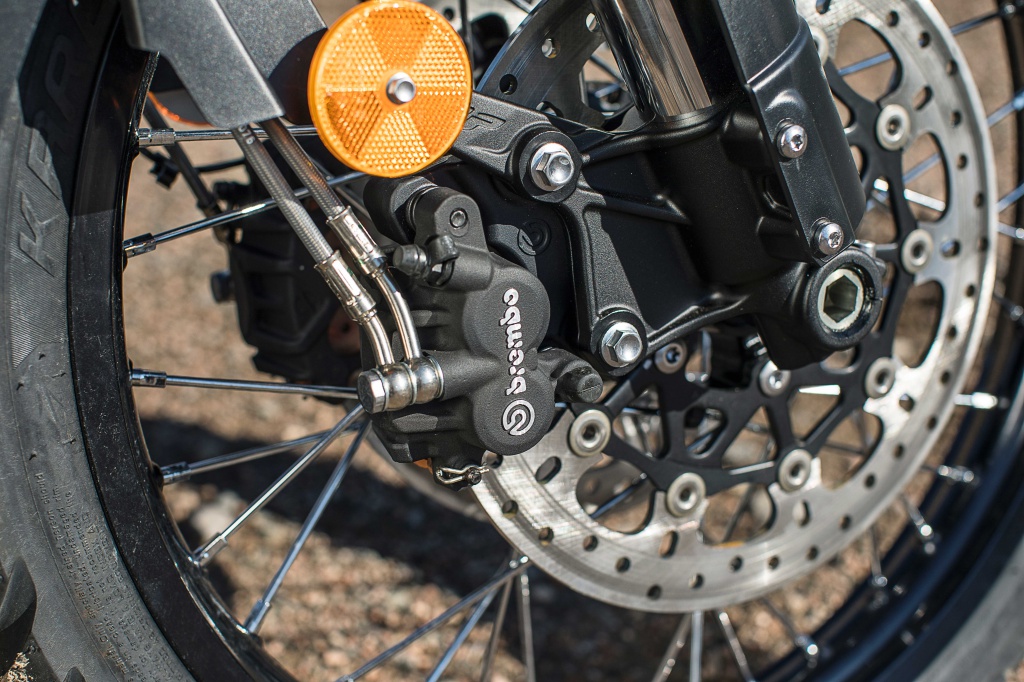
The brakes are often misused – they are not only for stopping.
The modern brake systems are there to assist the rider in many ways.
But it is the rider who has to use them correctly.
Of all the rider inputs, braking is often the most misunderstood or wrongly performed.
The main reason for this is due to how significant deceleration forces work on the rider’s body, in addition to how his bike’s behavior when the brakes are applied. As such, riders are often confused by how tiny fingers could slow a 300+ kg mass (the combine weight of the motorcycle and rider) from 200 km/h down to 50 km/h in a heartbeat.
1. Use the brakes to set your target speed
Start thinking of the brakes as a tool to help you set your target speed for a corner. For example, if you’ve ridden through your favourite corner on a daily basis, brake and note the speed before you enter the corner. Doing so will allow you to adjust braking point, braking force and entry speed as well as the turn-in point. Too slow through the corner? Apply the brakes later or release sooner. Too fast? Brake earlier or apply more braking pressure.
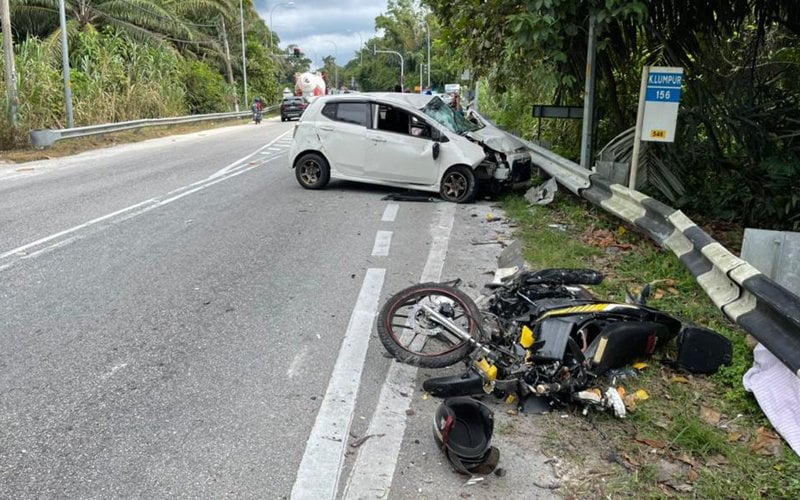
It doesn’t help to charge into every corner based on “feel” or “mood”. More often than not, too slow a corner entry will force the rider to add too much throttle in mid-corner, thereby risking the tyre breaking traction suddenly. Too fast into a corner will cause the rider to panic and jump on the brakes, causing the front tyre to either break traction and slide under (low-side) or the bike to stand up and head straight toward the outside of the corner (overshoot).
2. Use both brakes
There’s a myth that the rider shouldn’t touch the rear brake pedal unless he’s coming to a stop. Now, unless you’re braking so hard to lift the rear tyre completely off the ground like Marc Marquez, using the rear brake keeps the chassis stable, even if you should feel that using it does not decrease your stopping distance.
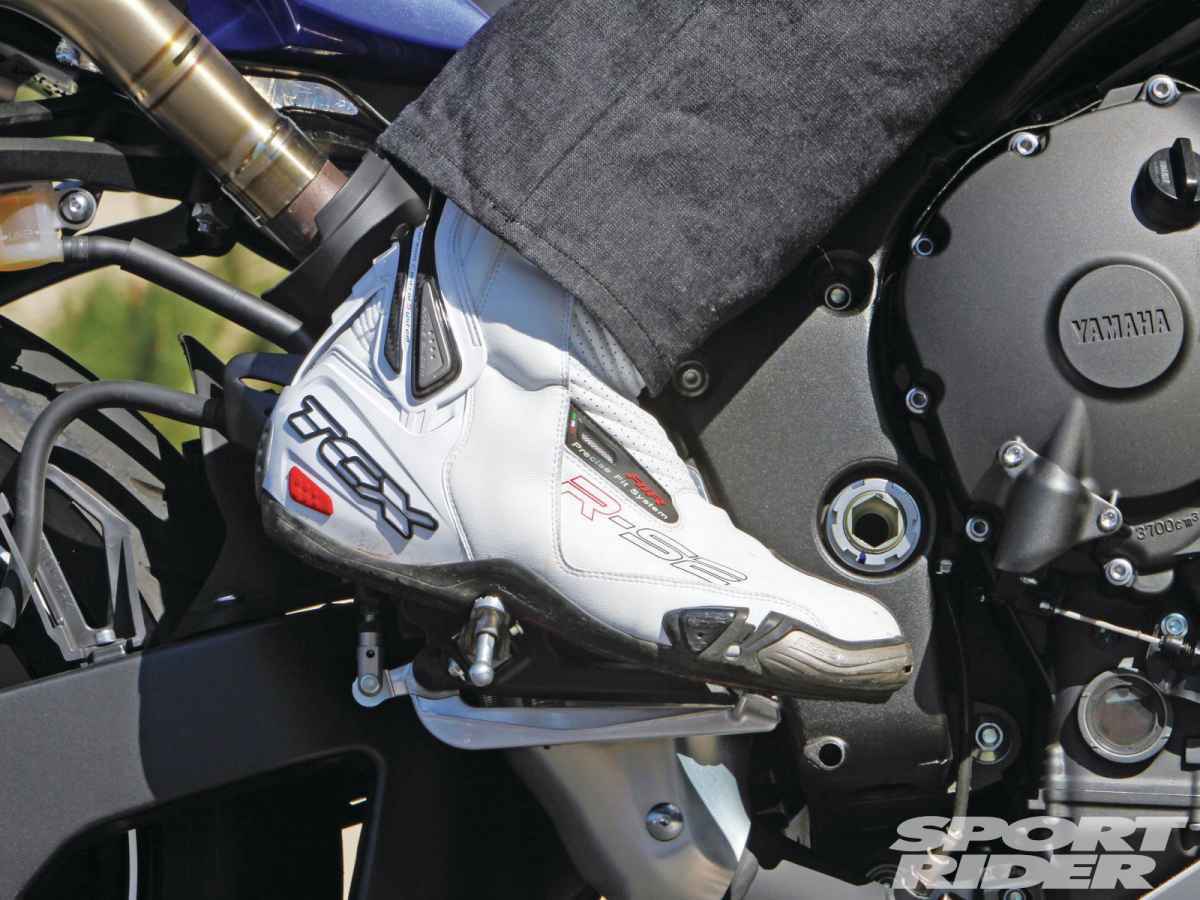
If the rear brake is truly defunct in its purpose, why do manufacturers equip their bikes with it in the first place, or lately, the rear-wheel lift mitigation (RLM) electronic rider aid? As the name suggests, it keeps the rear tyre on the ground, allowing the rider to utilize the rear brake. In fact, this rider aid is used extensively in MotoGP (to different degrees among different riders).
Courtesy of Sport Rider
Dragging the rear brake softly while leaned over in a corner helps the bike maintain a tight line. Besides that, it slows the bike slightly without rolling off the throttle or tapping the front brake lever, thus not introducing major abrupt inputs to upset the chassis balance and tyre adhesion.
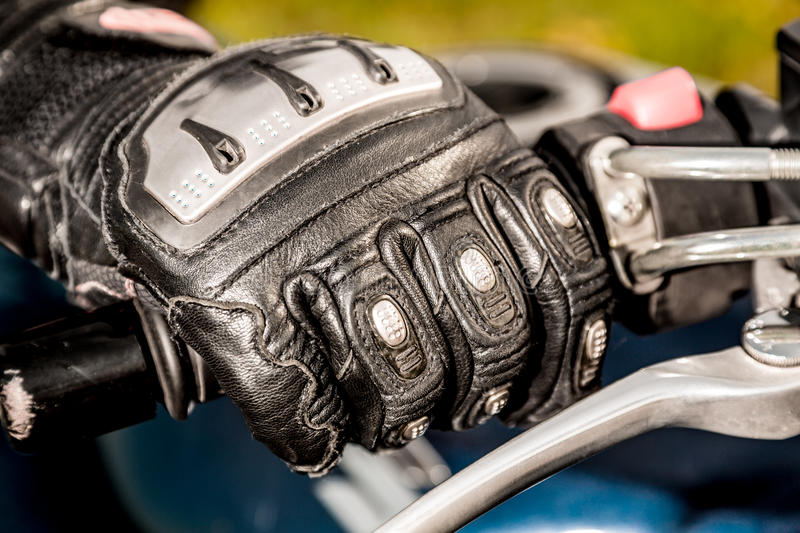
3. Squeeze, don’t grab
Brakes should be applied progressively (gradually) and not not grabbed or stomped on.
Progressive braking transfers the motorcycle’s and rider’s combined weight progressively to the suspension and tyre. Conversely, abrupt braking causes the wheel to lock. Additionally, mass is slammed forward and eats up suspension travel, causing the front wheel to hop over road irregularities.
If abrupt braking is bad when the bike is straight up, it’s even worse when it’s leaned over on its side. The tyres are already loaded with cornering forces and doesn’t need much more overbraking to overload them. The tyres will either break loose, resulting in a low-side or have the bike standing up and going straight.
So, stop treating the brake levers as ON/OFF switches.
4. Ride loose
Using the arms to support the torso when braking “locks” up the wrists, arms, elbows and shoulders. This in turn means that the rider could only take so much braking forces and gets fooled into thinking that he’s already braking too hard.
Besides that, he would not be able to steer his bike through the corner or out of harm’s way. Ever notice some riders braking hard and still go wide or overshoot a corner?
The trick is to always clamp your thighs onto the fuel tank. That’s the reason why motorcycle designers create knee cutouts (depression) on both sides of the tank. So, clamp your knees onto the tank, and leave your torso and arms as loose (relaxed) as possible. If you’ve never done so during hard braking, you’ll soon discover that you could actually brake so much harder than before, while still being able to steer the bike.
5. ABS helps, not avoid
With all this talk about braking techniques, how does ABS (anti-lock braking system) figure into the equation? Or more accurately, doesn’t ABS take away the need to learn the fundamentals of braking? Oh yes, I’ve had people tell me, “The bike has ABS. The bike will never crash.”
Let’s review what ABS does. Braking is strongest at the point where the tyre is about to break traction. However, that margin between full braking and losing traction is very thin, and once the tyre loses traction, there’s no telling what’ll happen next. When a tyre loses traction, ABS relieves the braking pressure just enough to let the tyre roll then reapply pressure to brake caliper pistons (this happen many times per second).
That’s all good and nifty. However, riders who are unaccustomed to the brake levers pulsing during ABS activation may actually let go of the levers. So, it all comes back to square one: Learn the basics of braking without intervention.
BONUS TIP: Have faith
Frame, chassis, tyre and brake engineering are so advanced these days; more often than not surpassing the skill levels of the majority of road riders.
This is not a criticism of your riding skills, but it serves as a reminder that the limits of the said components are so high, hence there’s plenty of room to go to save your skin at the time when you thought there’s no hope. The point is, have faith in your tyres, suspension, and bike in general and perform the correct actions when you get into trouble, rather than just giving up and letting fate decide.
One of the best aspects of riding is the never-ending quest to ride better.
Riding skills should be learned correctly and refreshed from time-to-time.
It applies to all riders regardless of age and experience.
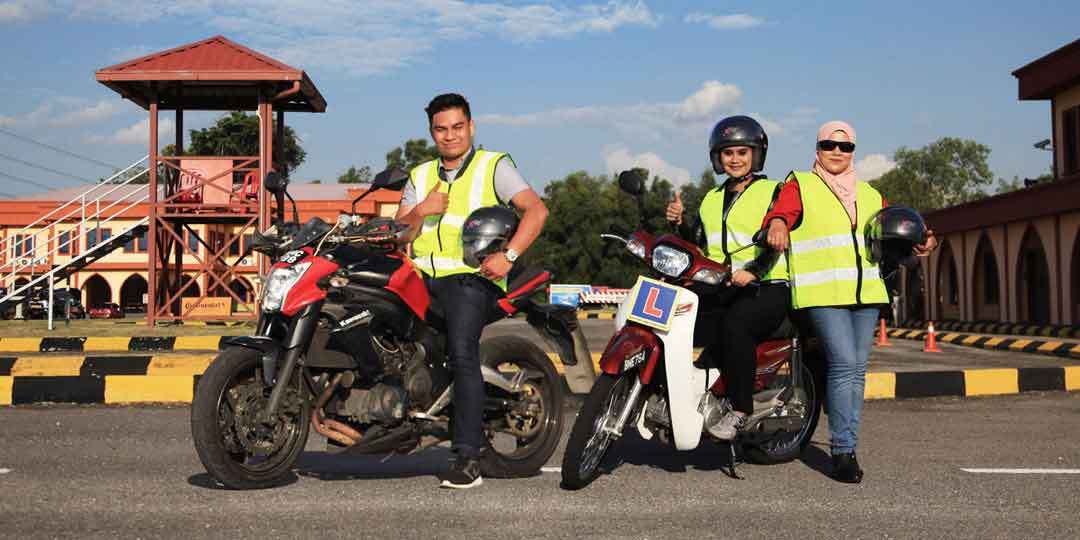
With the New Year long weekend coming up, there are surely many bikers who will go out riding and touring. Besides preparing yourselves in terms of logistics, please make sure that you’re prepared in terms of riding, too. We’ve assembled these Ten Quick Tips to Enhance Your Riding Skills to assist.
The fundamentals, of riding any motorcycle is the same whether if he’s just obtained his license or a veteran who has been riding since Merdeka. Similarly, while motorcycles and their related technologies such as tyres, brakes, chassis, electronics, weight distribution have improved exponentially within the last decade alone, that doesn’t mean the rider only has to sit onboard and do nothing. Those technologies assist in riding enjoyment and safety but are virtually useless if the rider isn’t equipped with the necessary skills.
1. Steering
Bikes don’t steer by themselves.
You need to countersteer.
You push on the left handlebar to go left, and push on the right to go right. The rate of steering (how quickly the bike tips over and turns) corresponds to the amount of force and speed you apply it to the handlebar. That means: If you shove on the right handlebar hard and abruptly, the bike will snap over to the right faster, and vice versa.
Learning to countersteer actively allows you to place your bike precisely on where you want to go.
Countersteering – Courtesy of sPEEDY pADDY
2. Throttle Control
Don’t treat your throttle as an on/off switch.
Instead, good throttle control plays a tremendous role in controlling the bike’s front and aft weight distribution, hence tyre traction, suspension action, smoothness and overall speed. It should be rolled on and rolled off, not whacked open or snapped shut in like a light switch. This is especially important when cornering or riding on slippery roads.
When approaching a corner, trace a line which will allow you to come on the throttle as soon as possible. Turn the bike in, come one the throttle smoothly and keep applying it as you leave the corner. Do not oscillate it on and off in midcorner as that’ll unbalance the bike and reduce tyre traction.
So, what’s the perfect line through a corner? It’s the line which allows you to open the throttle the soonest, all the way through, and on the exit.
Throttle control – Courtesy of dreamtime.com
3. Vision
“Your bike goes where you look.” Repeat that to yourself as soon as you wake up, on the bike and off the bike until you go to sleep.
Admittedly, looking away from danger is difficult as our brains are hardwired to “Keep an eye out on danger.” On a motorcycle, however, keeping your eyes on the taik lembu in your patch guarantees that you will run through it. It’s called, “Target fixation.”
Target fixation – Courtesy of Cycle World
Watch this video below (courtesy of RNickey Mouse channel):
When danger presents itself, look for escape routes and steer towards the best option, instead of towards the thing you want to avoid. That’ll keep you from spraying dung all over your bike and yourself, and similarly from hitting that car which swerved into your lane.
4. Braking
What’s the single most powerful component of your motorcycle?
The engine? No. It’s the brakes.
No other component translates so much of the rider’s input into such big reactions. Just like the throttle, you should start thinking of brakes as the device you use to achieve your target speed – say for a corner – instead of being an on/off switch.
And as with the throttle, the brakes should be applied smoothly. Never grab it abruptly with the grip of death. In fact, if done right, rolling off the throttle as you transition to the brakes and getting back on the throttle smoothly does wonders for your riding.
Also, do remember to clamp your knees onto the fuel tank and leave your arms and elbows as relaxed as possible when you apply the brakes.
Stiffening up your arms and elbows by locking them will render them useless in helping you to steer the bike away from danger.
Besides that, stiffening up your arms and elbows will transfer all of the deceleration forces to them and your body, fooling you to think that you’ve reached the limit of your suspension, brakes and tyres, when you could actually apply more brakes.
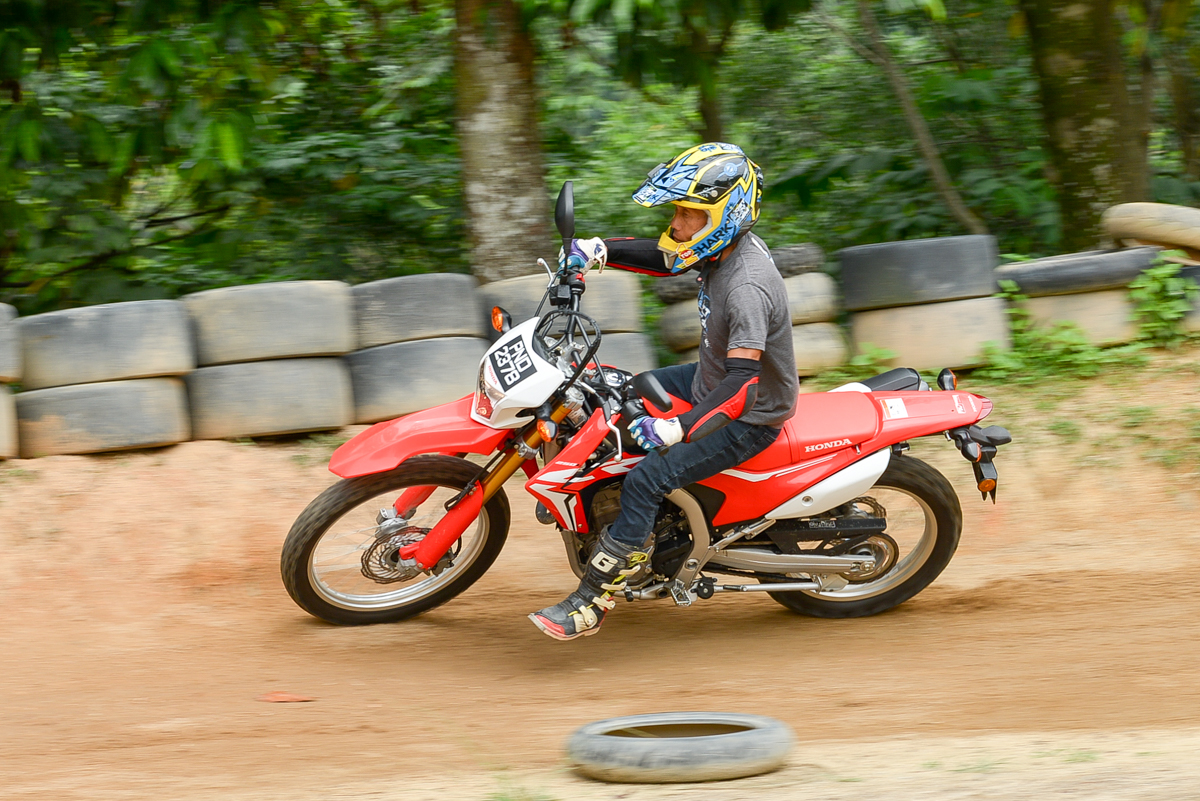
5. Let it Slide
We know, blood rushes through your body when a tire breaks traction and “kicks out.” Is that a bad thing? Unless your bike has swapped ends (the rear had overtaken the front), there’s always the possibility of saving it (although you may need new underwear).
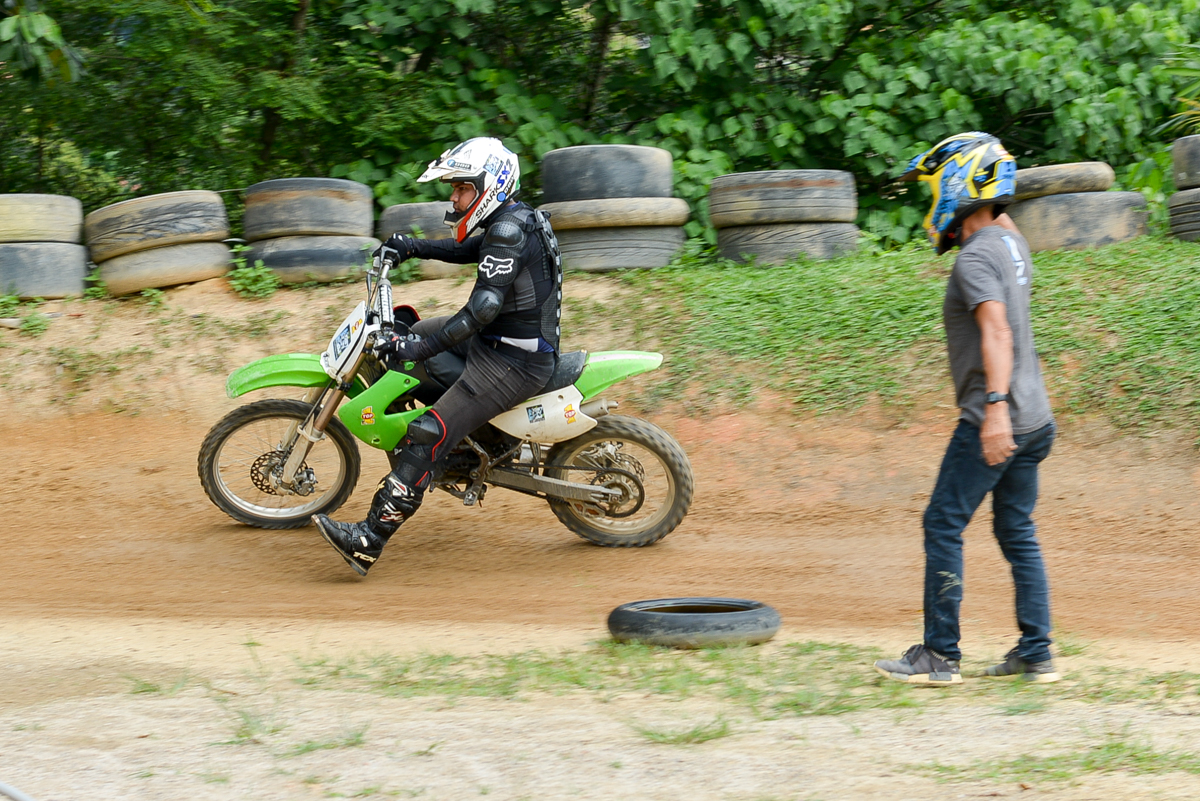
The best way to practice slides is on a dirtbike on a dirt track. Dirtbiking teaches your body how to respond to slides by using all the skill sets you’ve learned so far. Once you’re back on the pavement, you won’t panic when the tires get loose. (Best place to learn this is at Most Fun Gym where we train.)
However, the basic technique is to always ride relaxed even when the bike slides. A sliding bike doesn’t mean it’s out of control. Instead, a sliding tyre is only trying to find a stable position. Riding stiff just means you’re resisting it from finding this position. So let it slide, while you stick to steering, throttle control and vision.
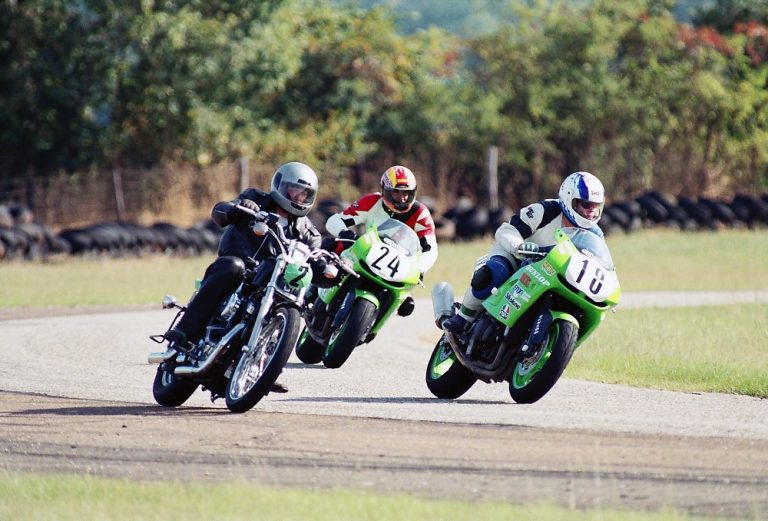
6. Turn and Burn
What are bikes for if not for corners!
Apply what you’ve learned above about countersteering, throttle control, braking, vision and sliding – in the correct order, of course – and soon find yourself confidently sweeping through corners without too much thought.
7. Visit the Track
The best place to apply all the skills you’ve learned is of course, the racetrack.
Track sessions are usually divided into “classes,” so you may start with newcomers to avoid getting scared senseless by the faster riders.
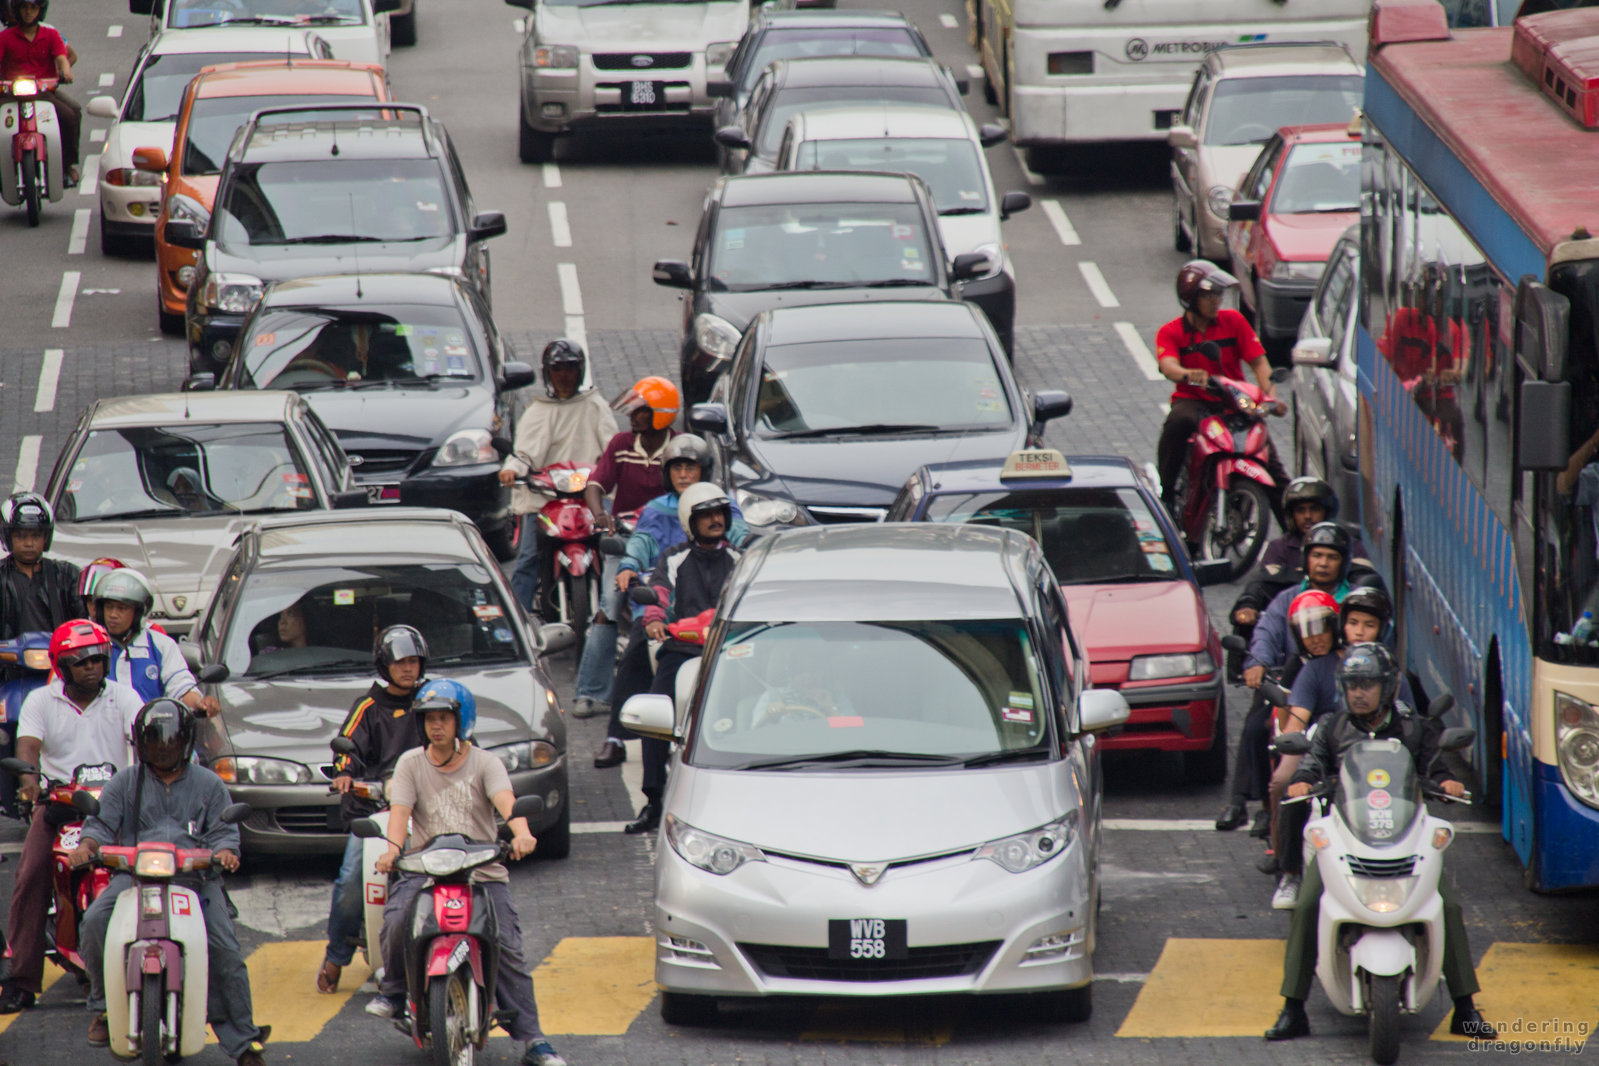
Needless to say, the track provides the best environment not just for racing but for pure riding, since there are plenty of run-off areas and everyone else is going the same direction; no punk driving his mom’s car; no zombie pedestrians with their faces stuck in their phones; definitely no babi hutan crossing the road; no diesel spill from the bus whose driver’s practicing for F1.
Since you ride at elevated speeds on the track, you’ll find yourself in so much control when you get back into the real-world – just don’t apply racetrack speeds on the roads.
9. Iqra (Arabic for “Read”)
Buy books and watch videos. Study, then go out and practice, because there’s no two ways about it.
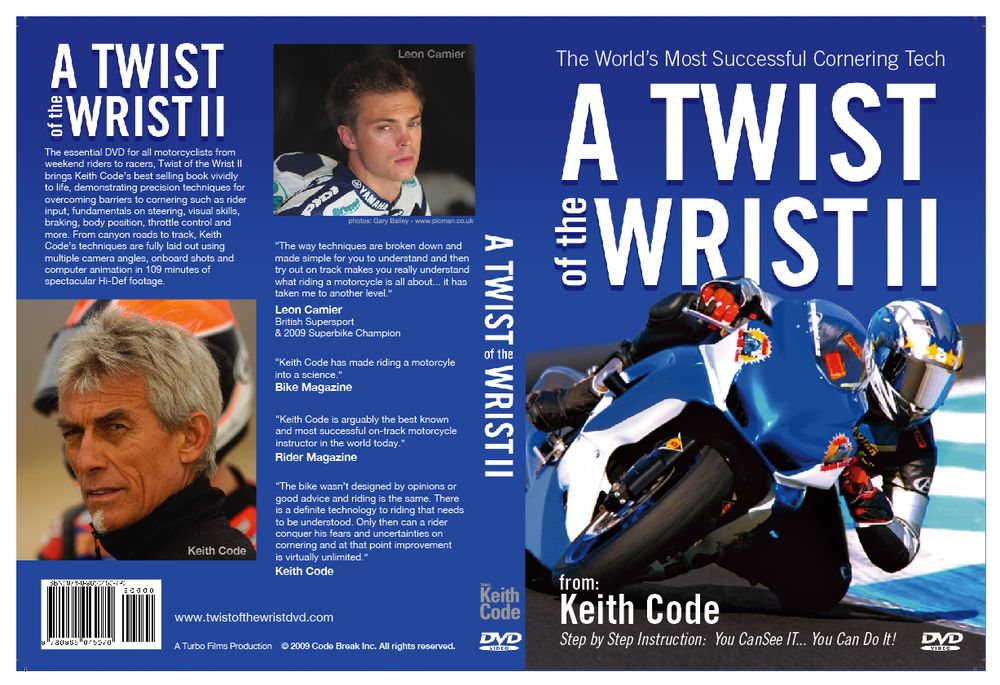
Books we recommend are A Twist of the Wrist Vol. II by Keith Code, Sport Riding Techniques: How to Develop Real World Skills for Speed, Safety, and Confidence on the Street and Track by Nick Ienatsch, and Total Control by Lee Parks, among others.
Getting advice from your buddies could work, but if (while we’re not doubting their skills) he’s the kaki tapao at Kuala Kelawang, you may want to look for more reliable sources. Most, if not all, good riders take it easy on the road and only ratchets it up at the track. Best is to learn from a real teacher, or at least a buddy who has attended an official riding school or two.
9. Find a (Real) Sifu
As mentioned in No. 8, the best way to learn is having an instructor watch you ride and critique your riding.
Riding schools teach the fundamentals and you could always develop your own riding style in a correct manner. Learning to ride by yourself is open to interpretation and you may end up harbouring bad riding habits.
We always recommend that any rider learn dirt riding. As Most Fun Gym’s motto puts it, “Learn offroad, master all roads,” dirt training makes you a much, much better and safer rider. That’s why all the top riders learn dirt riding.
10. Maintain Your Own Bike
Performing your own maintenance means you could invariably find out more about your bike. Besides, you’re more likely to develop a personal bond with your bike and treat it with respect, instead of just being a machine that you’d flog without remorse.
Performing your own maintenance could also allow you to spot potential problems with the bike.
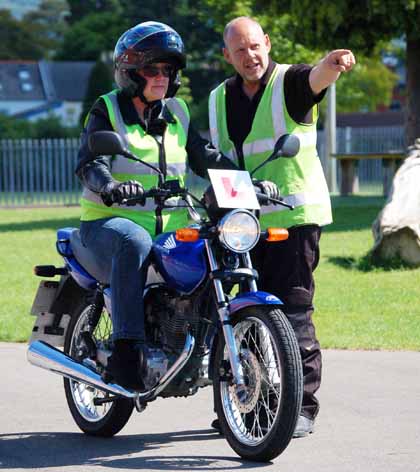
I could clearly remember my first visit to a driving school to obtain my riding license. We had to sit through a class which started with videos of accidents, before the “lecturer” walked in to introduce us to the traffic codes (called undang-undang) of obeying traffic signs, some theories on safe riding. There were of course lectures on the basic skills of operating a motorcycle.
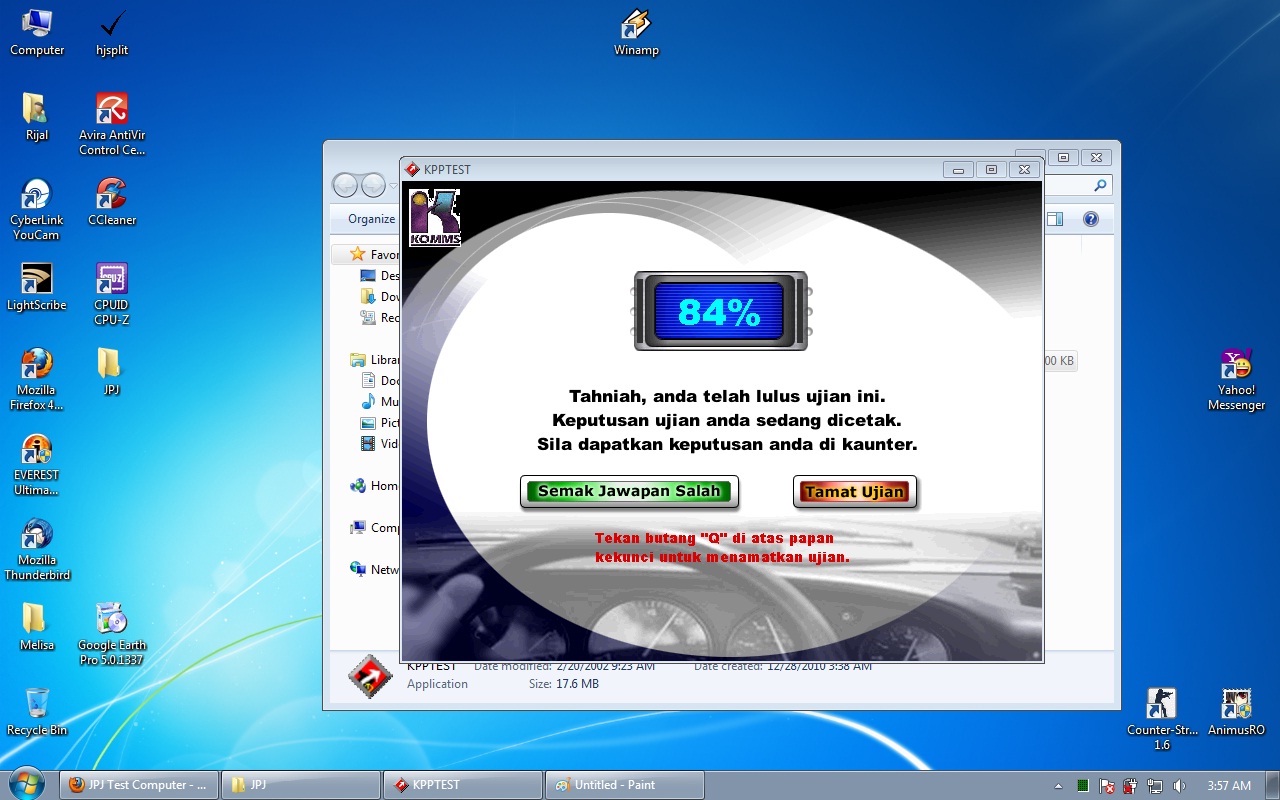
A computerized test of how much we could memorize the undang-undang followed in the next session. Passing the test mean that we could move on to “Practical” where we were taught how to ride a motorcycle. No, we weren’t taught the skills necessary to operate a motorcycle, instead we were made to rehearse procedures that we may pass and obtain our licenses.
By now, every student was so eager to get on with riding that we had forgotten every single point taught in that class.
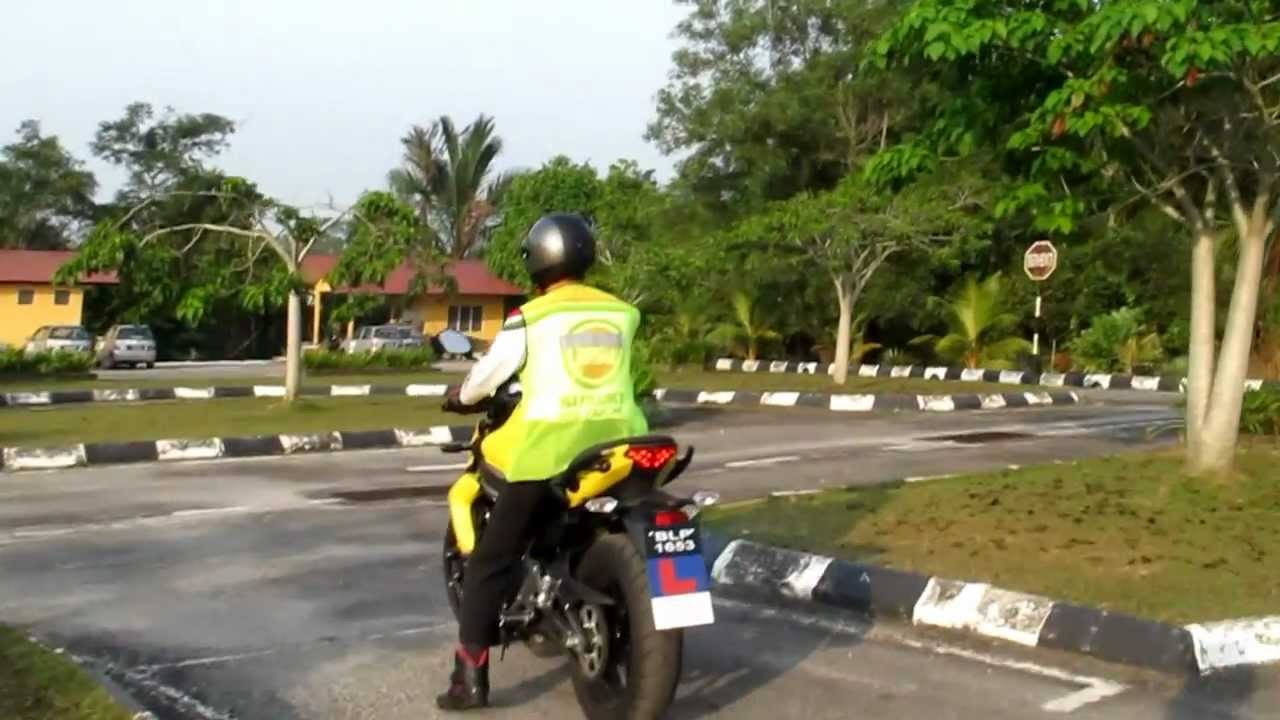
The instructions were, “Go on top of this ‘bridge’ (a raised section about 30cm wide) and past those cones. Do the figure-eight, then head down there and turn back for the braking test. If the bike comes off the ‘bridge,’ you fail,” and so forth. And just before he ducked away for cigarettes and coffee, he said, “Come for four more sessions and you may attend your tests.”
The instructor came back (much) later, stood beside the track and barked orders like, “Use only first gear, don’t touch the front brake(!), don’t put your foot down,” etc., etc. But why?
Needless to say, I was overwhelmed when I finally obtained my license and hit the roads for the first time. I didn’t know what to do. Riding 5kms to Komtar was felt like riding 100kms through ISIL-held territory. Well, I guess you may feel the same thing too, so here are the Top 10 Things A Riding School Doesn’t Teach.
We’re not apportioning 100% blame on the driving schools. Had they been required to teach every single topic about riding to a neophyte, it’ll probably take at least 6 months. So the onus falls on us as motorcycle owners to learn more. Besides, part of the fun of riding is learning to ride better.
1. BASICS OF RIDING A MOTORCYCLE
The correct method of steering, called countersteering isn’t taught at all schools, except for the possibility of only Arinah in Kuala Terengganu. And there’s still throttle control, vision, body positioning and braking to learn.
As riders, we need to critique our own riding, dissect it, learn, understand and apply to become better riders. Repeat. Even MotoGP champs never stop practicing to improve, so should we?
However, while it’s good that we continue learning, there’s no better way than being completely honest with ourselves by enrolling in an advanced riding school, such as Progressive Track Day (PTD) and Most Fun Gym (operated by Malaysian GP legend Oh Kah Beng). Dirt biking is a great way to learn the intricacies on handling a motorcycle correctly.
2. SUSPENSION ADJUSTMENTS
Suspension technology has come a long way from when it was a black art. Even a midrange bike has been provided with reasonably good suspension and some ability to be tuned.
The answer usually lies in the Owner’s Manual. Or just search for the myriad of articles on suspension adjustment on the internet.
But first, do learn about what each parameter – such as preload, compression damping, rebound damping – does before going ahead with playing with the clickers on your bike’s suspension.
There are certain bikes with electronically-controlled suspension these days, and they’re pretty much idiot proof. Still, better to know the basics, because you’d then know what to look out for.
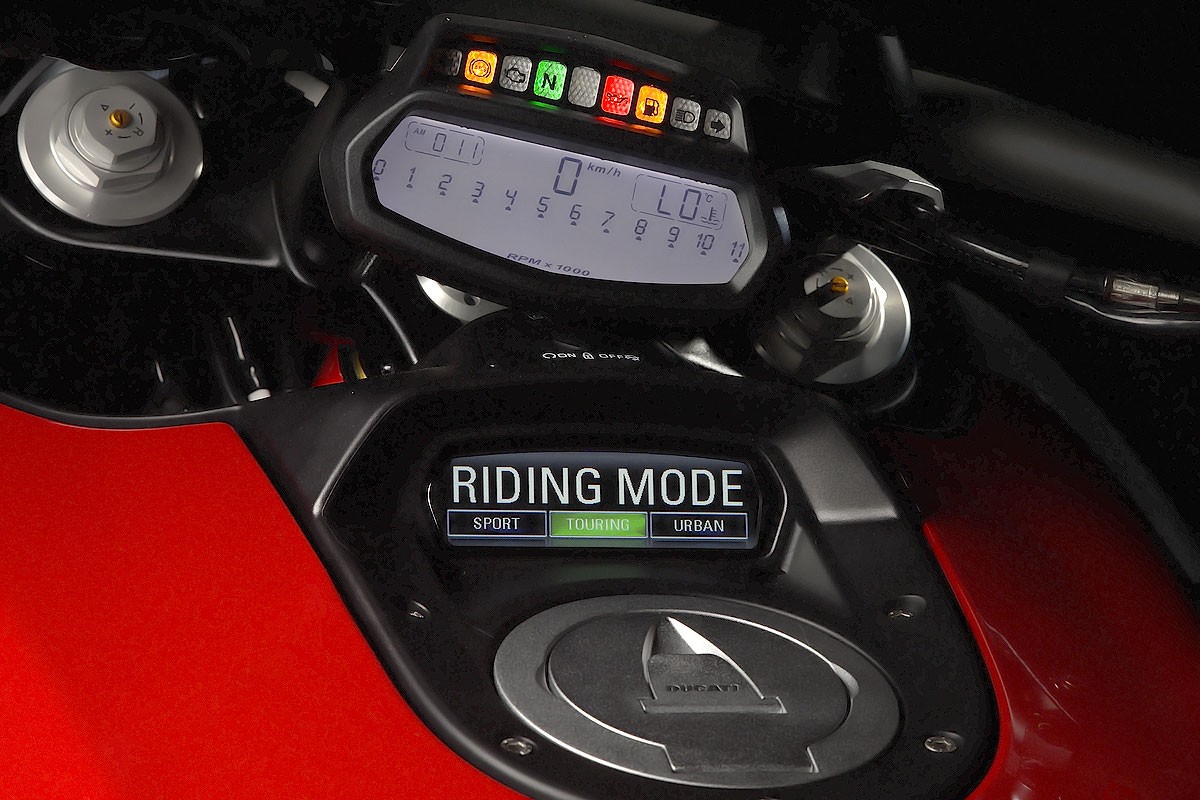
3. SETTING UP TRACTION CONTROL/ABS/RIDE MODES
I believe most of us already know which mode to select depending on riding preference, weather, and road conditions.
Yet, believe it or not, I’ve met owners who had set the wrong Ride Mode for the wrong situation. For example, I once met a guy who had set his S 1000 RR’s Ride Mode to SLICK, on which he commuted on a daily basis, without knowing what it actually meant on his half-worn SuperCorsas.
There are also those who pride themselves on a false sense of bravado by turning their ABS or Traction Control off on the streets. Yes, it ultimately boils down to rider’s preference, but these guys blindingly believe that their bikes go much faster by being set so for all traffic, weather and road conditions. And oh, they’ve never been to the track either.
Our recommendation is to keep TC and ABS on at all times on the streets. Don’t ask us how we found out.
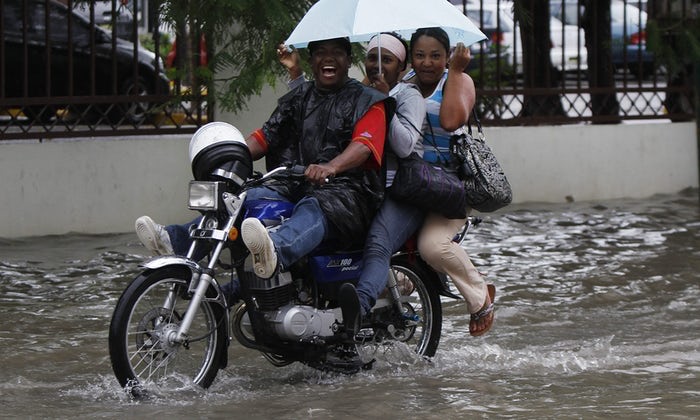
4. RIDING IN TRICKY CONDITIONS
Riding in the rain and over slippery roads shouldn’t come as a fear to riders. Taken positively, the challenge of switching to a different riding style makes it fun.
Personally, I love riding in the rain as I could discover how my tires and bike feel when the tyres do break traction. Confidence should increase in actual fact, simply because you’ve discovered the limitations.
Learning to push the limit by yourself could become a dangerous proposition on the streets. Again, enroll in a riding school. Similarly, this is where motorcross and dirt-riding training becomes crucial.
5. MOTORCYCLE MAINTENANCE
The basics were demonstrated but never fully delved into.
Besides the customary oil change and tyre replacement, motorcycle owners should be inculcated with the desire to know more about their own machines.
Motorcyclists should be diligent in referring to their motorcycles’ service intervals in the Owner’s Manual. Too many times have we’ve seen totally black brake fluid, unchanged fork oil and chains encased in gunk.
6. BRINGING EXTRA TOOLS
So your bike broke down and you fished out the tool pouch. Has any motorcycle owner found a complete set of tools under his seat? In fact, there are manufacturers who don’t even provide a tool kit at all.
The tool kit included with your bike is woefully inadequate to say the least, so a rider should always include a few more important items (depending on the size of your under-seat space, such as:
Slotted and Phillips screwdrivers of two more sizes. Also, do get those that are magnetized; they’re super handy when extracting a dropped fastener.
A set of hex and Torx keys each.
A set of sockets, preferably including a ratchet handle.
Zip ties, for parts that’ve loose or fallen off.
Duct tape. The universal repairer/lifesaver.
A small can of penetrant spray to loosen up parts that are stubborn or stuck.
A small can of chain lube.
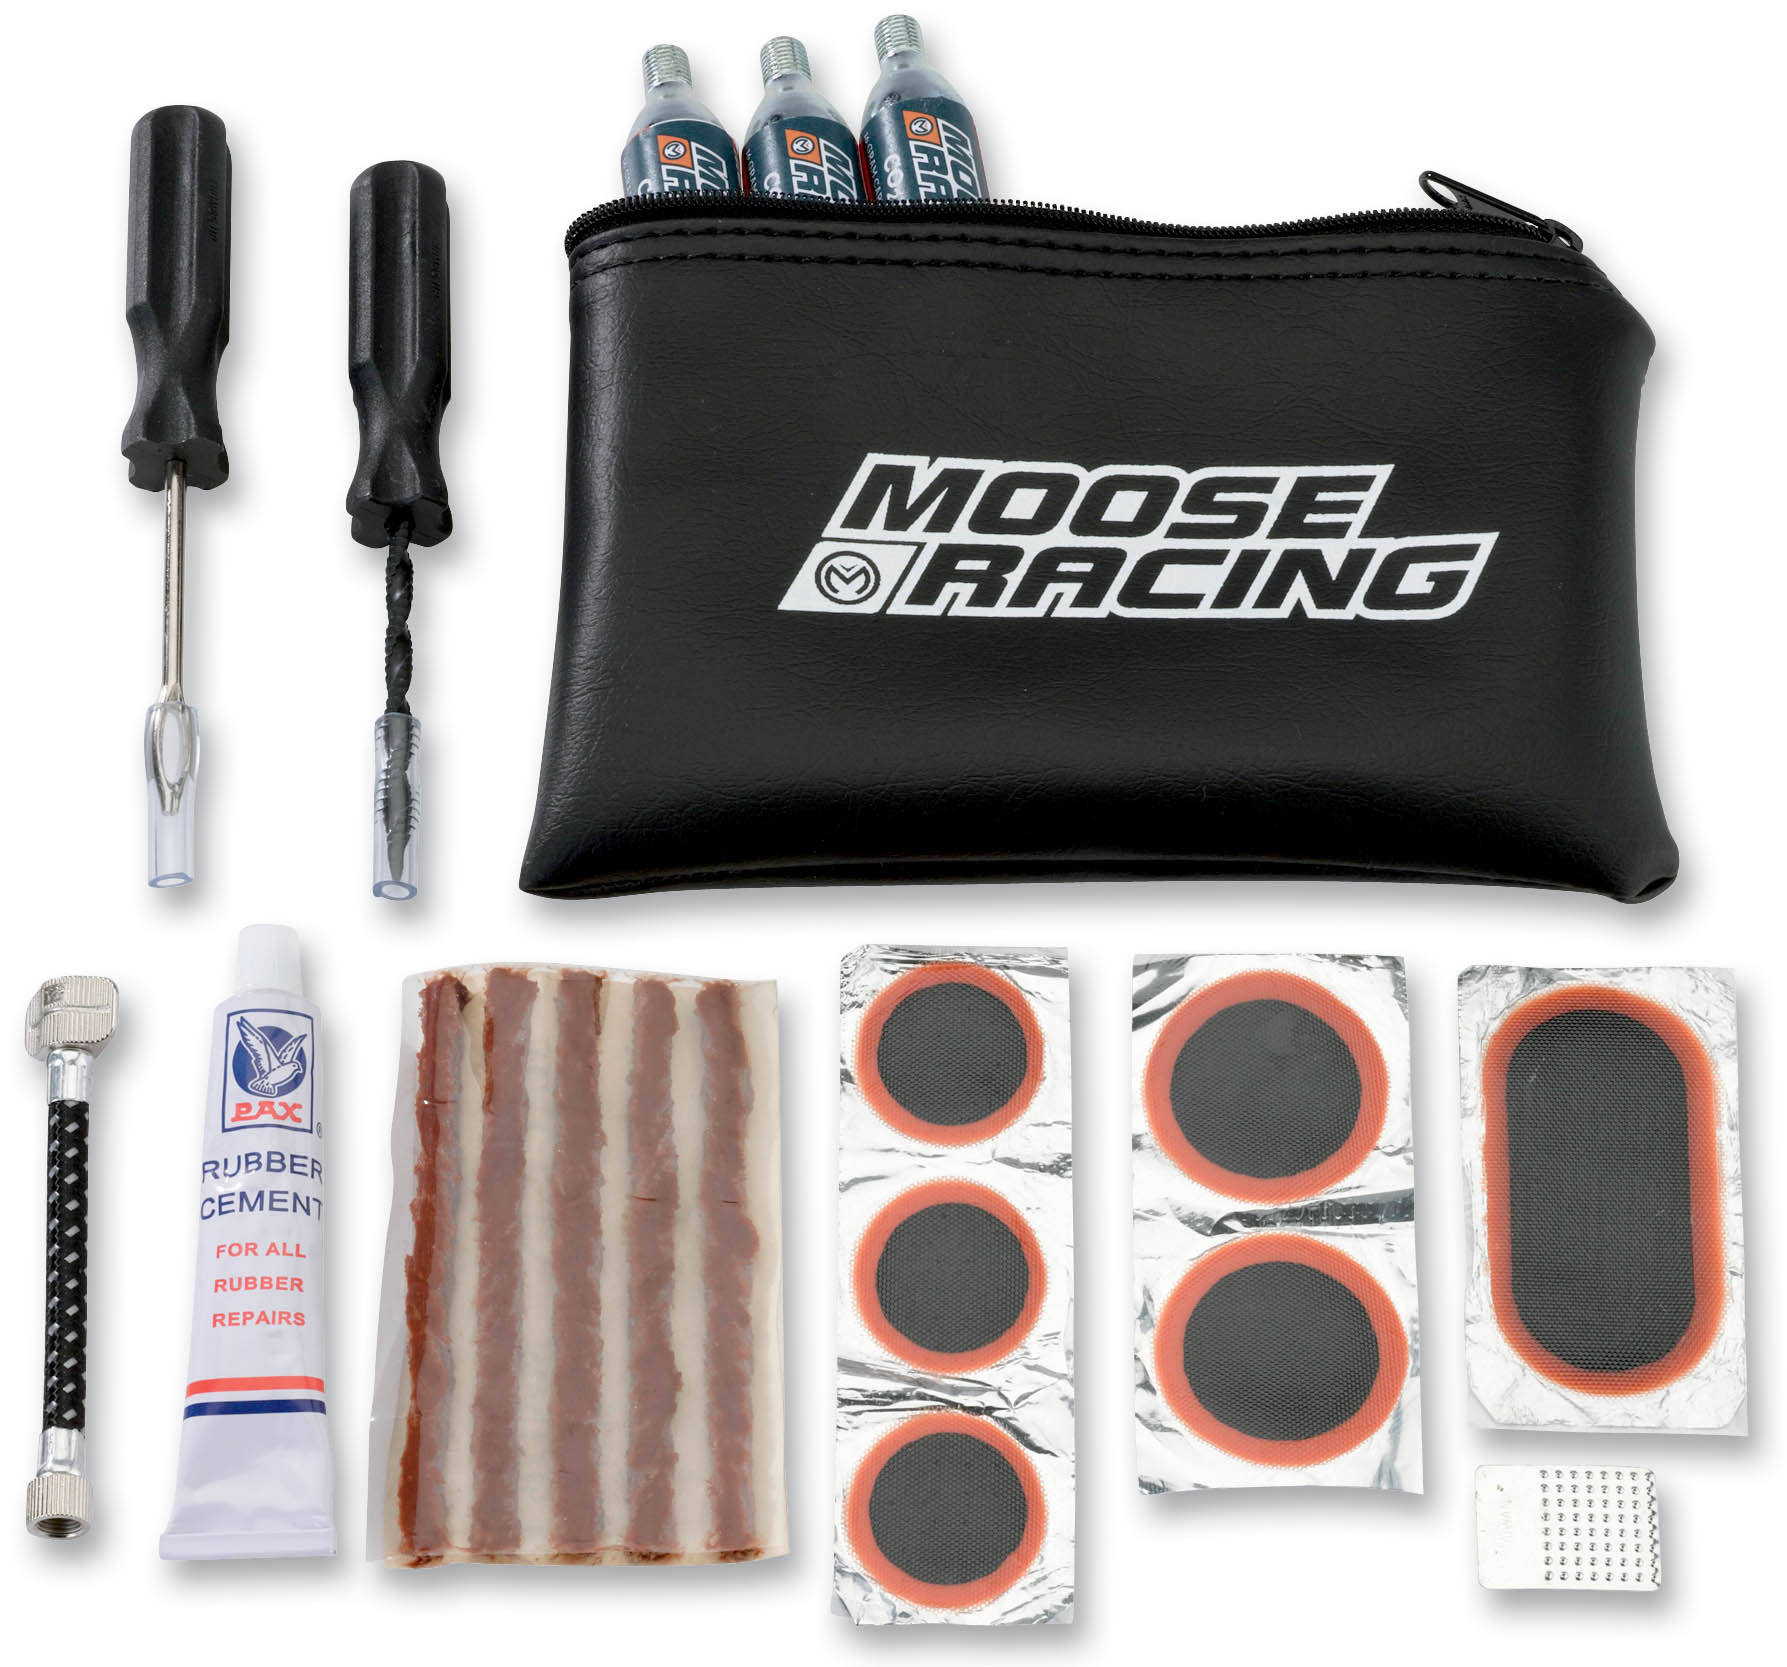
Tire puncture repair kit.
Tire pressure gauge.
A small flashlight.
7. ROADSIDE REPAIRS
This correlates with motorcycle maintenance and the tools you carry.
Modern motorcycles are generally reliable and there are very few cases of mechanical breakdowns. Tire punctures are common on the other hand; and so are crashes and low-speed tip-overs, causing snapped or bent levers.
Do NOT take this for granted. We’ve actually encountered flat tires on brand new test bikes on numerous occasions.
That is why one should always ride prepared. Repair techniques and tips are not usually covered in the Owner’s manual, so do check out the many articles and videos.
8. PUSH/BUMP STARTING YOUR BIKE
There are various reasons why your bike may not start. But before you decide to call the tow truck, you may attempt to push start it.
Put the bike into gear and hold the clutch, push it to a jog, then jump onto the seat and release the clutch simultaneously. You should immediately pull in the clutch lever as soon as the engine catches, to avoid the bike blasting off from underneath you. Give the throttle a few blips and ride off.
Or just get your buddies to push while you’re in the seat. Hehe.
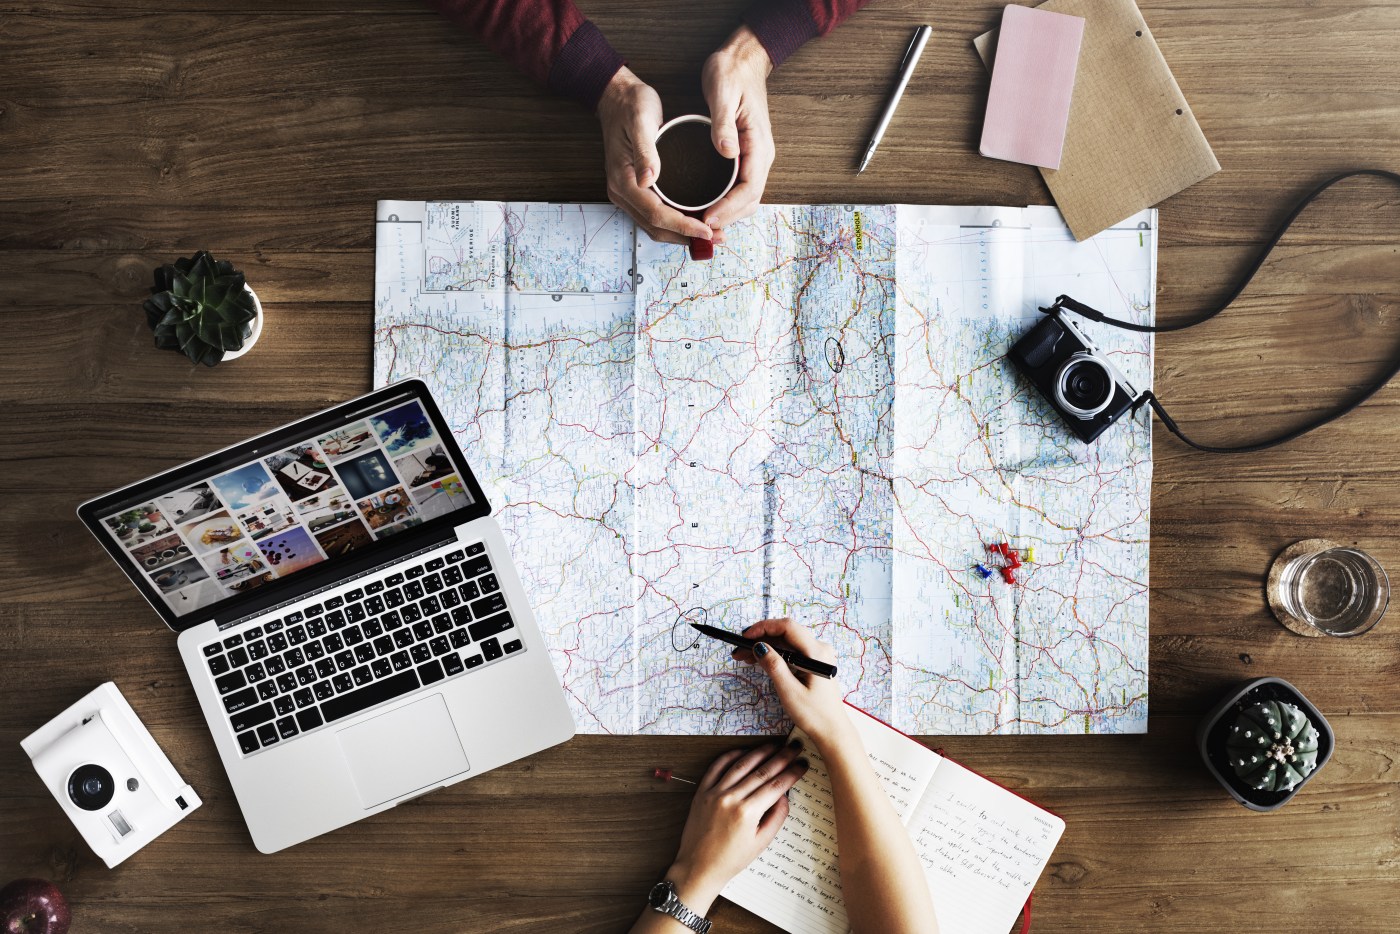
9. Planning for a Tour
Servicing your motorcycle and checking the functions of the motorcycle is taught at driving schools, but we’re left to our own devices in preparing ourselves mentally and logistically for a long-distance tour.
If you’re riding in a group, chances are the leader will brief the group on the rendezvous points and other details. But you should always prepare yourself by looking up the route, preferably on the night prior to the ride. This way, you avoid being surprised by what you may find or get separated from the group.
If you’re riding alone, plan out your route and stops for fuel, rest and refreshment. Watch what you consume as certain drinks and foods may affect your stamina and concentration during your ride.
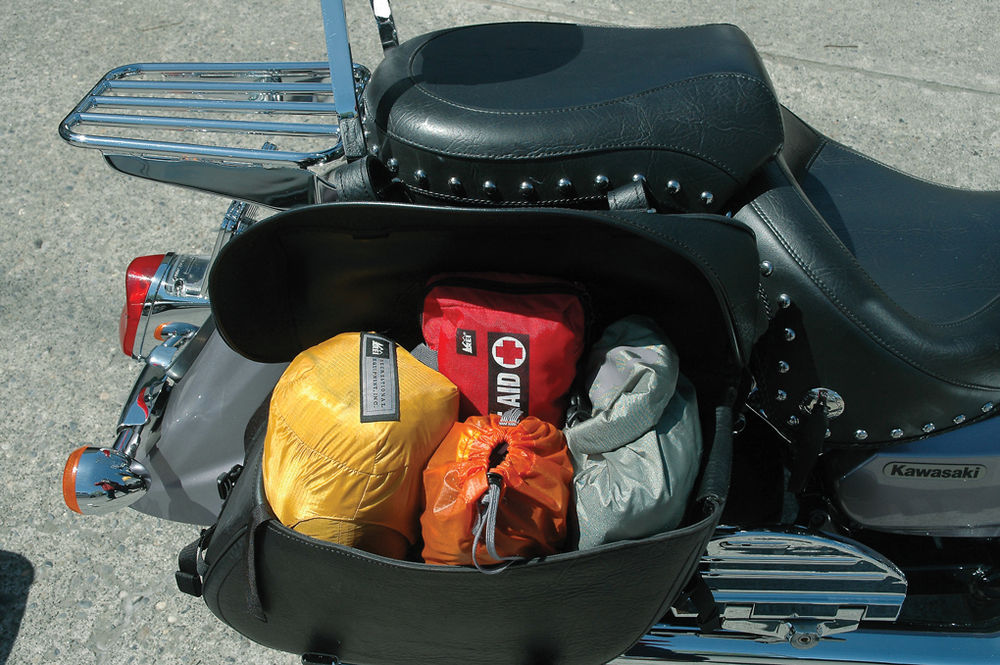
Apart from that, read up on articles on how to pack your luggage (whether it’s a backpack or motorcycle luggage system). This may sound silly, but having to dig out all your clothing to get to your wallet or passport under the hot sun or rain isn’t pleasant.
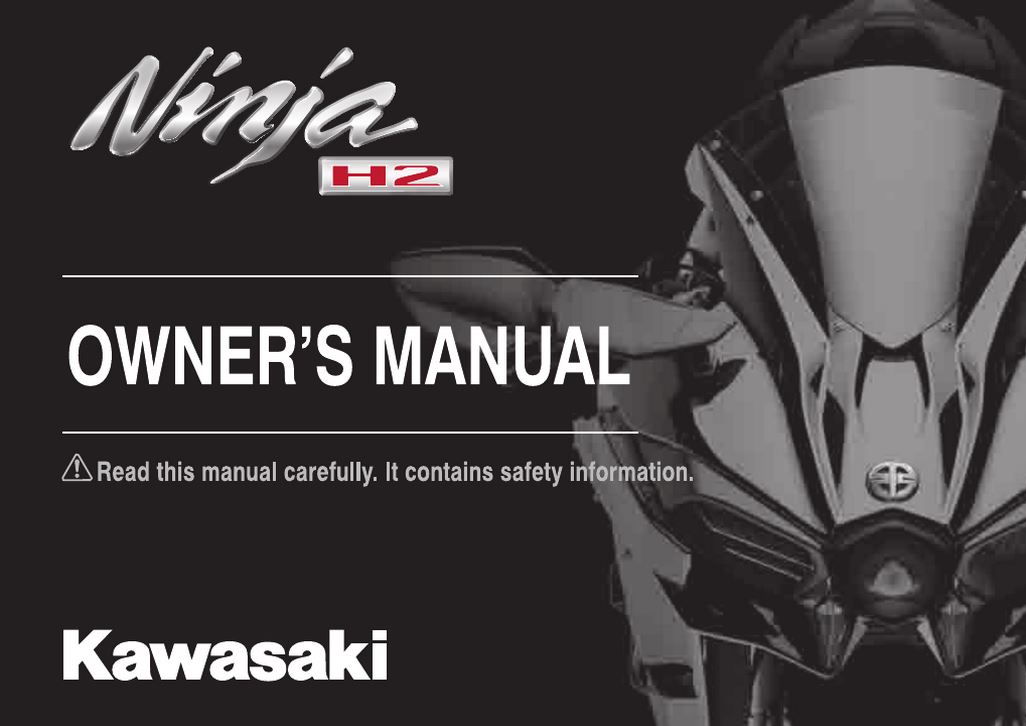
10. STUDYING YOUR OWNER’S MANUAL
Your motorcycle’s Owner’s Manual contains a treasure throve of information. Again, what we’re saying here may sound redundant, but hardly any motorcycle owner bothered to flip through their Owner’s Manual. Even if you’ve ridden every single motorcycle for the last 30 years.
You should take a peek at the contents page at the very least.