We’ve put together a troubleshooting suspension symptoms guide.
A troubleshooting guide is easier to remember and use.
We continue with rebound damping as most adjustable suspension systems are fitted with it, rather than compression damping.
We provided a guide on troubleshooting preload adjustment yesterday (click here for the article). Today, we continue with rebound damping (or “TEN” on Japanese suspensions).
What is rebound damping?
To recap, rebound damping controls the rate at which the spring returns to its original length after being compressed. Without rebound damping, the spring will re-extend too quickly, sometimes even further than its starting length. This is what causes oscillations – that wallowing or pogoing (pumping up and down) motion.
Think of rebound damping as a brake when the spring re-extends. The more rebound damping you add, the slower the wheel goes back down, and vice versa.
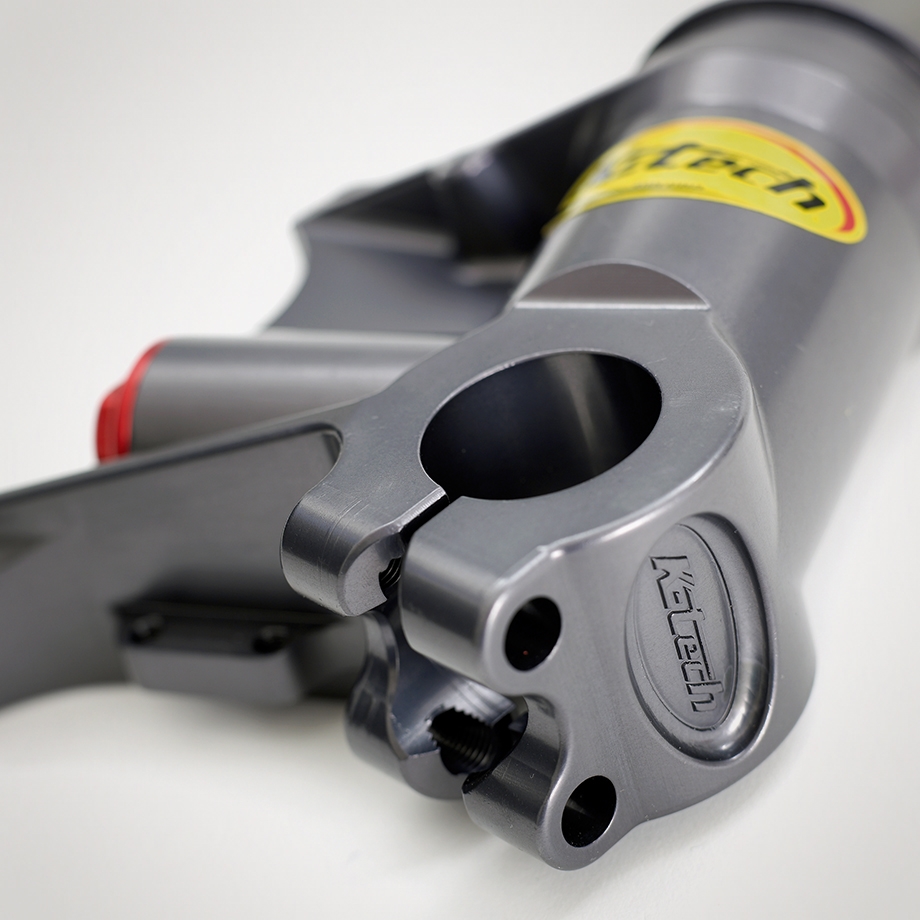
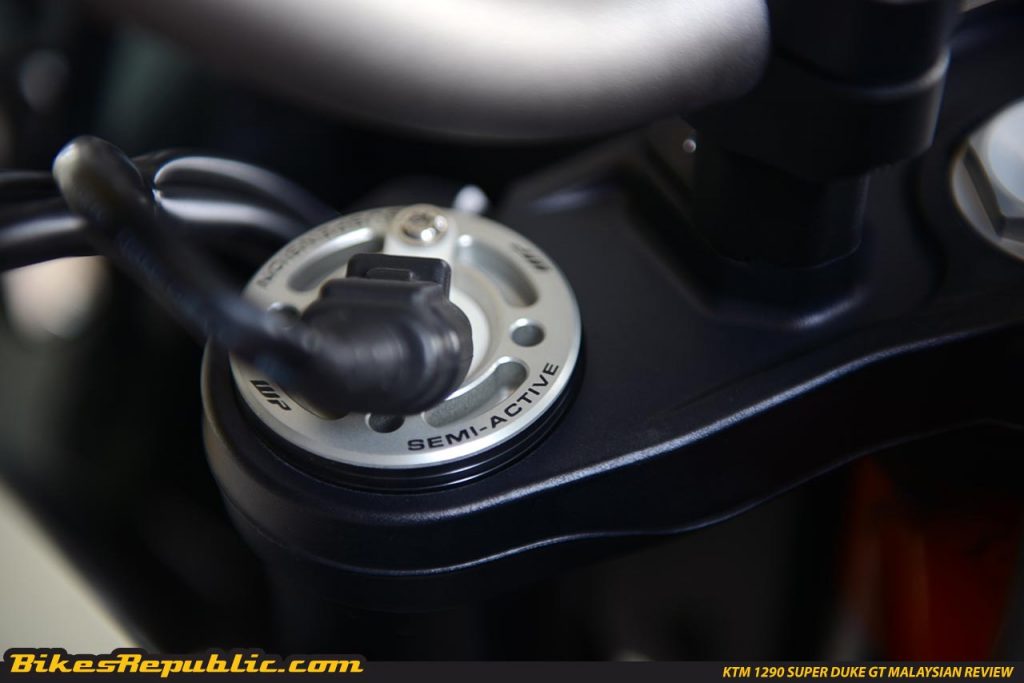
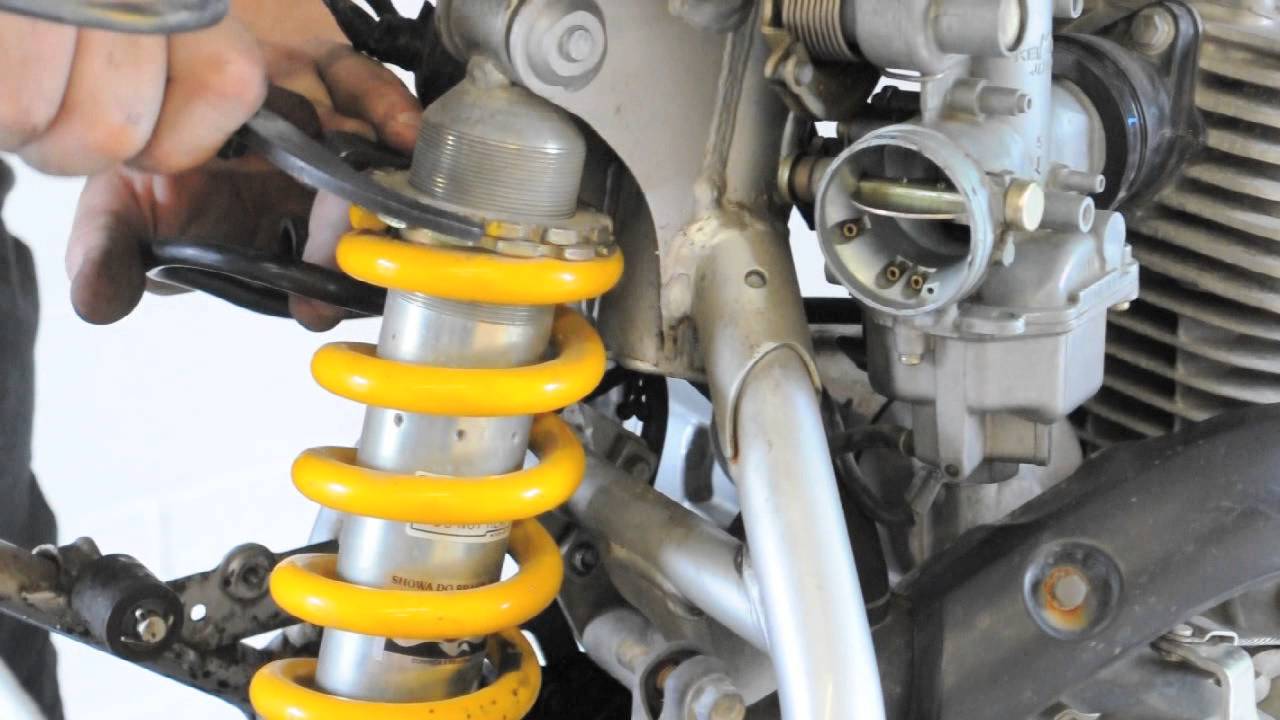
The rebound damping adjuster is marked as TEN (for tension) on Showa forks
Too little rebound damping (Front)
The forks feel exceptionally plush when riding straight up.
As the pace picks up, the front starts to feel mushy and you second guess what they tyre is doing (loss of feedback).
As you flick the bike into a corner, the front tyre starts to chatter and lose traction. You feel the front as unstable through the handlebar.
The bike does not want to stabilize after countersteering it quickly into corners.
Too much rebound damping (Front)
The suspension “packs down,” resulting in lack of traction especially on bumpy roads.
Ride feels harsh, opposite of too little rebound.
The front tries to wiggle or tank slap when accelerating hard out of bumpy corners.
Continuous bumps cause the bike to ride loose (loss of compliance).
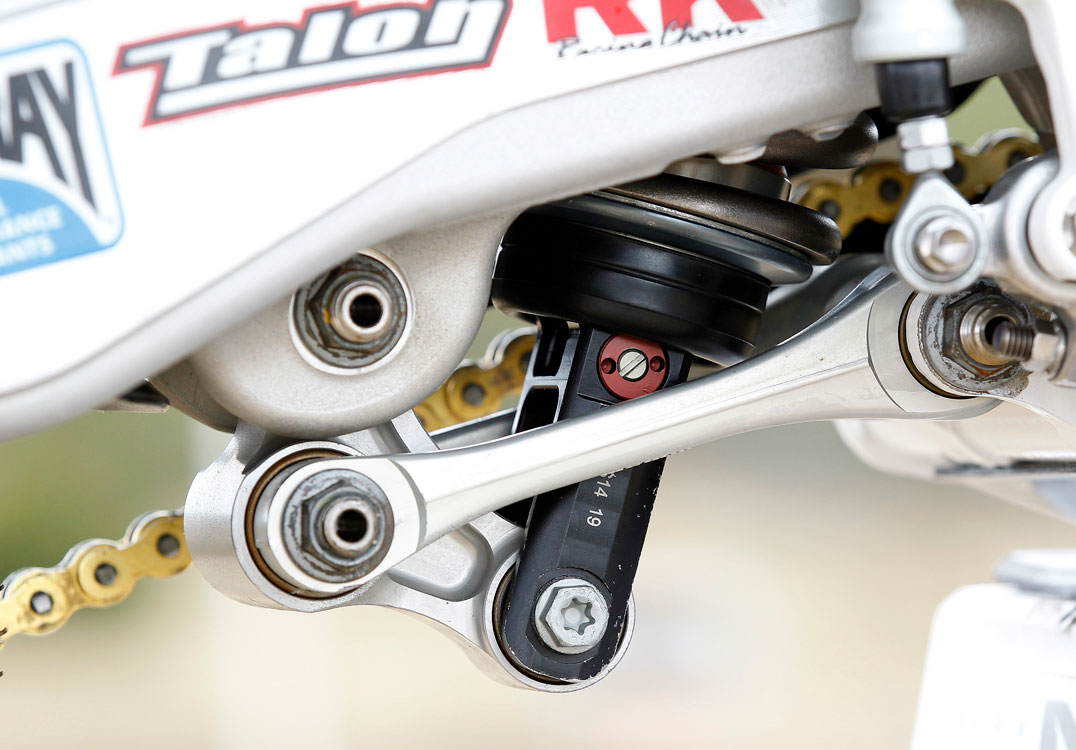
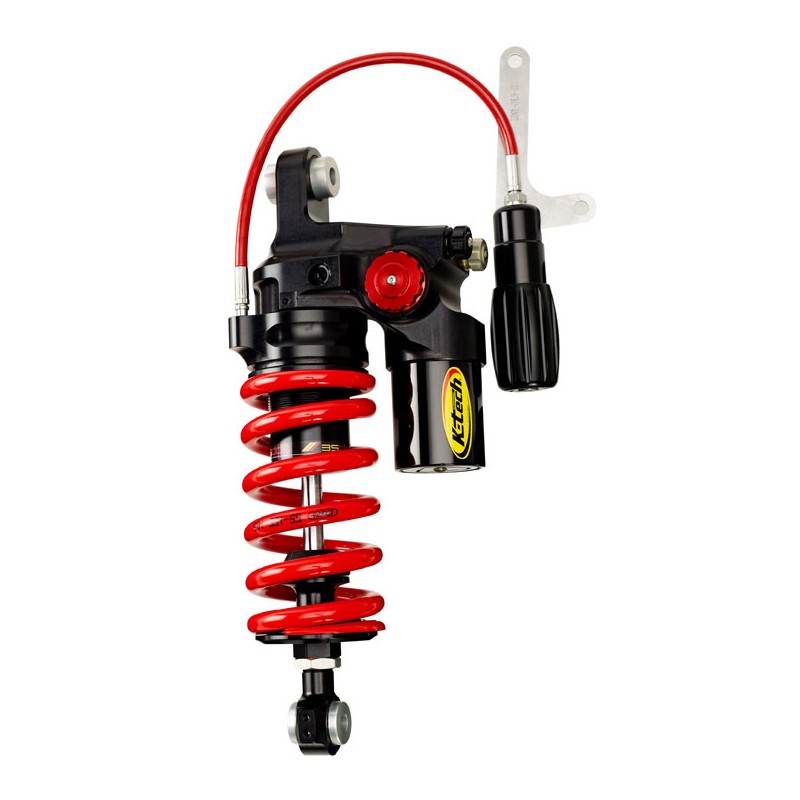
The rear shock’s rebound damping adjuster is located just underneath the spring
Too little rebound damping (Rear)
The ride is extra comfortable when cruising but starts to wallow and weave when encountering bumps.
Poor traction over bumps under hard acceleration and the wheel starts to chatter.
The rear suspension pumps up and down (pogoing) resulting in the chassis pitching its weight back and forth. This is especially frustrating when you are riding a bike with a short-wheelbase.
In this Suspension Explained series, we will unravel the “mysteries” of your bike’s suspension
Although the suspension is now very advanced, the basics remain the same
As the prologue, we touch on preload, compression damping and rebound damping
Suspension technology has progressed by leaps and bounds over the years. The motorcycle started out as a little more than an engine stuffed into a bicycle frame, hence the only suspension was the rider’s bum and his resolve to withstand the hammering.
Since then, motorcycle suspension evolved into simple underseat springs to sprung struts to hydraulic and gas damping to electronic self-adjusting marvels.
Regardless, the principles of the suspension remain the same. There are a number of parameters that govern how your bike behaves whether on the road, track or off-road. However, only three parameters are adjustable on a motorcycle (without further modification), namely preload, compression damping and rebound damping.
Adjusting the suspension best requires a bit of background knowledge, because whatever adjustments that may have you feeling right may not be exactly right for the bike’s dynamics. A wrong adjustment may mask itself as another problem, causing you to go around in circles. Oh yes, we’ve been there.
We’ll discuss one topic per week. We’ll also speak to the experts on aspects of suspension technology, adjustments and modifications, while dispelling some myths along the way.
Hope this series will be beneficial to all our readers.
PRELOAD
Any discussion about suspension has to start with preload. Preload is of course related to spring rate, but since most riders don’t change the springs in their suspensions, we’ll just stick to preload.
To put it in simple terms, preload means the amount the springs are compressed when the suspension is fully extended.
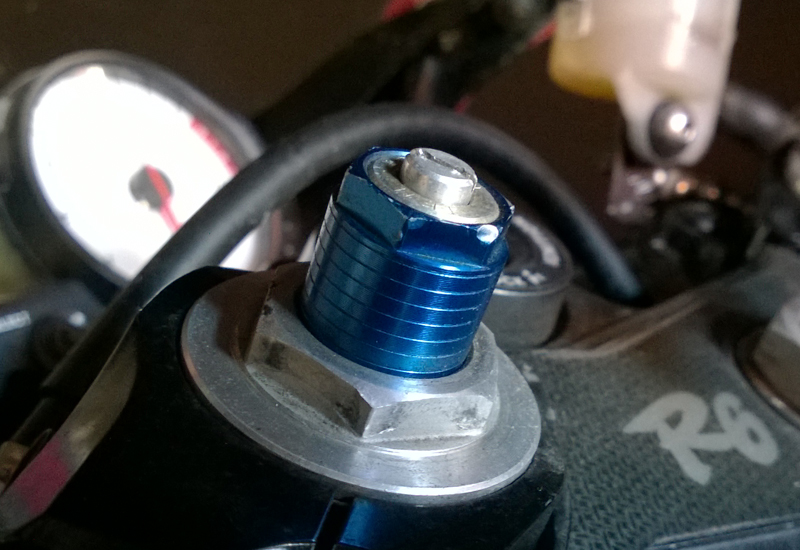
Front preload adjuster – the blue bolt
For illustration purposes, take a valve spring and stand it on your desk. Now add some weight to the top so that it compresses a little. That’s preloading the spring. Adding more weight means adding more preload, while taking some off means reducing preload.
When you increase the preload by turning on the preload adjuster on the forks, or collar on the rear shock, suspension sag is reduced; and vice-versa. The spring pushes back against the adjuster collar, lifting that end of the bike up. So, if you increase (by turning clockwise) your rear suspension’s preload, the seat goes up higher, and similarly for the front.
Rear preload adjuster
Therefore, adjusting the preload DOES NOT change your spring rate. If someone comes up to me and say I’d make the spring stiffer by adjusting the preload… well, I’d tell him to go fly a kite. But that’s just me.
We’ll leave this subject here. More on this in latter instalments.
DAMPING
If a bike’s suspension depends on the spring along, it can leave itself prone to oscillations. A compressed spring stores kinetic energy. When it’s released, it may extend to more than its resting length. The load on top of the spring has now received this kinetic energy and unleashes it back downwards, compressing the spring. This goes back and forth until that kinetic energy is transformed to heat (absorbed in the shock absorber’s oil).
Courtesy of motorcycle.com
Have you ridden on a bike that “pumped” up and down or wallowed like a sampan in stormy seas? (My bike does that.) Yes, it’s due to the lack of damping.
Damping is divided into two: Compression damping and rebound damping.
COMPRESSION DAMPING
Compression damping (or just compression) determines how fast the wheel move upwards when it contacts a bump. Correct compression damping will allow the suspension to absorb bumps and road irregularities better.
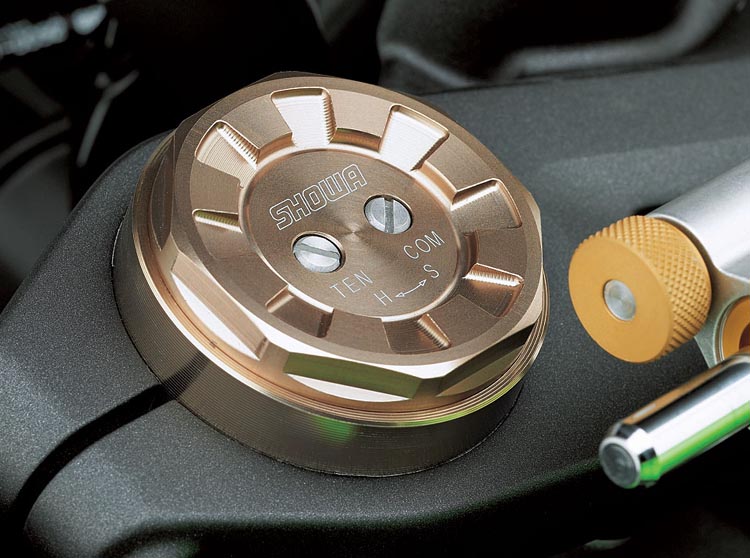
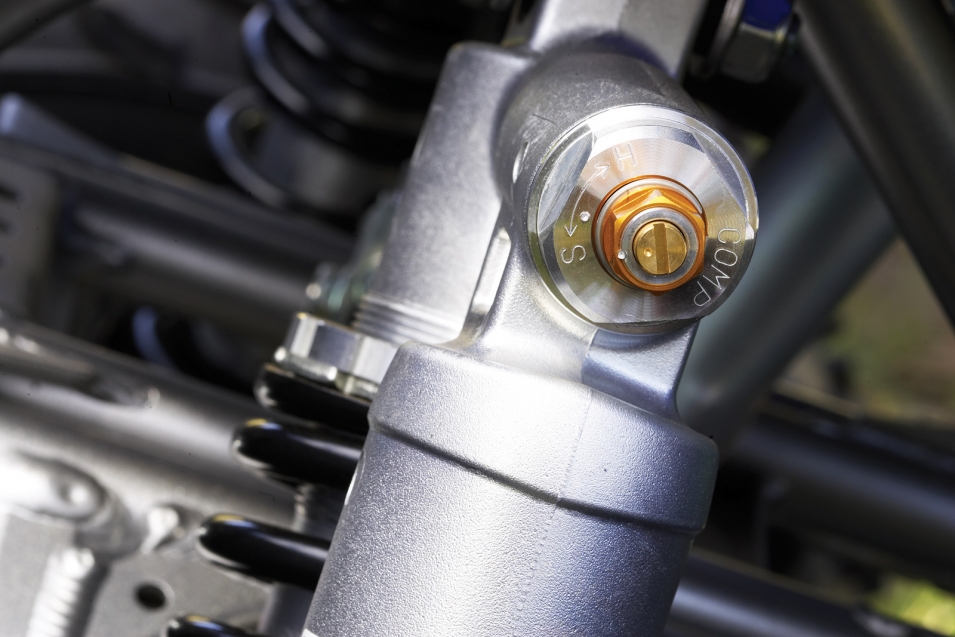
The damping adjusters on the BPF fork are all on top. Compression is marked as COM
With more compression dialed in, the suspension, hence the wheel, is more resistant to moving upwards and vice-versa. Dialing in the correct amount will also deal with fork dive to a certain amount during hard braking, although that depends more on the spring rate and preload.
Compression damping is adjusted by the screw in the middle
Too much compression damping will cause the shock of the bump to be transferred directly to the chassis and rider. (That “BLAM” feeling when you hit a bump.) Consequently, the wheel will skip across the bumps, or cause the brakes to lock up easily as the suspension resists being compressed.
On the other hand, too little will have the wheel kicked up quickly, which will also cause it to lose touch with the road. Hitting corners at high speeds will cause the suspension to “squash” down, reducing ground clearance.
REBOUND DAMPING
Rebound damping is the opposite of compression damping. Rebound determines how smoothly and controlled the suspension re-extends to its proper state, after it has been compressed.
Rebound damping is marked at TEN (for spring tension)
Without or too little rebound damping will cause the spring to re-extend quickly, or in simple terms, bounce back. The rider will feel as if he’s being kicked out of the seat after the initial bump has been absorbed. It’s like squeezing a spring between your fingers and letting it go abruptly, or like a Jack-in-a-Box.
Rebound adjuster on the rear shock is usually underneath the shock body. Here it is the screw surrounded by the red collar
Too much rebound damping will cause the wheel to “pack up.” That means the wheel will only come back down too slowly, causing the bike to feel “loose.”
CONCLUSION
That’s it for this week. This is just basic knowledge. We’ll touch on more next week, so stay tuned!