Bikesrepublic

maintenance

  • Carrying out motorcycle maintenance by yourself is fun.

  • There are many things you could learn.

  • It gives you a sense of achievement and gratification.

Owning a motorcycle is much simpler these days since they are so reliable and require so little in the way of TLC (tender loving care) to keep ‘em rolling. As such, there are certain maintenance tasks that you can DIY (do it yourself).

NOTE: Before we begin, please let us explain that certain DIY maintenance tasks should only be carried out by the manufacturer’s official workshops, especially during the warranty period. For example, something as “mundane” as an oil change must be recorded in the service booklet to entitle for warranty. Do check your owner’s manual and call/email your motorcycle dealer or manufacturer to be 100% sure.

But why carry out these tasks by ourselves, you ask. Well, completing even a simple task as maintaining the drivechain gives a feeling of accomplishment and gratification. You’d also discover more about your bike in the process – and there’s so much to learn! Plus, you’d rise above being just a casual biker to one who is knowledgeable. Seriously, how many bikers actually get down on all fours to inspect their bikes these days?

Okay, let’s start the list.

1. Washing the bike
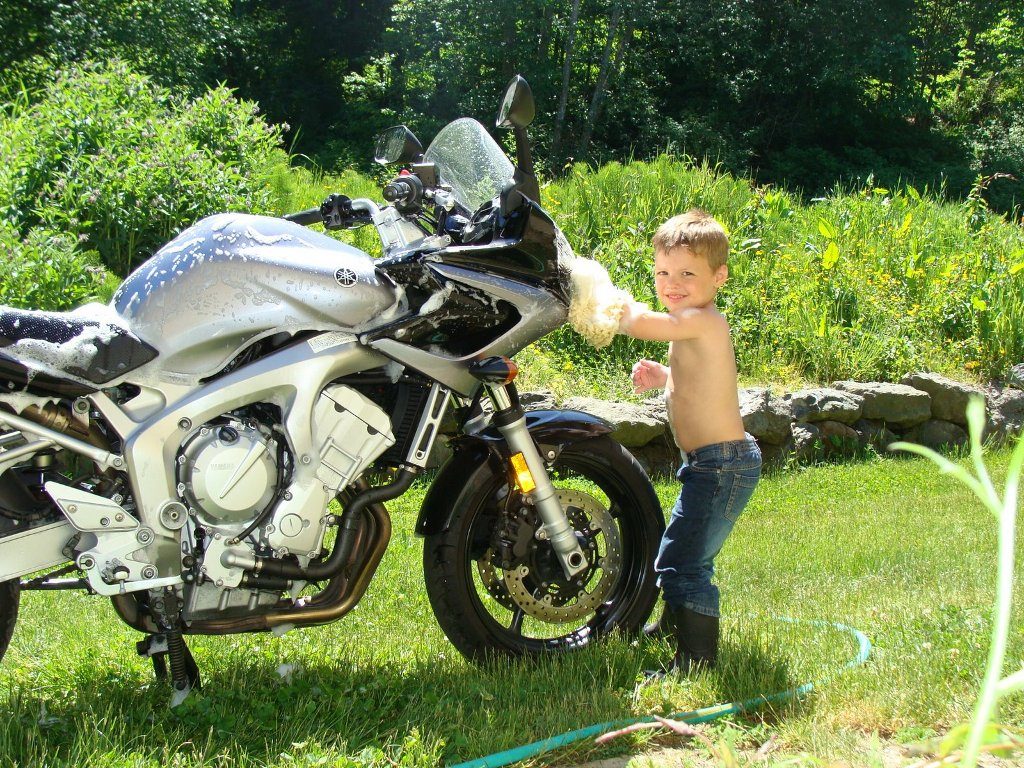
Photo credit autoevolution.com

This is just way too obvious but cleaning your bike yourself is a good practice and habit. That’s because you’d discover potential problems firsthand. It could just be imagination but everyone I spoke to feels that their bike run smoother after a thorough wash. It could well be true because some of the dirt wedged between moving parts such as the brake pads and disc are washed away.

Our tip is to use reputable cleaners – water soluble and biodegradable ones are the best – rather than corrosive stuff like dish washer liquid and detergent. If you use car shampoo, go for those that are not “wash and wax.” The wax leaves whitish residue on the matt black plastic parts, dulling them out quickly.

You may also consider some automotive waxes. Something light will be good, given the usually thin clearcoat on motorcycle paintwork. Do not apply wax on the matt plastic parts or you’ll be sorry.

As for the plastic parts, consider coating them with UV protector.

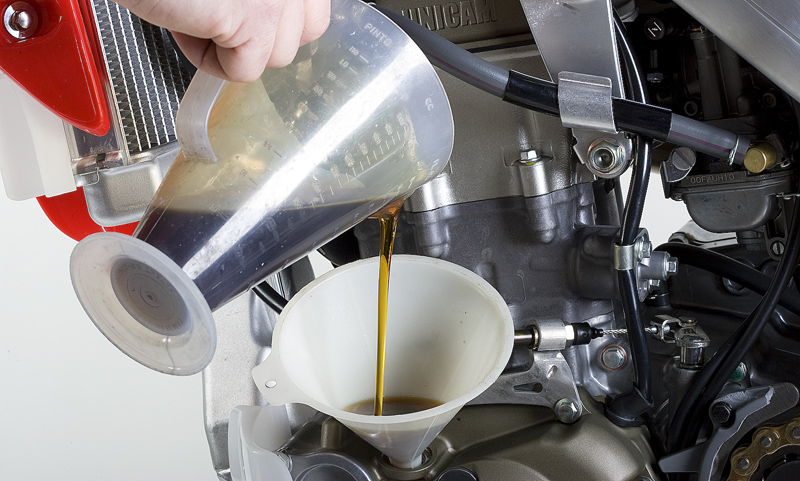
2. Oil change

An oil change is one of the obvious places to start. There are a number of things you should always observe:

  • Have the correct oil filter spanner or removal tool.
  • Make sure you straighten the bike to drain the last bits of the old oil.
  • Do not overfill (too much is actually bad for the engine!).
  • Do not overtighten the filter.
  • Dispose of the old oil properly i.e. send it to a workshop rather than pouring it down the drain.

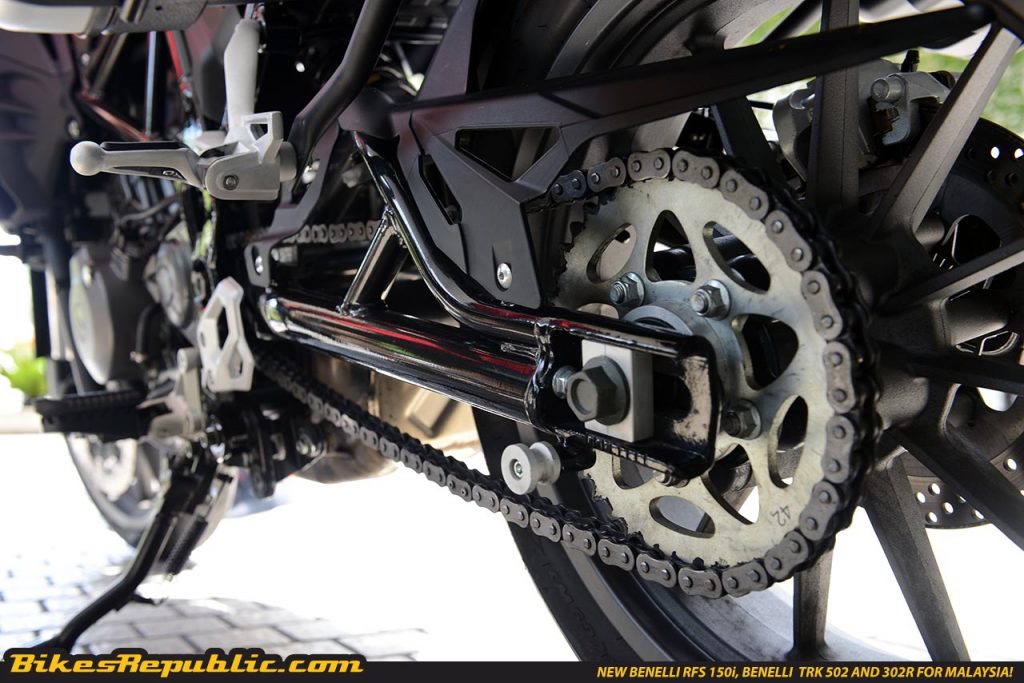
3. Chain adjustment

Always maintain your drive chain properly. That includes proper tension, cleanliness and being lubricated. A loose chain will whack parts of the bike and cause premature sprocket wear. A chain too tight will tax the engine and limit suspension movement. A chain without lube will rob horsepower and increase fuel consumption.

As a personal habit, I usually lube my chain every 400 km which corresponds to two tankfuls of petrol.

4. Battery

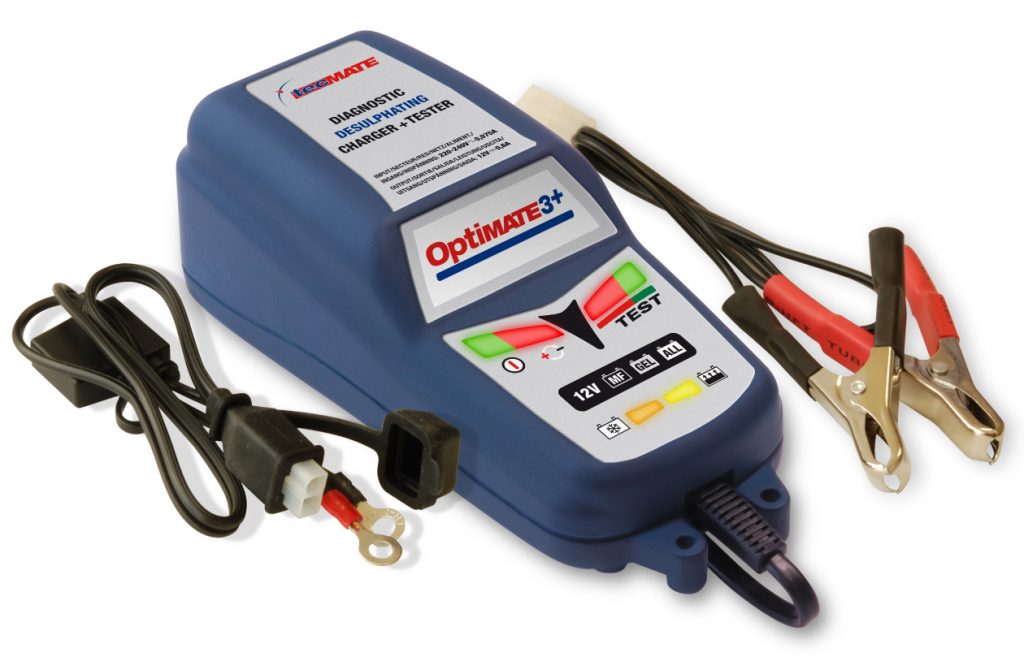
As we published yesterday, almost all batteries are now “maintenance free.” However, the term only means that you don’t have to add distilled water from time to time. And that’s all!

We do need to tend to the battery by placing it on a smart charger to keep it charged. I know some will argue that it’s easy to just replace the battery every 2 years or so, but I don’t want to be stuck in the middle of nowhere at night again when a battery went kaput. Plugging in a smart charger will tell you of the condition of the battery, thereby giving you a heads up.

5. Cables
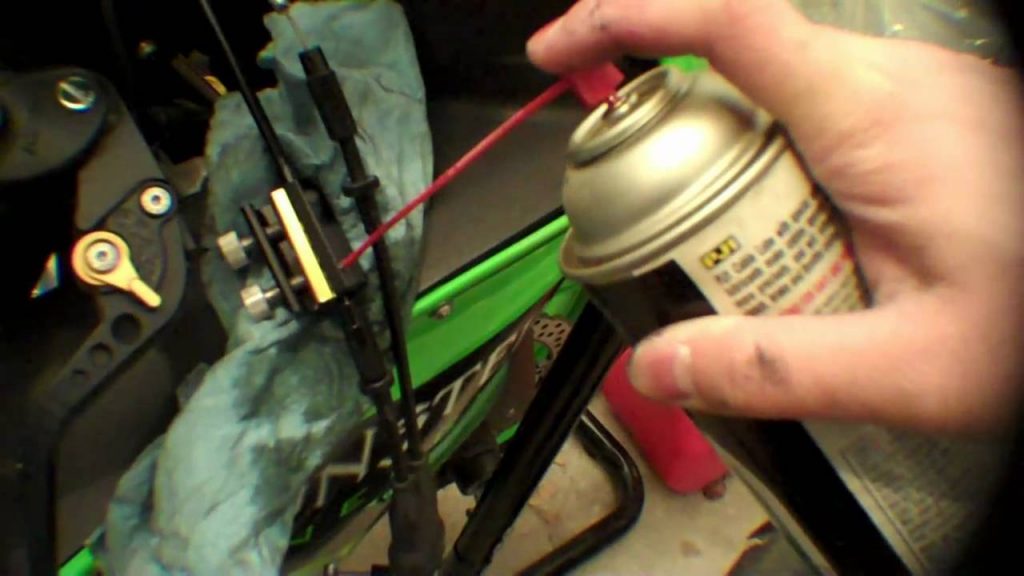
Credit wedginator

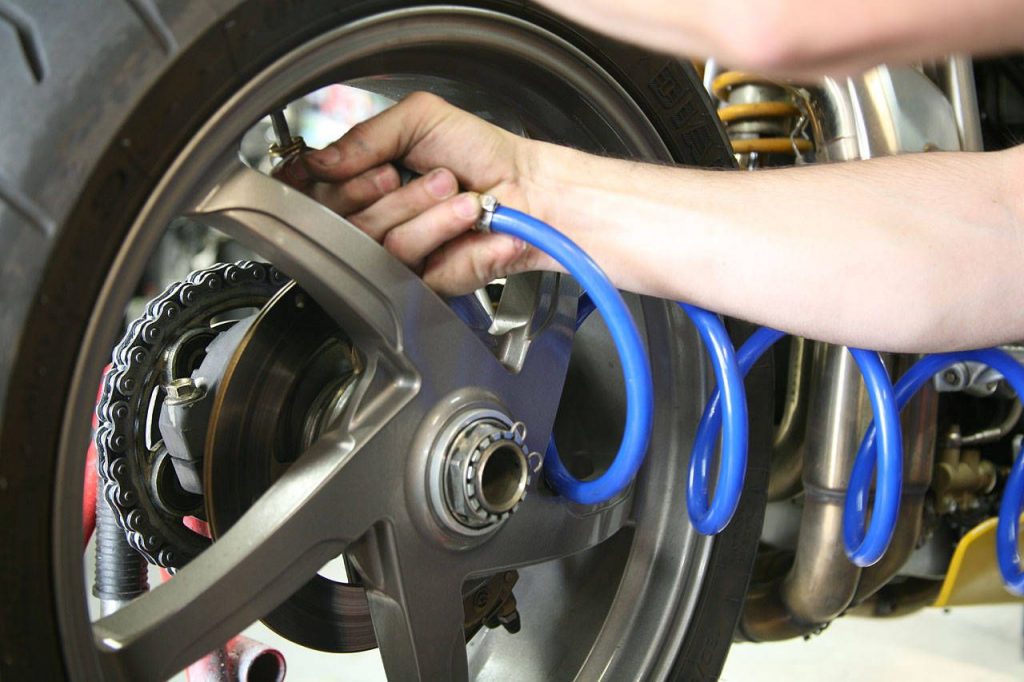
This is another oft-overlooked area on a bike, until the cable snaps. Even if it doesn’t, a dry cable will not return fully and leave the clutch slipping (slightly). You can purchase a hydraulic cable oiler or spray a good anti-corrosion agent down the cable tube.

6. Tyres

Ah hah. We’ve plunked in some good money for those bitchin’ tyres and all we do is leave them to die. How sad!

It’s good practice to scrub the sidewalls while cleaning the bike, to reveal their condition. Check the pressure at least once a week. Punctures should be addressed immediately. Don’t underinflate or overinflate.

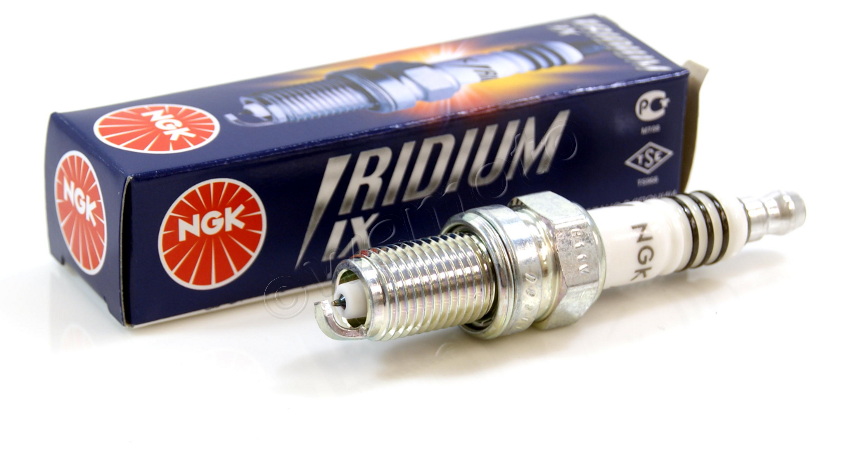
7. Spark plugs

Spark plugs last so long these days that they can become totally forgotten about since their degradation happens progressively to the extent that we don’t feel a drastic change. But they do need to be replaced.

We admit that replacing the spark plugs for beginners could be a profanity-filled affair that’ll make Samuel L. Jackson blush, but you’ll discover so much when reaching into the nether regions in the engine compartment. You’ll see the airbox, recirculation valve, throttle bodies, the ignition coils, etc. etc. on your way to spark plug cavities in the valve cover.

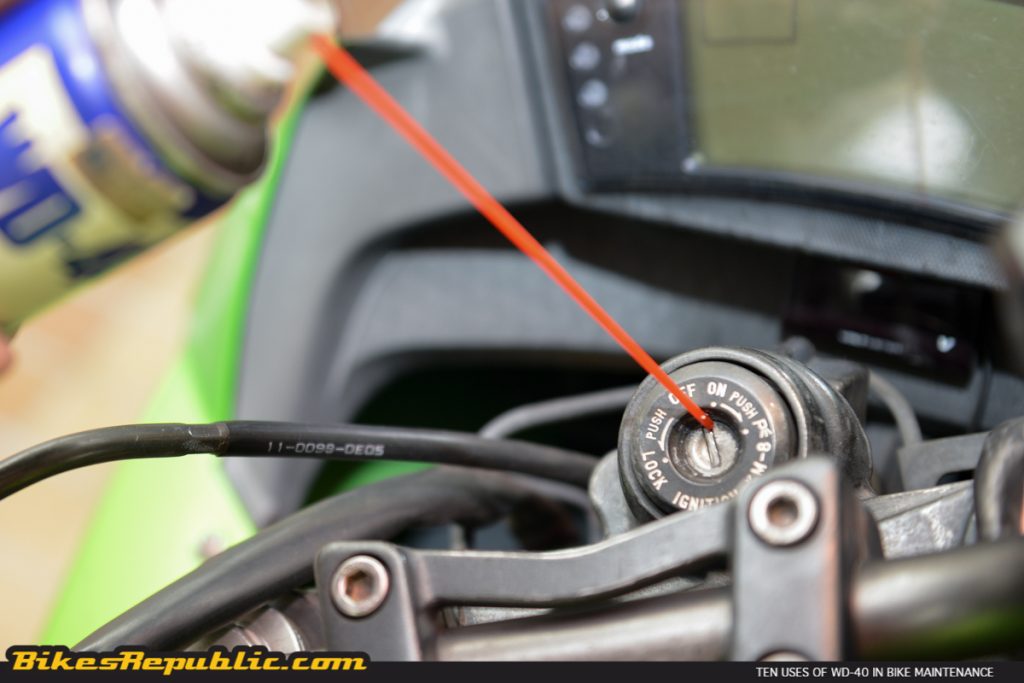
8. Keyholes

Oh yes, do lube the keyholes. You don’t want to ride somewhere far only to discover that you could get the fuel tank cap to open up! (This writer found out firsthand and had to call a recovery service!)

BONUS

The next two can be performed easily but they are best left to trained mechanics. They can be life-threatening if done wrongly.

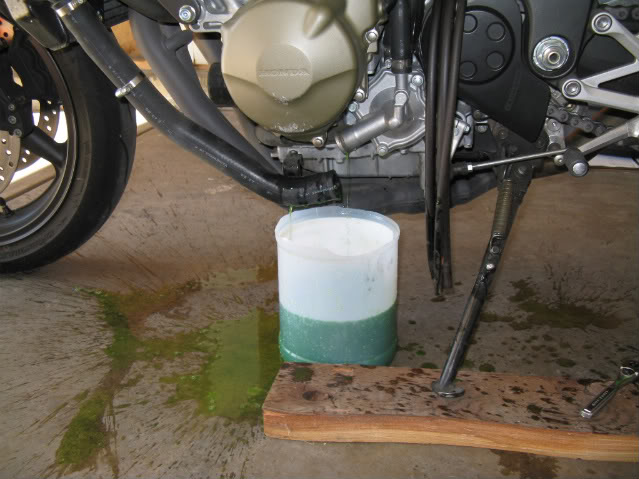
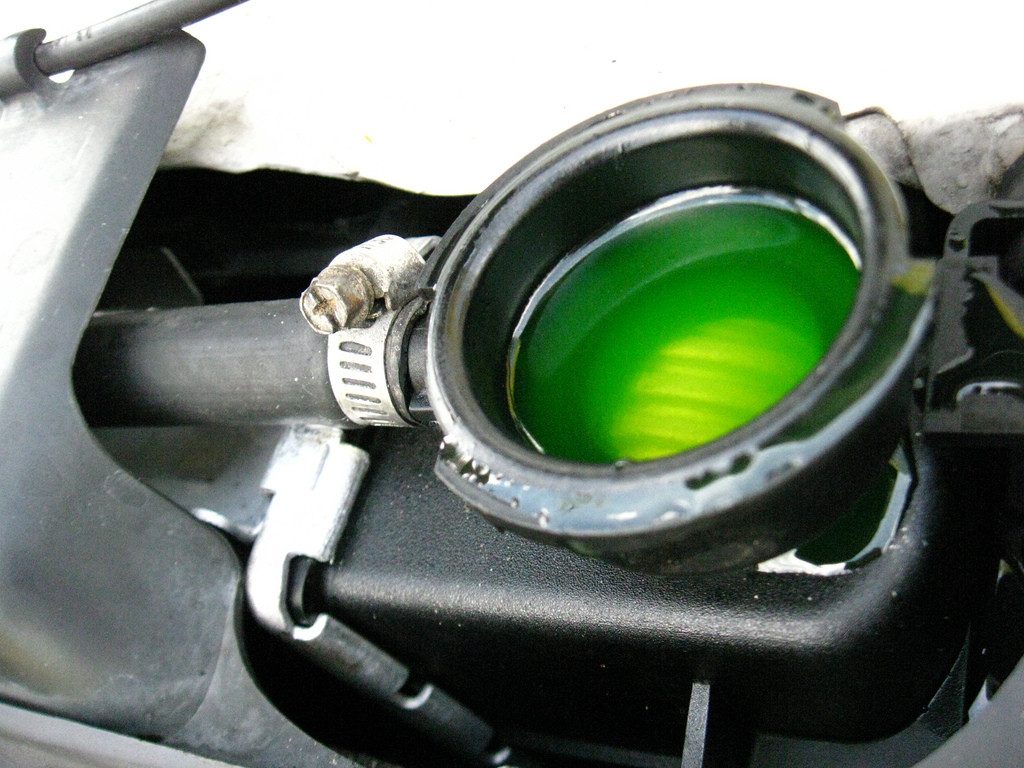
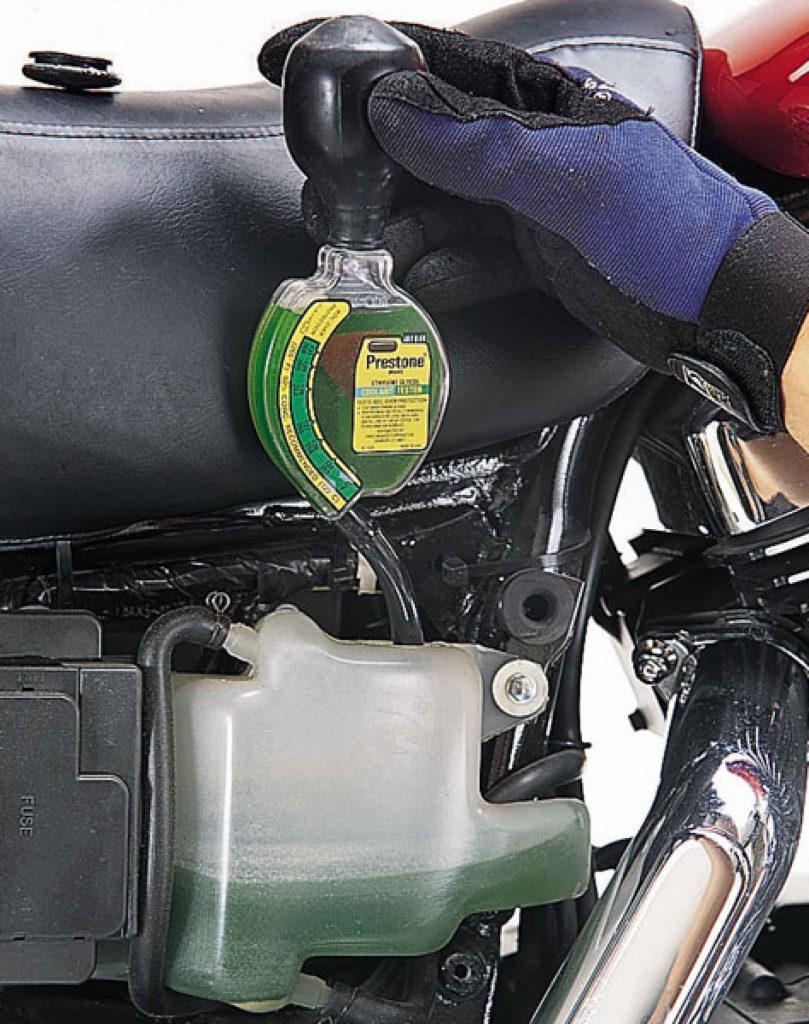
9. Coolant

The engine coolant is also another oft-neglected item. (See the ironic side of reliability?)

Depending on manufacturer, it should be replaced every two years, but this writer will change it as soon as it starts to turn milky.

The thing to remember here is to flush the cooling system of air pocket by running the engine and letting it pump out the air. The mistake is closing up the drain plug and pouring in the coolant without bleeding, leaving behind air pockets that will lead to overheating.

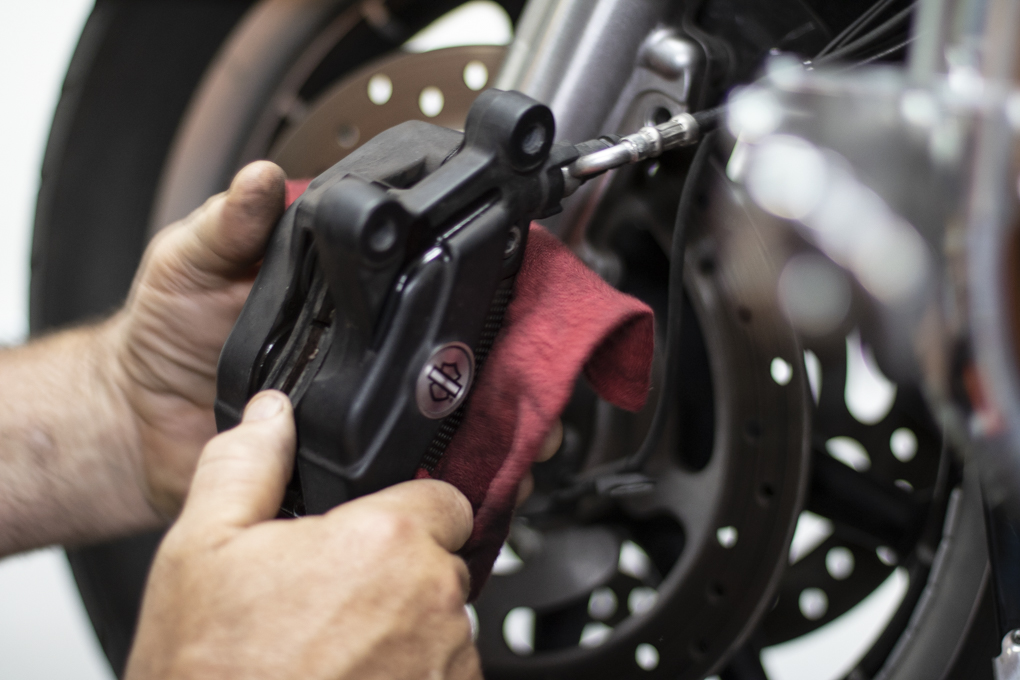
10. Brake pads

This job is super easy actually. The most important precaution is to reinstall the brake pad retaining pin properly. Your life and bike depend on that piece of pin!
  • Motosikal adalah jentera yang kompleks dan menyelenggaranya memerlukan kemahiran.
  • Penyelenggaraan motosikal bukanlah sekadar menukar minyak dan penapisnya sahaja.
  • Ini adalah empat aspek yang paling dipandang remeh dalam penyelenggaraan motosikal.

(more…)

  • Motorcycles are complex machines and working on them needs expertise.

  • But motorcycle maintenance is not just about changing the oil and filter.

  • Here are the four most overlooked aspects of motorcycle maintenance.

For many of us, motorcycles are just another form of transportation that gets one particular job done; getting to desired destinations. All that we really consider when it comes to our travels are the amount of petrol in the tank, tyre conditions, basic service maintenance, and surprisingly, nothing more.

The motorcycle is a complex piece of machinery and some models by renowned manufacturers have simplified them down to their basic structures so that owners wouldn’t have to worry so much about their machines and overall conditions. And there are some which are technological marvels.

As simple as most bikes are, there are things that motorcyclists need to know about their bikes when it comes to the maintenance department. With that being said, here are 5 things you didn’t know about bikes (or 5 things you SHOULD know about bikes).

1. For God’s sake, service your brakes!

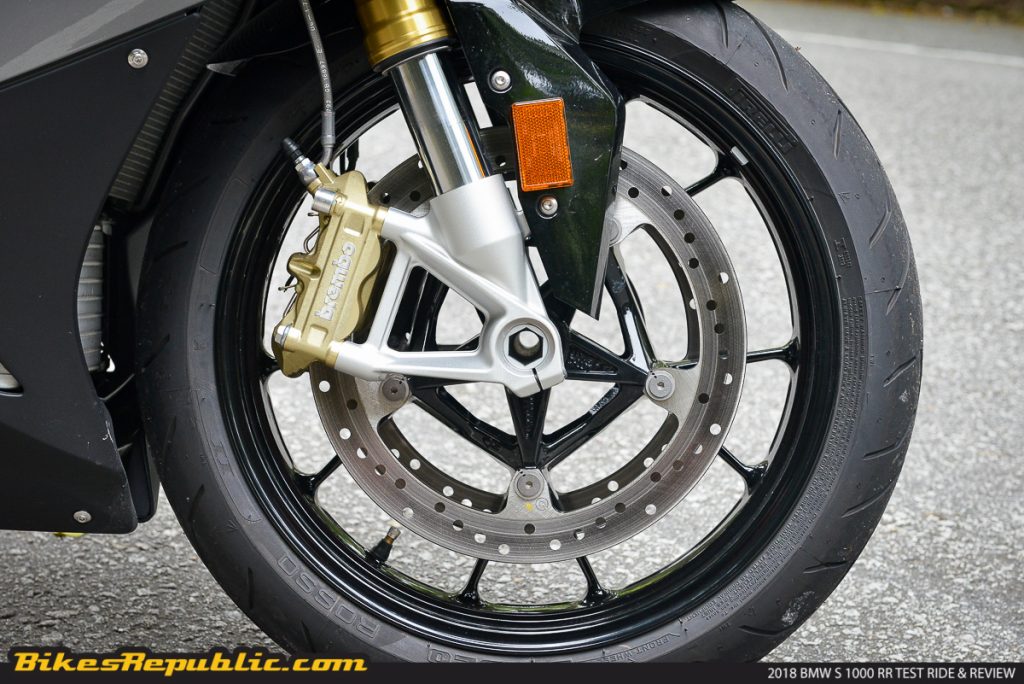
We all know for a fact that going fast on any motorcycle is super exhilarating (especially high-performance ones like the BMW S 1000 RR and the Ducati Panigale V4 S). As much fun as hitting the redline and hitting all the gears, stopping power needs to be at its optimum to ensure a smooth and safe stop.

Most workshops with certified mechanics and superbike technicians will give a quick once over to basically ensure that the calipers are clean, discs are smooth, and brake pads are still good. If the bike is sent to places where they don’t have any service record, it’s difficult to determine the most overlooked aspect of brake maintenance: replacing the brake fluids.

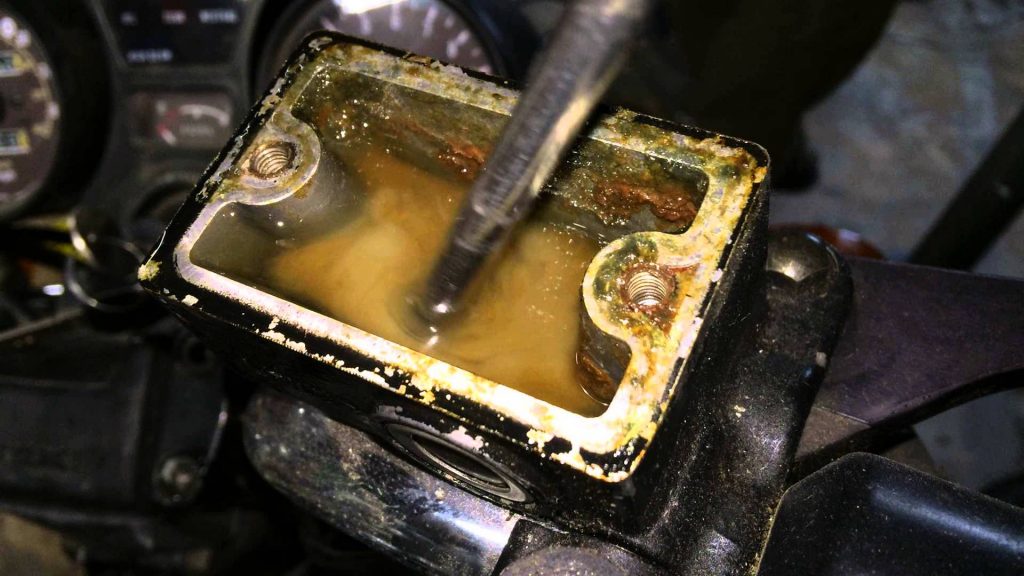
If you’re starting to notice that your brake levers are going soft or limp on you, it is usually the main indicator to get your brake fluids changed. Most bike manuals would suggest you do this every two years to ensure that the brake fluid is fresh and the absence of air bubbles in the system.

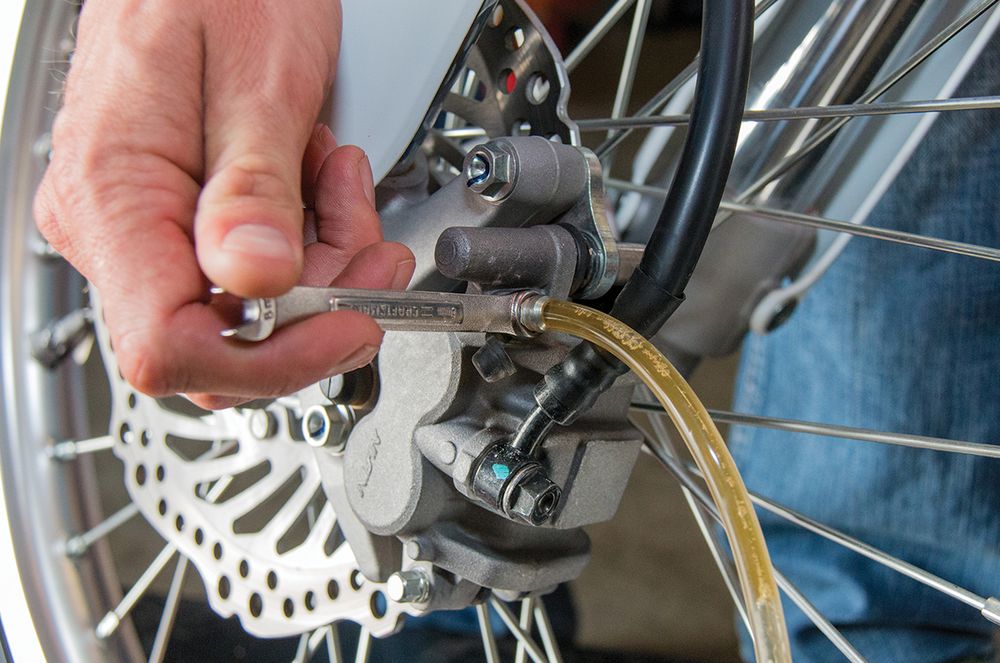
Bleeding the brake – Courtesy of motorcyclistonline.com

Uncertain of when was the last time this happened? Certified mechanics and technicians can usually tell just by looking at the colour of the brake fluid. For your information, brake fluids are usually crystal clear with a tinge of yellow. As fluids get older and degrade, they get darker and cloudier.

Although the of bleeding the old fluid and replacing it with a fresh batch is not difficult, utmost care must be taken as you do not want to leave air bubbles in the system. Besides, brake fluid is highly corrosive and will cause paint damage if they land on other parts of the bike.

Also of important note is replacing the brake fluid for motorcycles with ABS. The bleeding process is straightforward, but air bubbles should never be allowed to enter the ABS modulator. If it did then you would need an electronic ABS tester to flush it out of the system, otherwise the motorcycle will have braking issues! Where can you find this tester? At official workshops (manned by certified technicians, of course).

In short, head to workshops with certified technicians to get your brake fluids checked (and replaced!).

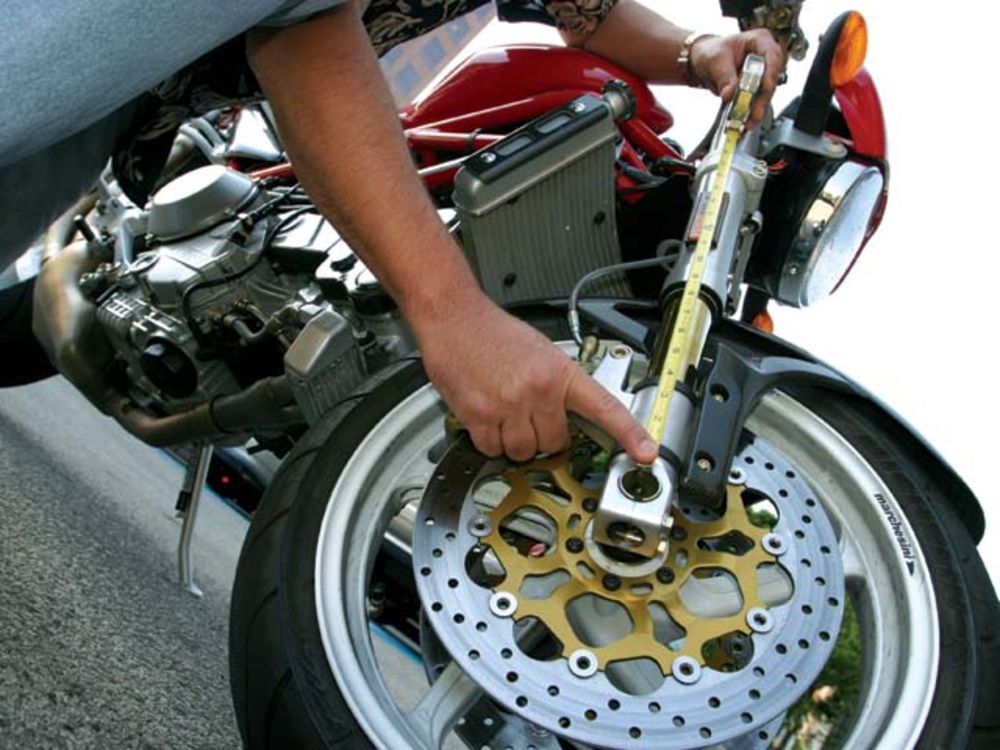
2. Give your forks a chance!

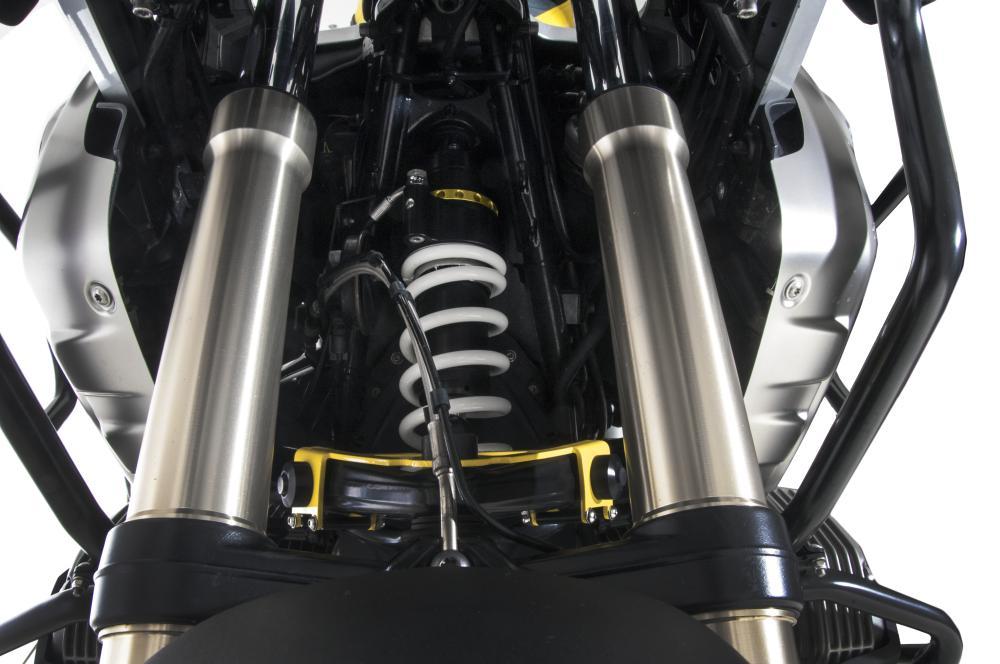
Your suspension system needs to be periodically checked, as well. We’re talking about your bike’s front forks and rear shock absorber(s). Most affordable small-capacity bikes only have the option to replace them once they’re worn out but it’s more likely to be cheaper than tearing it apart for service.

For bigger bikes with higher-end gears, the suspension package will last for a long time provided that you go through the periodically-scheduled maintenance on time.

Take for example, the forks. Forks not only hold the front wheel, allow you to steer the bike and absorb shocks, they are also important in providing front tyre feedback to the rider.

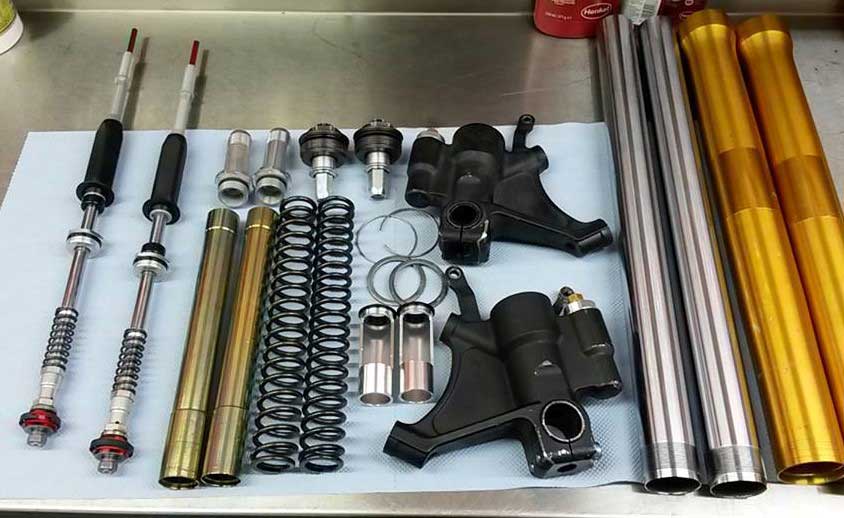
Suspension service – Courtesy of jamespackwoodracing.co.uk

The service process for forks is needs a meticulous working etiquette as they consist of high-precision components. This is where you should really look for a workshop with a dedicated team of certified technicians to work on your bike. Trust us on this one, you’ll be thanking us later.

3. Valve clearance is vital!

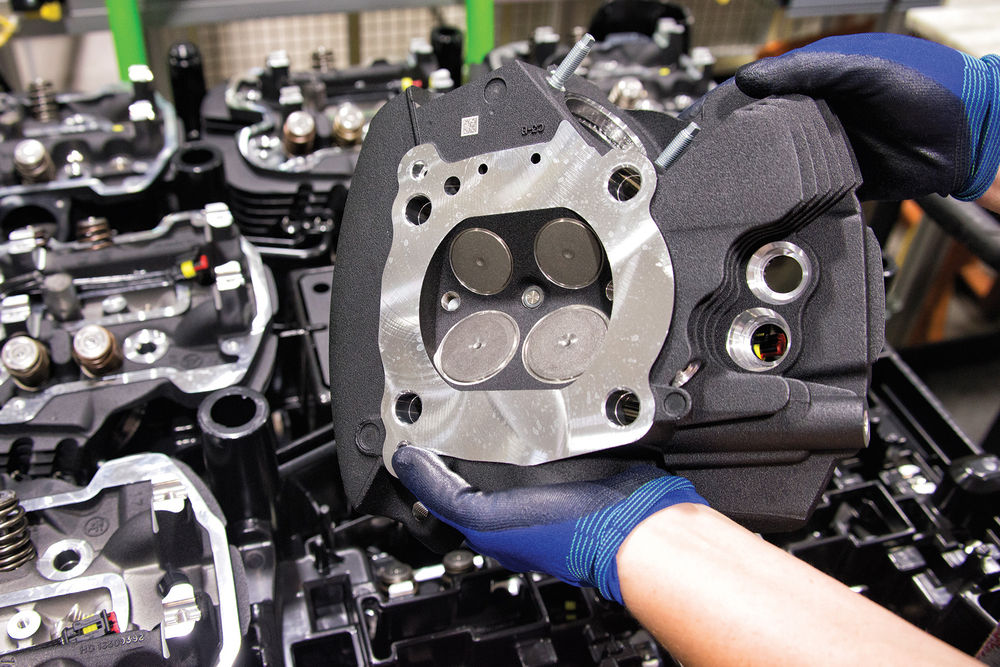
Harley-Davidson Milwaukee-Eight head – courtesy of bikebandit.com

Valve clearance check-up is one of the most important (and probably the biggest) service aspect for your motorcycle. Why? Because wear and tear and heat in the valvetrain will affect the position of valve and clearance size. Wrong valve clearance will first lead to a nasty-sounding valvetrain. If the issue is not addressed over time, your engine will start to lose performance, stutter and just will not run. In extreme cases, the valves may even contact the piston’s crown resulting in catastrophic failure!

Bikers love to hate this particular maintenance procedure as they are slightly more on the expensive side and it take time as it involves working and removing vital engine components. When to check the valve clearance is different for every bike so make sure you double check with your bike’s manufacturer manual and certified workshops.

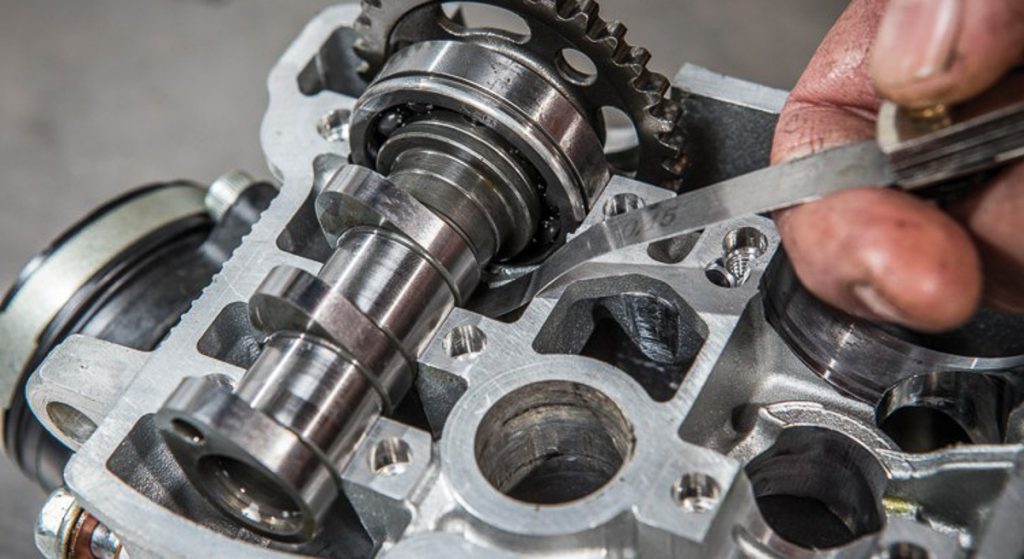
Valve clearance adjustment – Courtesy of www.transmoto.com.au

For smaller bikes, this process is quite easy to do (provided that you have the right tools) but vital parts of the bikes like body panels, fuel tanks, and maybe more need to be remove in order to successfully complete the process. Having doubts? Keep calm and send your bike over to a certified superbike technician!
4. Keep cool with coolant!

Lastly, we’re going to touch on your bike’s overall cooling system. Those with air-cooled bikes can start riding because this advice is for those with liquid-cooling. Go ahead, we’ll meet you at the rendezvous point!

Why is it important to check your bike’s cooling system? First of all, the liquid coolant used in your bikes contains active ingredients or agents that help to control corrosion. These agents degrade over time and once it’s dirty, it won’t be as efficient to keep things nice and cool.

Like your brake fluid, replacing the liquid coolant is also advised to be done every two (or three, depending on the manufacturer) years. Doing it yourself is not difficult but you’ll need to find the proper way of disposing the used coolant as some types are toxic, and can damage the environment plus affect your health if it contacts your skin.

Apart from replacing the brake fluids, you also need to check the radiator, hoses, and clamps. Rubber hoses must be in good condition (pliable with no cracks). Hose clamps should be nice and tight, too. As for the radiator, look out for any physical damage. If there’s any bent cooling fins, you can easily straighten them out with a small screwdriver.

Overall, maintaining your motorcycle is more than just ensuring that there’s fresh oil and oil filter every time it is sent to the workshop. With proper workshops and certified technicians, keeping tabs of these five most overlooked aspects will be a whole lot easier on your machine as well as your ease of mind. So keep calm, ride safe, and practise proper bike care!

5. Certification guarantees satisfaction!

Worried about sending your bikes to shady workshops and characters? Well, you should! Your bikes are like your own body and when it comes to healthcare, you only want the best so why should it be different for your bikes?

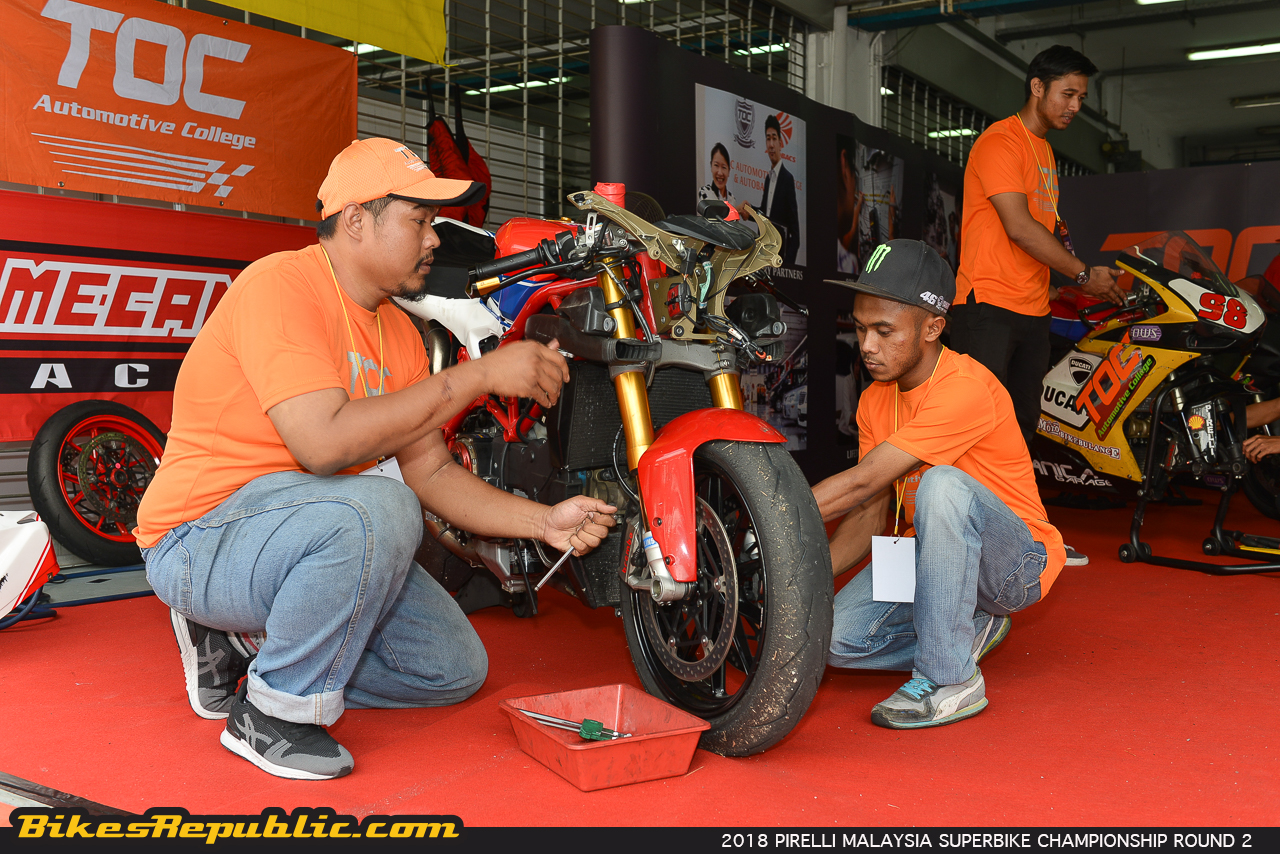
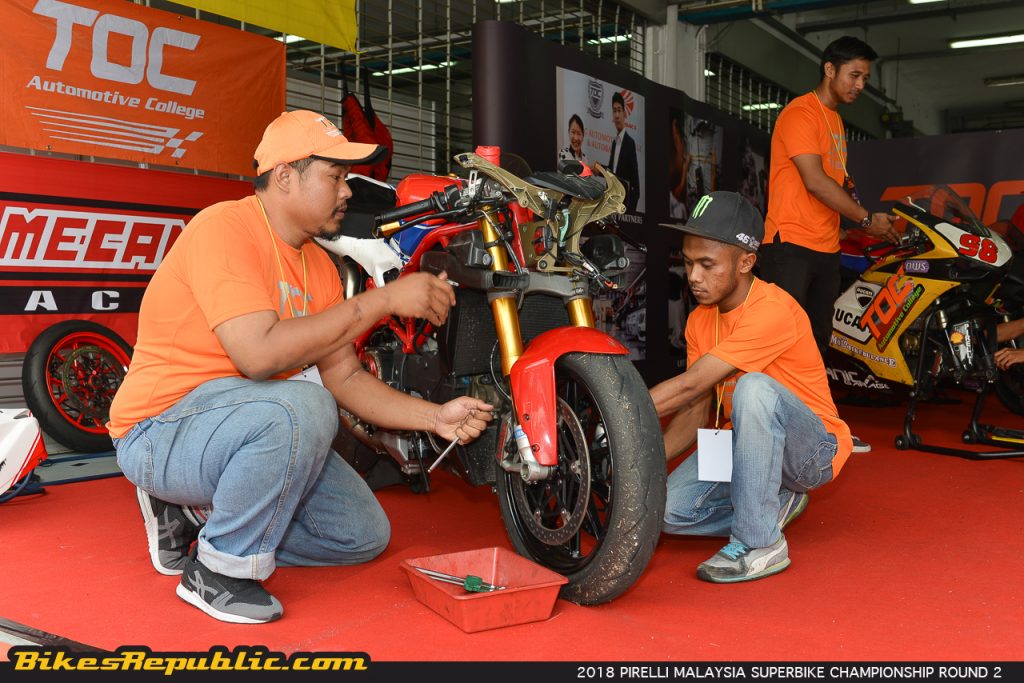
Workshops, mechanics and technicians with proper certifications gained from programs coordinated by fine institutions like the TOC Automotive College offer, provide, and supply the nation with certified and highly-trained technicians who have experience in working with bikes ranging from small-capacity daily bikes to high-performance track racing machines.

It is always advisable to send your bikes to the manufacturer’s authorised service centres but when there’s none around, it’s always good for you to send your bikes to places with proper certifications when it comes to the workshops as well as the technicians working on the machines.

To know about the demand for certified superbike technicians, CLICK HERE.

Certified Superbike Technicians are now in demand!

Please visit the TOC Automotive College Facebook page or their campus (map below) or call call (+603) 7960 8833 for more information. Likewise, you can find more information about the TOC Bina Bakat Program here, or email info@toc.edu.my. Please click on this link for further information on the TOC Superbike Technician Course.

AND WHAT WE SHOULD LEARN

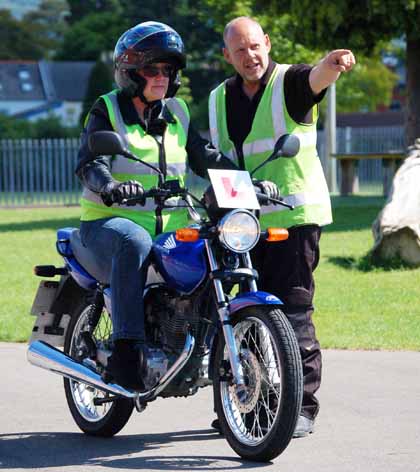
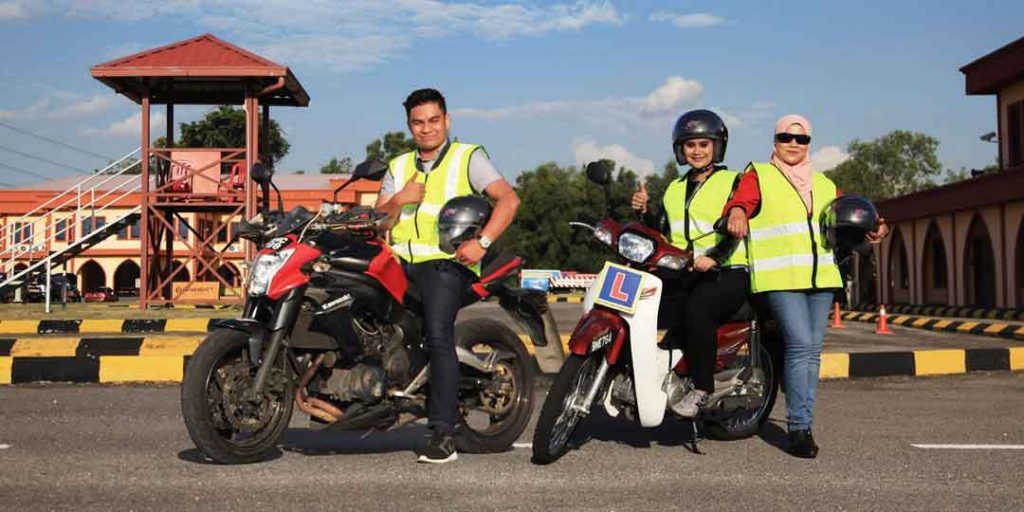
I could clearly remember my first visit to a driving school to obtain my riding license. We had to sit through a class which started with videos of accidents, before the “lecturer” walked in to introduce us to the traffic codes (called undang-undang) of obeying traffic signs, some theories on safe riding. There were of course lectures on the basic skills of operating a motorcycle.

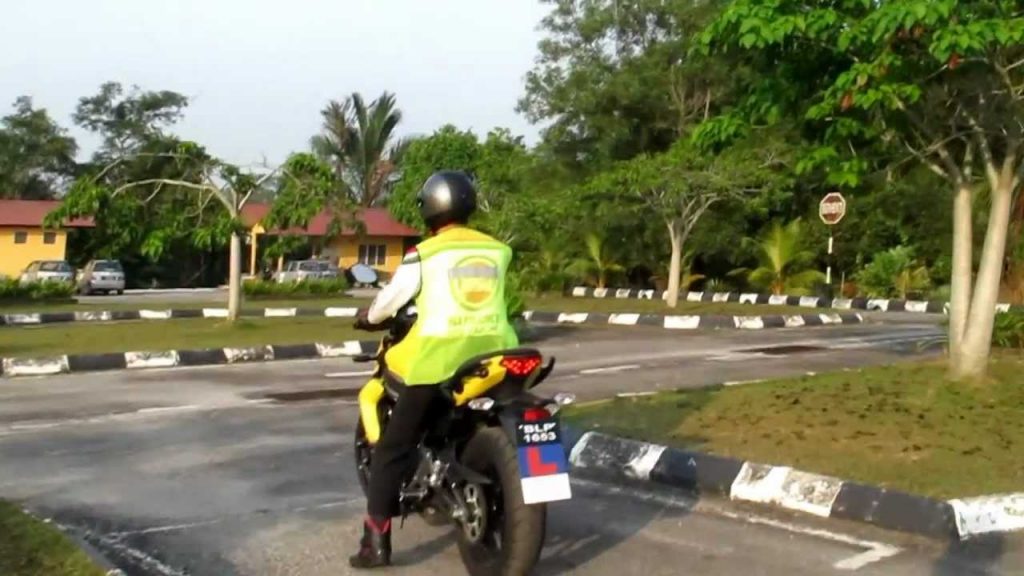
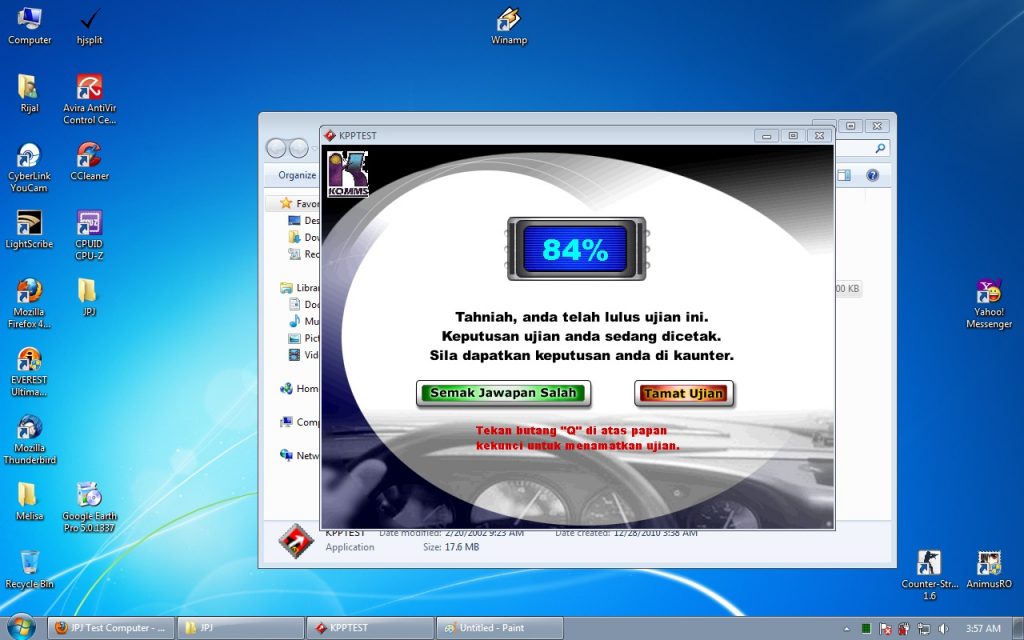
A computerized test of how much we could memorize the undang-undang followed in the next session. Passing the test mean that we could move on to “Practical” where we were taught how to ride a motorcycle. No, we weren’t taught the skills necessary to operate a motorcycle, instead we were made to rehearse procedures that we may pass and obtain our licenses.

By now, every student was so eager to get on with riding that we had forgotten every single point taught in that class.

The instructions were, “Go on top of this ‘bridge’ (a raised section about 30cm wide) and past those cones. Do the figure-eight, then head down there and turn back for the braking test. If the bike comes off the ‘bridge,’ you fail,” and so forth. And just before he ducked away for cigarettes and coffee, he said, “Come for four more sessions and you may attend your tests.”

The instructor came back (much) later, stood beside the track and barked orders like, “Use only first gear, don’t touch the front brake(!), don’t put your foot down,” etc., etc. But why?

Needless to say, I was overwhelmed when I finally obtained my license and hit the roads for the first time. I didn’t know what to do. Riding 5kms to Komtar was felt like riding 100kms through ISIL-held territory. Well, I guess you may feel the same thing too, so here are the Top 10 Things A Riding School Doesn’t Teach.

We’re not apportioning 100% blame on the driving schools. Had they been required to teach every single topic about riding to a neophyte, it’ll probably take at least 6 months. So the onus falls on us as motorcycle owners to learn more. Besides, part of the fun of riding is learning to ride better.

1. BASICS OF RIDING A MOTORCYCLE
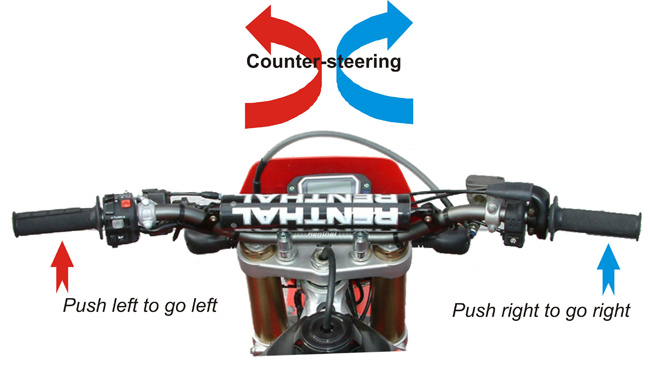
The correct method of steering, called countersteering isn’t taught at all schools, except for the possibility of only Arinah in Kuala Terengganu. And there’s still throttle control, vision, body positioning and braking to learn.

As riders, we need to critique our own riding, dissect it, learn, understand and apply to become better riders. Repeat. Even MotoGP champs never stop practicing to improve, so should we?

However, while it’s good that we continue learning, there’s no better way than being completely honest with ourselves by enrolling in an advanced riding school, such as Progressive Track Day (PTD) and Most Fun Gym (operated by Malaysian GP legend Oh Kah Beng). Dirt biking is a great way to learn the intricacies on handling a motorcycle correctly.

2. SUSPENSION ADJUSTMENTS
Suspension technology has come a long way from when it was a black art. Even a midrange bike has been provided with reasonably good suspension and some ability to be tuned.

The answer usually lies in the Owner’s Manual. Or just search for the myriad of articles on suspension adjustment on the internet.

But first, do learn about what each parameter – such as preload, compression damping, rebound damping – does before going ahead with playing with the clickers on your bike’s suspension.

There are certain bikes with electronically-controlled suspension these days, and they’re pretty much idiot proof. Still, better to know the basics, because you’d then know what to look out for.

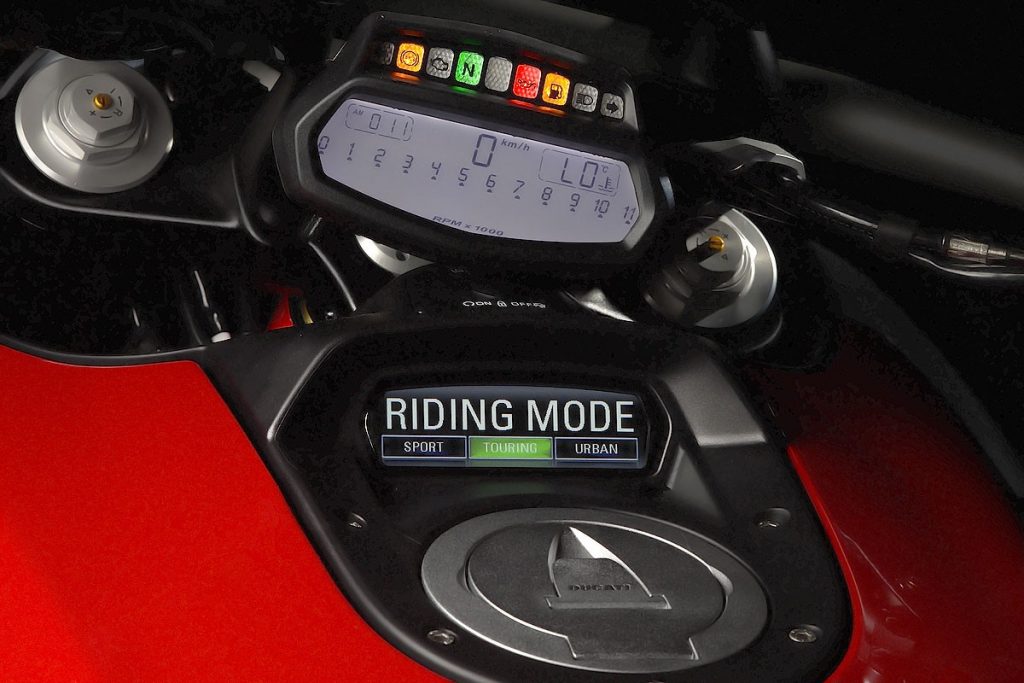
3. SETTING UP TRACTION CONTROL/ABS/RIDE MODES
I believe most of us already know which mode to select depending on riding preference, weather, and road conditions.

Yet, believe it or not, I’ve met owners who had set the wrong Ride Mode for the wrong situation. For example, I once met a guy who had set his S 1000 RR’s Ride Mode to SLICK, on which he commuted on a daily basis, without knowing what it actually meant on his half-worn SuperCorsas.

There are also those who pride themselves on a false sense of bravado by turning their ABS or Traction Control off on the streets. Yes, it ultimately boils down to rider’s preference, but these guys blindingly believe that their bikes go much faster by being set so for all traffic, weather and road conditions. And oh, they’ve never been to the track either.

Our recommendation is to keep TC and ABS on at all times on the streets. Don’t ask us how we found out.

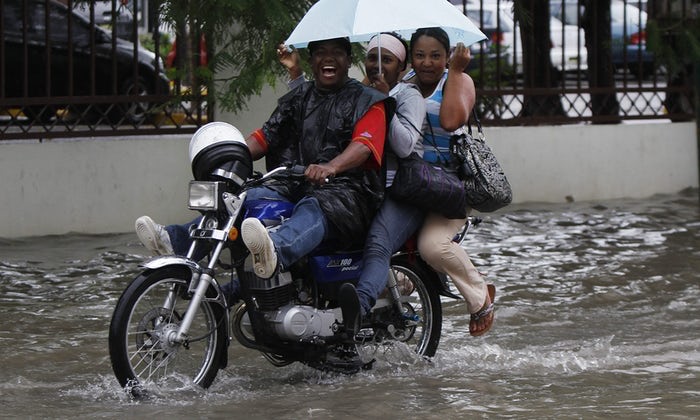
4. RIDING IN TRICKY CONDITIONS
Riding in the rain and over slippery roads shouldn’t come as a fear to riders. Taken positively, the challenge of switching to a different riding style makes it fun.

Personally, I love riding in the rain as I could discover how my tires and bike feel when the tyres do break traction. Confidence should increase in actual fact, simply because you’ve discovered the limitations.

Learning to push the limit by yourself could become a dangerous proposition on the streets. Again, enroll in a riding school. Similarly, this is where motorcross and dirt-riding training becomes crucial.

5. MOTORCYCLE MAINTENANCE
The basics were demonstrated but never fully delved into.

Besides the customary oil change and tyre replacement, motorcycle owners should be inculcated with the desire to know more about their own machines.

Motorcyclists should be diligent in referring to their motorcycles’ service intervals in the Owner’s Manual. Too many times have we’ve seen totally black brake fluid, unchanged fork oil and chains encased in gunk.

6. BRINGING EXTRA TOOLS
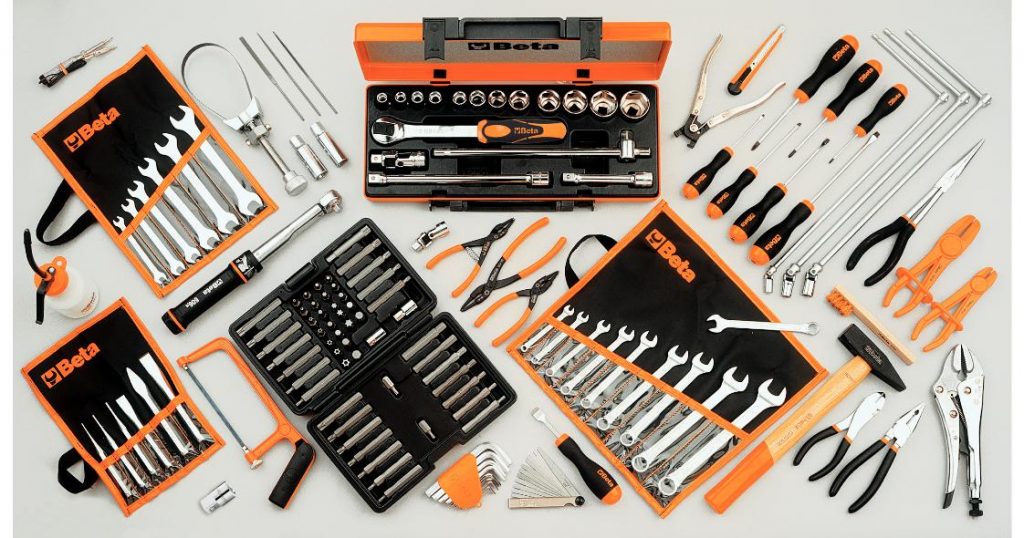
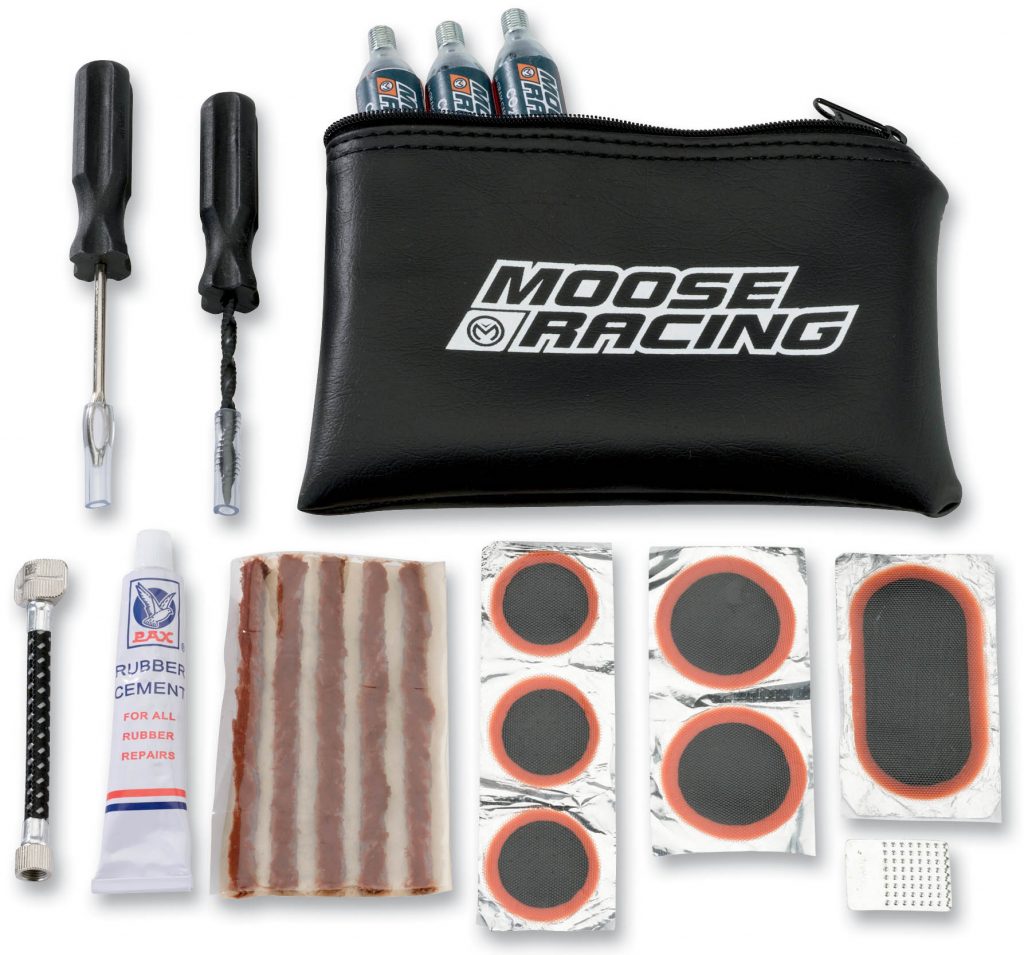
So your bike broke down and you fished out the tool pouch. Has any motorcycle owner found a complete set of tools under his seat? In fact, there are manufacturers who don’t even provide a tool kit at all.

The tool kit included with your bike is woefully inadequate to say the least, so a rider should always include a few more important items (depending on the size of your under-seat space, such as:

  1. Slotted and Phillips screwdrivers of two more sizes. Also, do get those that are magnetized; they’re super handy when extracting a dropped fastener.
  2. A set of hex and Torx keys each.
  3. A set of sockets, preferably including a ratchet handle.
  4. Zip ties, for parts that’ve loose or fallen off.
  5. Duct tape. The universal repairer/lifesaver.
  6. A small can of penetrant spray to loosen up parts that are stubborn or stuck.
  7. A small can of chain lube.
  8. Tire puncture repair kit.
  9. Tire pressure gauge.
  10. A small flashlight.

7. ROADSIDE REPAIRS
This correlates with motorcycle maintenance and the tools you carry.

Modern motorcycles are generally reliable and there are very few cases of mechanical breakdowns. Tire punctures are common on the other hand; and so are crashes and low-speed tip-overs, causing snapped or bent levers.

Do NOT take this for granted. We’ve actually encountered flat tires on brand new test bikes on numerous occasions.

That is why one should always ride prepared. Repair techniques and tips are not usually covered in the Owner’s manual, so do check out the many articles and videos.

8. PUSH/BUMP STARTING YOUR BIKE
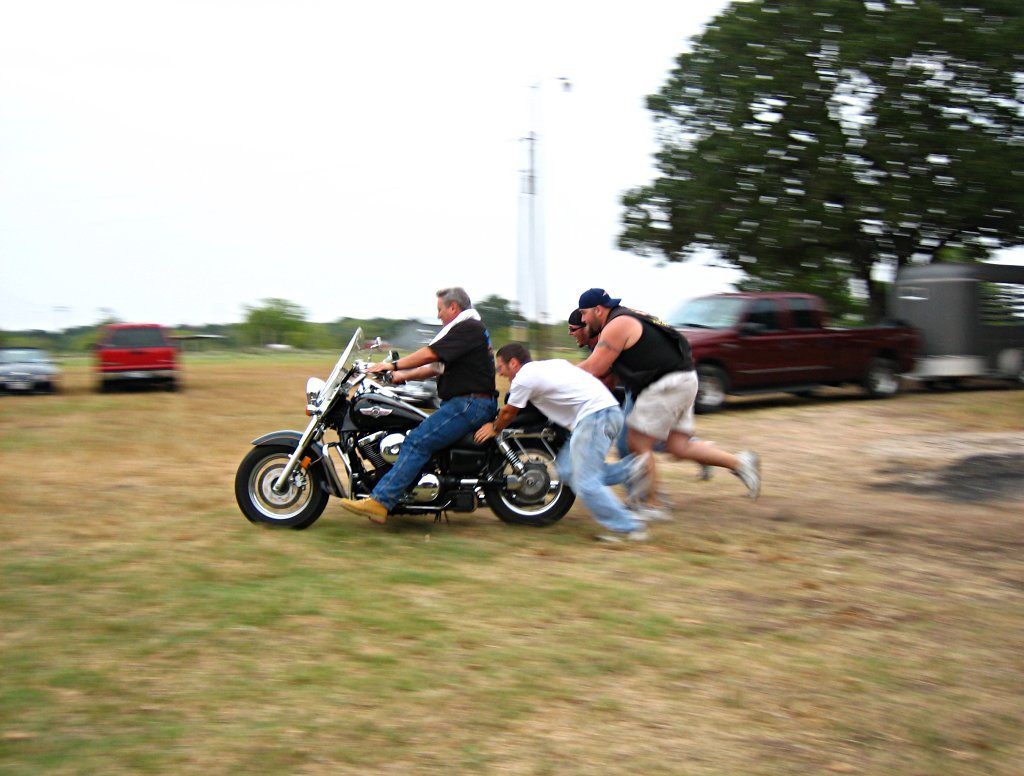
There are various reasons why your bike may not start. But before you decide to call the tow truck, you may attempt to push start it.

Put the bike into gear and hold the clutch, push it to a jog, then jump onto the seat and release the clutch simultaneously. You should immediately pull in the clutch lever as soon as the engine catches, to avoid the bike blasting off from underneath you. Give the throttle a few blips and ride off.

Or just get your buddies to push while you’re in the seat. Hehe.

9. Planning for a Tour
Servicing your motorcycle and checking the functions of the motorcycle is taught at driving schools, but we’re left to our own devices in preparing ourselves mentally and logistically for a long-distance tour.

If you’re riding in a group, chances are the leader will brief the group on the rendezvous points and other details. But you should always prepare yourself by looking up the route, preferably on the night prior to the ride. This way, you avoid being surprised by what you may find or get separated from the group.

If you’re riding alone, plan out your route and stops for fuel, rest and refreshment. Watch what you consume as certain drinks and foods may affect your stamina and concentration during your ride.

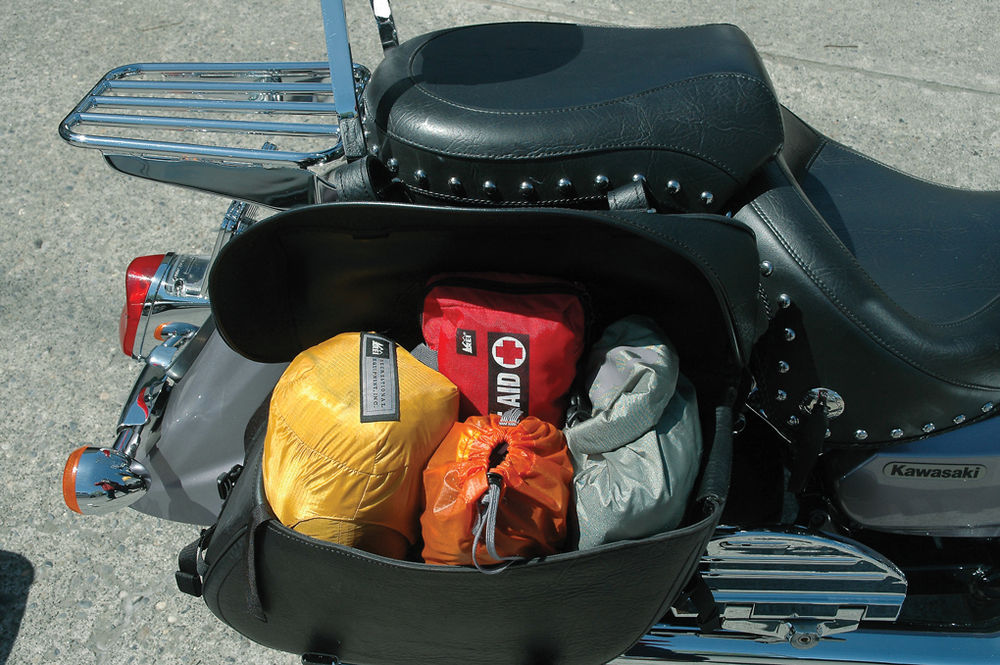
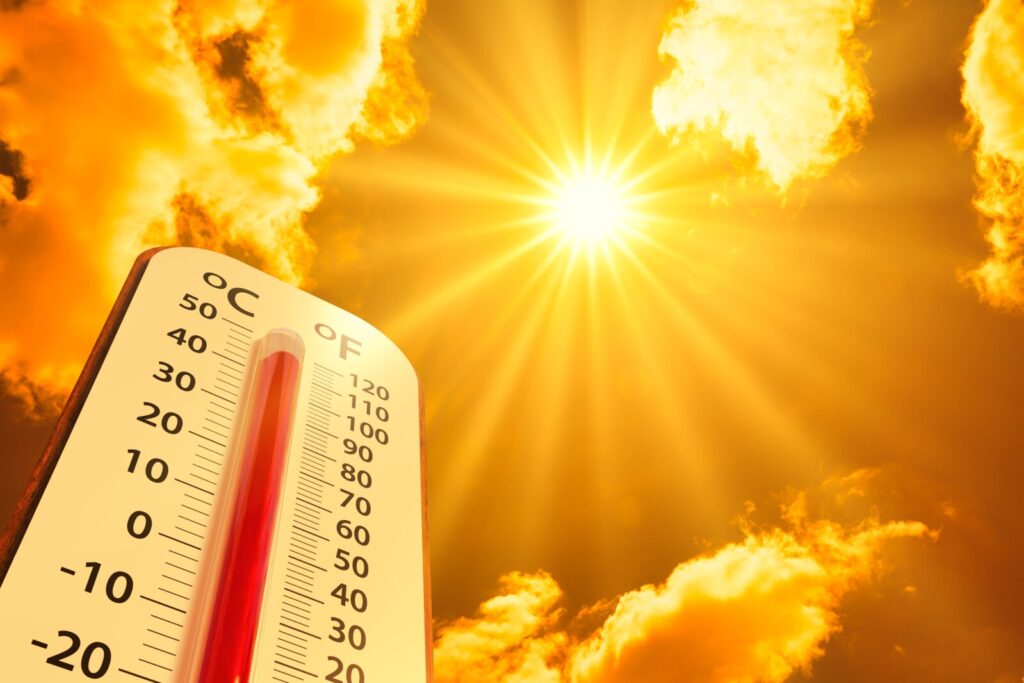
Apart from that, read up on articles on how to pack your luggage (whether it’s a backpack or motorcycle luggage system). This may sound silly, but having to dig out all your clothing to get to your wallet or passport under the hot sun or rain isn’t pleasant.

10. STUDYING YOUR OWNER’S MANUAL
Your motorcycle’s Owner’s Manual contains a treasure throve of information. Again, what we’re saying here may sound redundant, but hardly any motorcycle owner bothered to flip through their Owner’s Manual. Even if you’ve ridden every single motorcycle for the last 30 years.

You should take a peek at the contents page at the very least.

Archive

Follow us on Facebook

Follow us on YouTube